
Easy Free Crochet Headband Pattern – Perfect for Last-Minute Gifts!
Hi Craft Lovers!
Welcome to my cozy corner of creativity where yarn and hooks come to life! Today, I’m thrilled to share with you a delightful project that’s not only fashionable but also functional – a free crochet headband pattern that’s an absolute lifesaver when you need a thoughtful, handmade gift in a pinch.
Whether you’re gearing up for the chill of winter or seeking the perfect accessory for those brisk autumn days, this crochet headband is the perfect blend of warmth and style. It’s so versatile that, after making one, you’ll find yourself crafting a whole array for friends, family, and of course, a little treat for yourself. And the best part? It’s an excellent project for using up that stash of leftover yarn!
Table of Contents
Why Crochet Headbands Make the Best Gifts
- Personal Touch: Handmade gifts carry a special sentiment that store-bought items just can’t match.
- Customizable: With an array of yarn colours and types, you can personalize each headband to match the recipient’s taste.
- Eco-Friendly: Using leftover yarn not only reduces waste but also gives an eco-friendly angle to your gift.
- Quick to Make: Ideal for those last-minute gifters – a couple of hours and you’re done!
- One Size Fits Most: The pattern is adaptable, so no need to worry about fitting issues.
What You’ll Need for your Free Crochet Headband Pattern
Before we dive into the stitches, let’s talk about the materials you’ll need. This will ensure you’re fully prepped to start your project without any hitches for this free crochet headband pattern
Materials List:
- 5.00 mm (H) Crochet Hook
- Worsted Weight Yarn (Category 4) – I’m partial to Lion Brand Pound of Love and Loops & Thread Impeccable Yarn for their durability and softness.
- Measuring Tape to ensure the perfect fit.
- Tapestry Needle for weaving in those ends.
- A pair of Scissors – sharp and precise, for a clean finish.
Understanding the Basics: Crochet Abbreviations
If you’re new to the world of crochet, familiarizing yourself with the lingo is key. Here are the abbreviations you’ll encounter in this pattern:
- CH – Chain
- HDC – Half Double Crochet
- FO – Finish Off
Step-by-Step Crochet Headband Pattern
Now, let’s get down to business! This pattern is beginner-friendly and can be completed in just a few hours.
Foundation Chain: CH 68 or until your chain measures approximately 18.5 inches (47 cm) – this is the standard size, but you can adjust it to fit any head size.
Pattern Instructions:
Row 1: Start in the 2nd chain from the hook, work 1 HDC into each chain across, turn your work, and CH 1. (You will have 67 HDC)
Rows 2-9: Continue with HDC in every stitch across for a total of 8 more rows, creating a thick band that will provide both warmth and elasticity. Remember to CH 1 at the end of each row before turning your work.
After you finish your ninth row, FO, and leave a long tail for sewing the ends together. This will form the base of your headband.
Visual Learners, Rejoice!
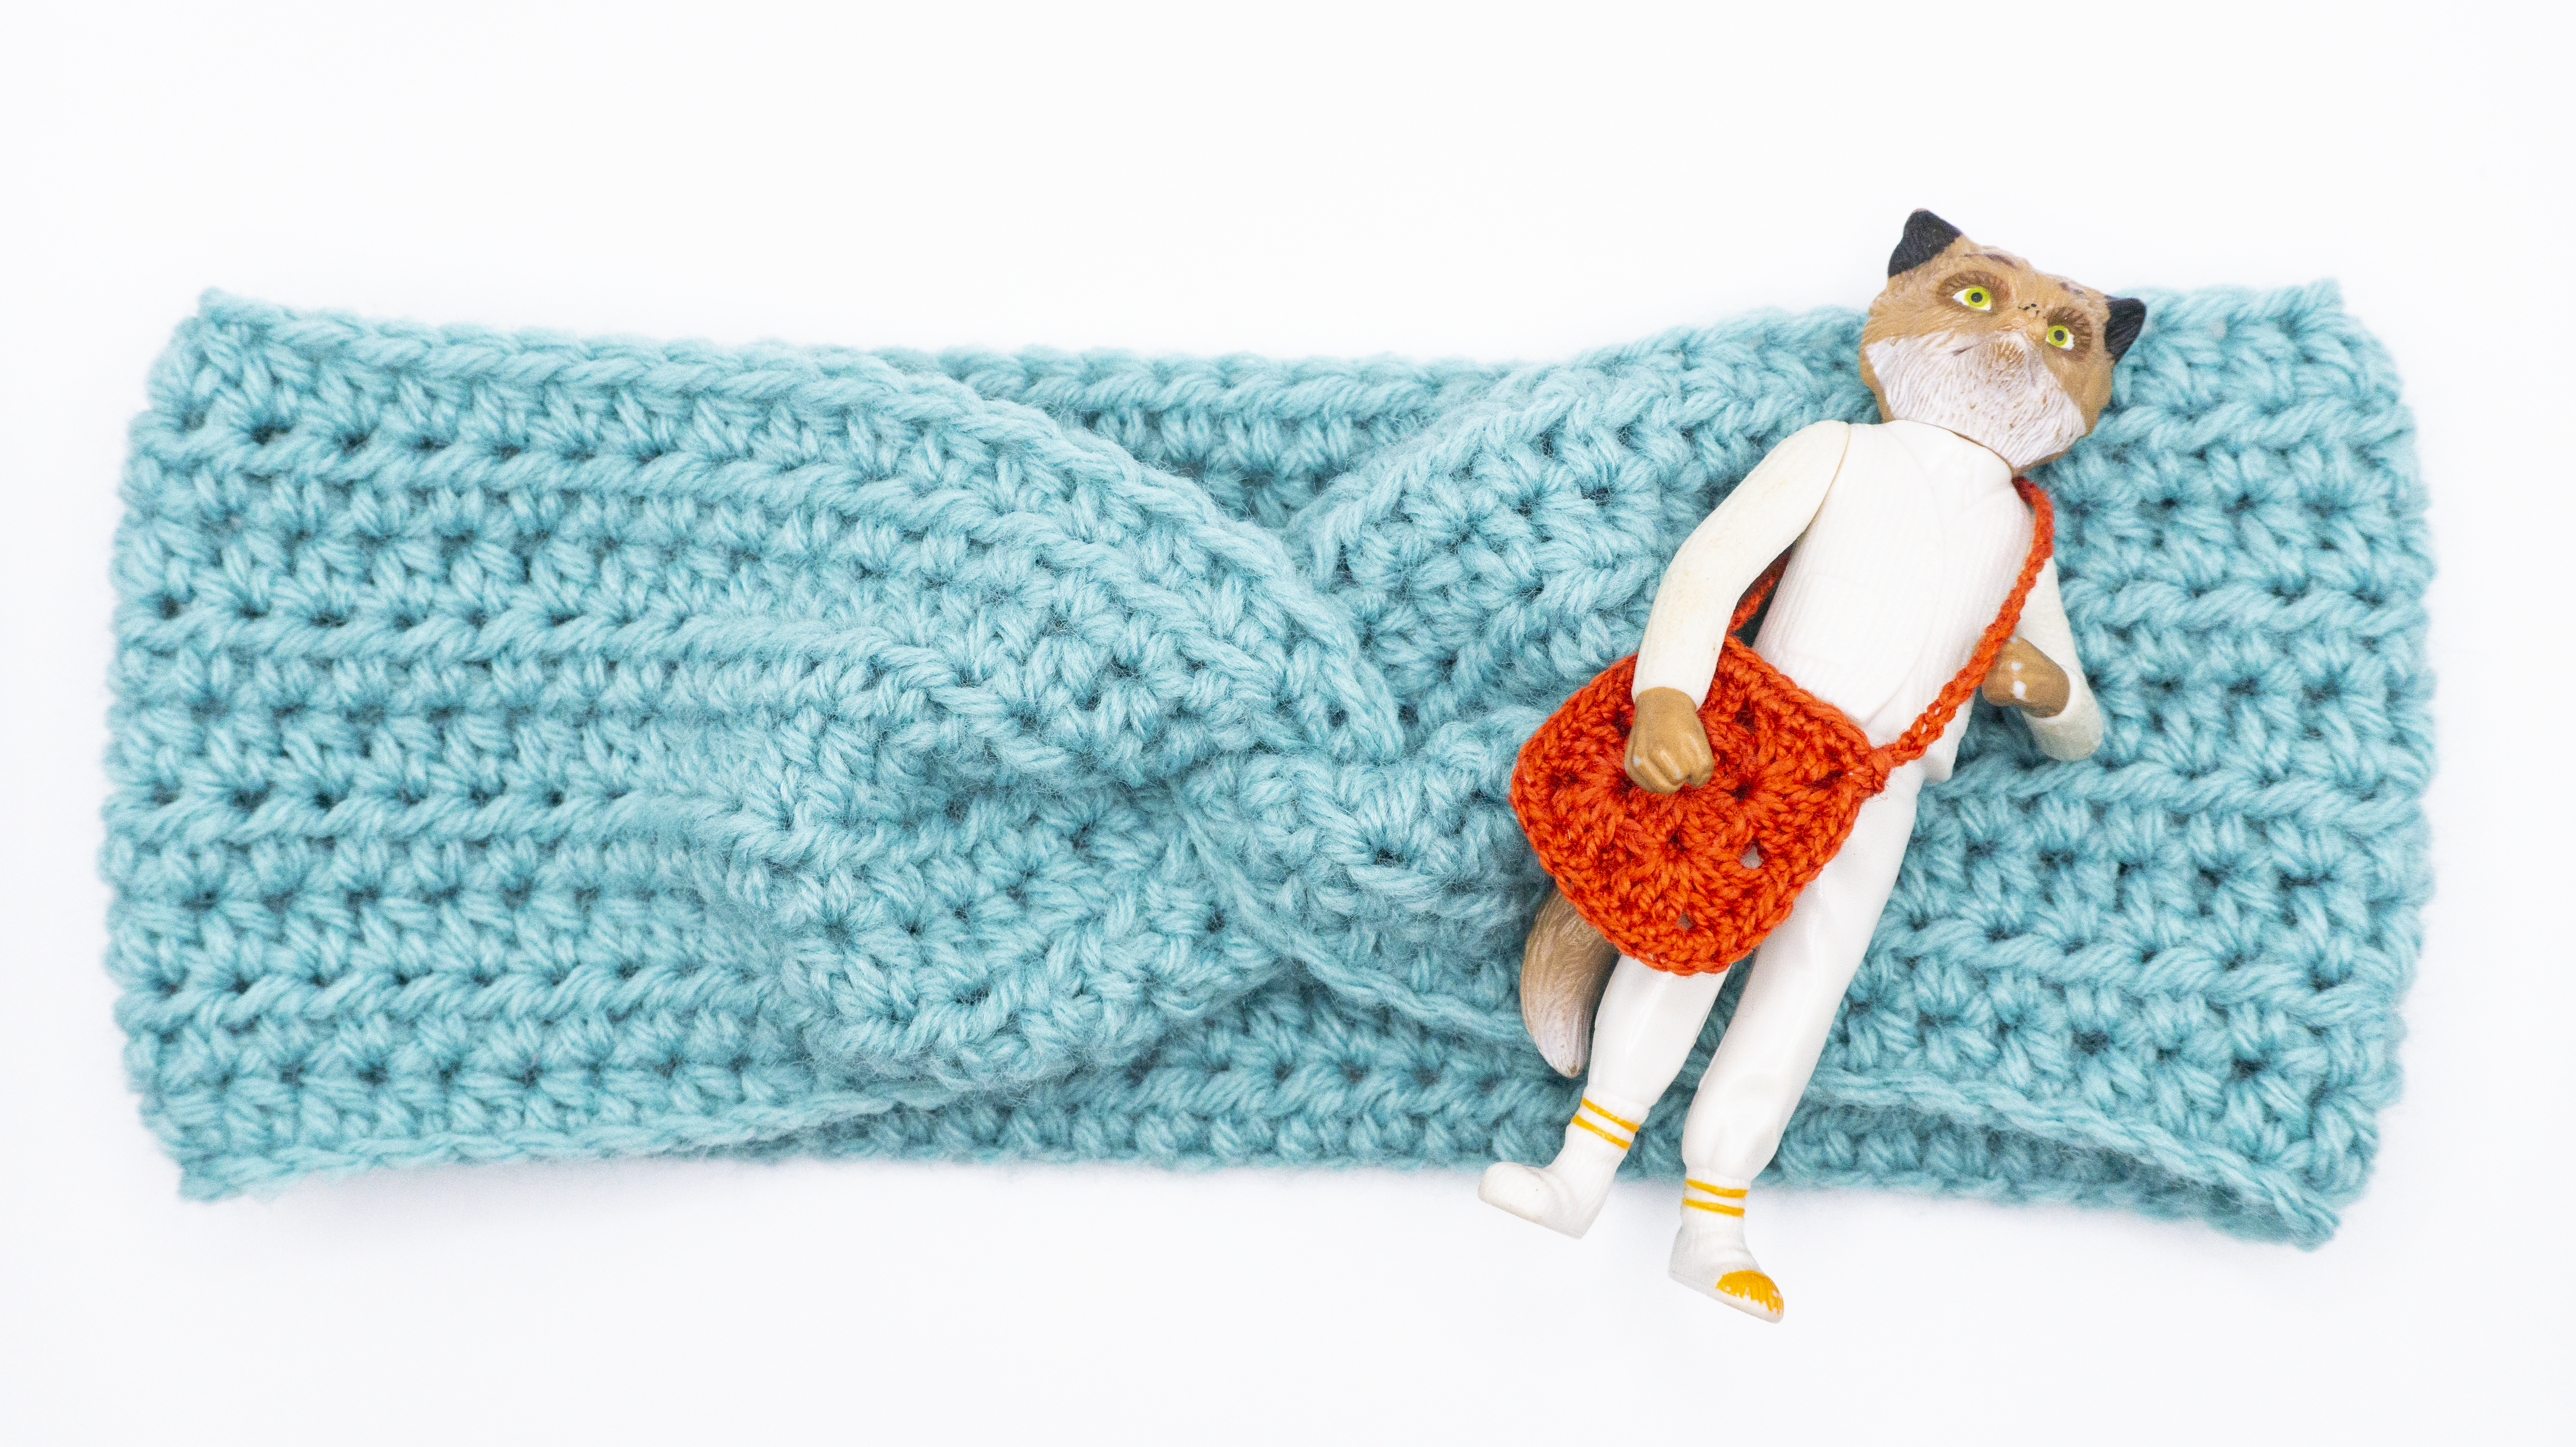
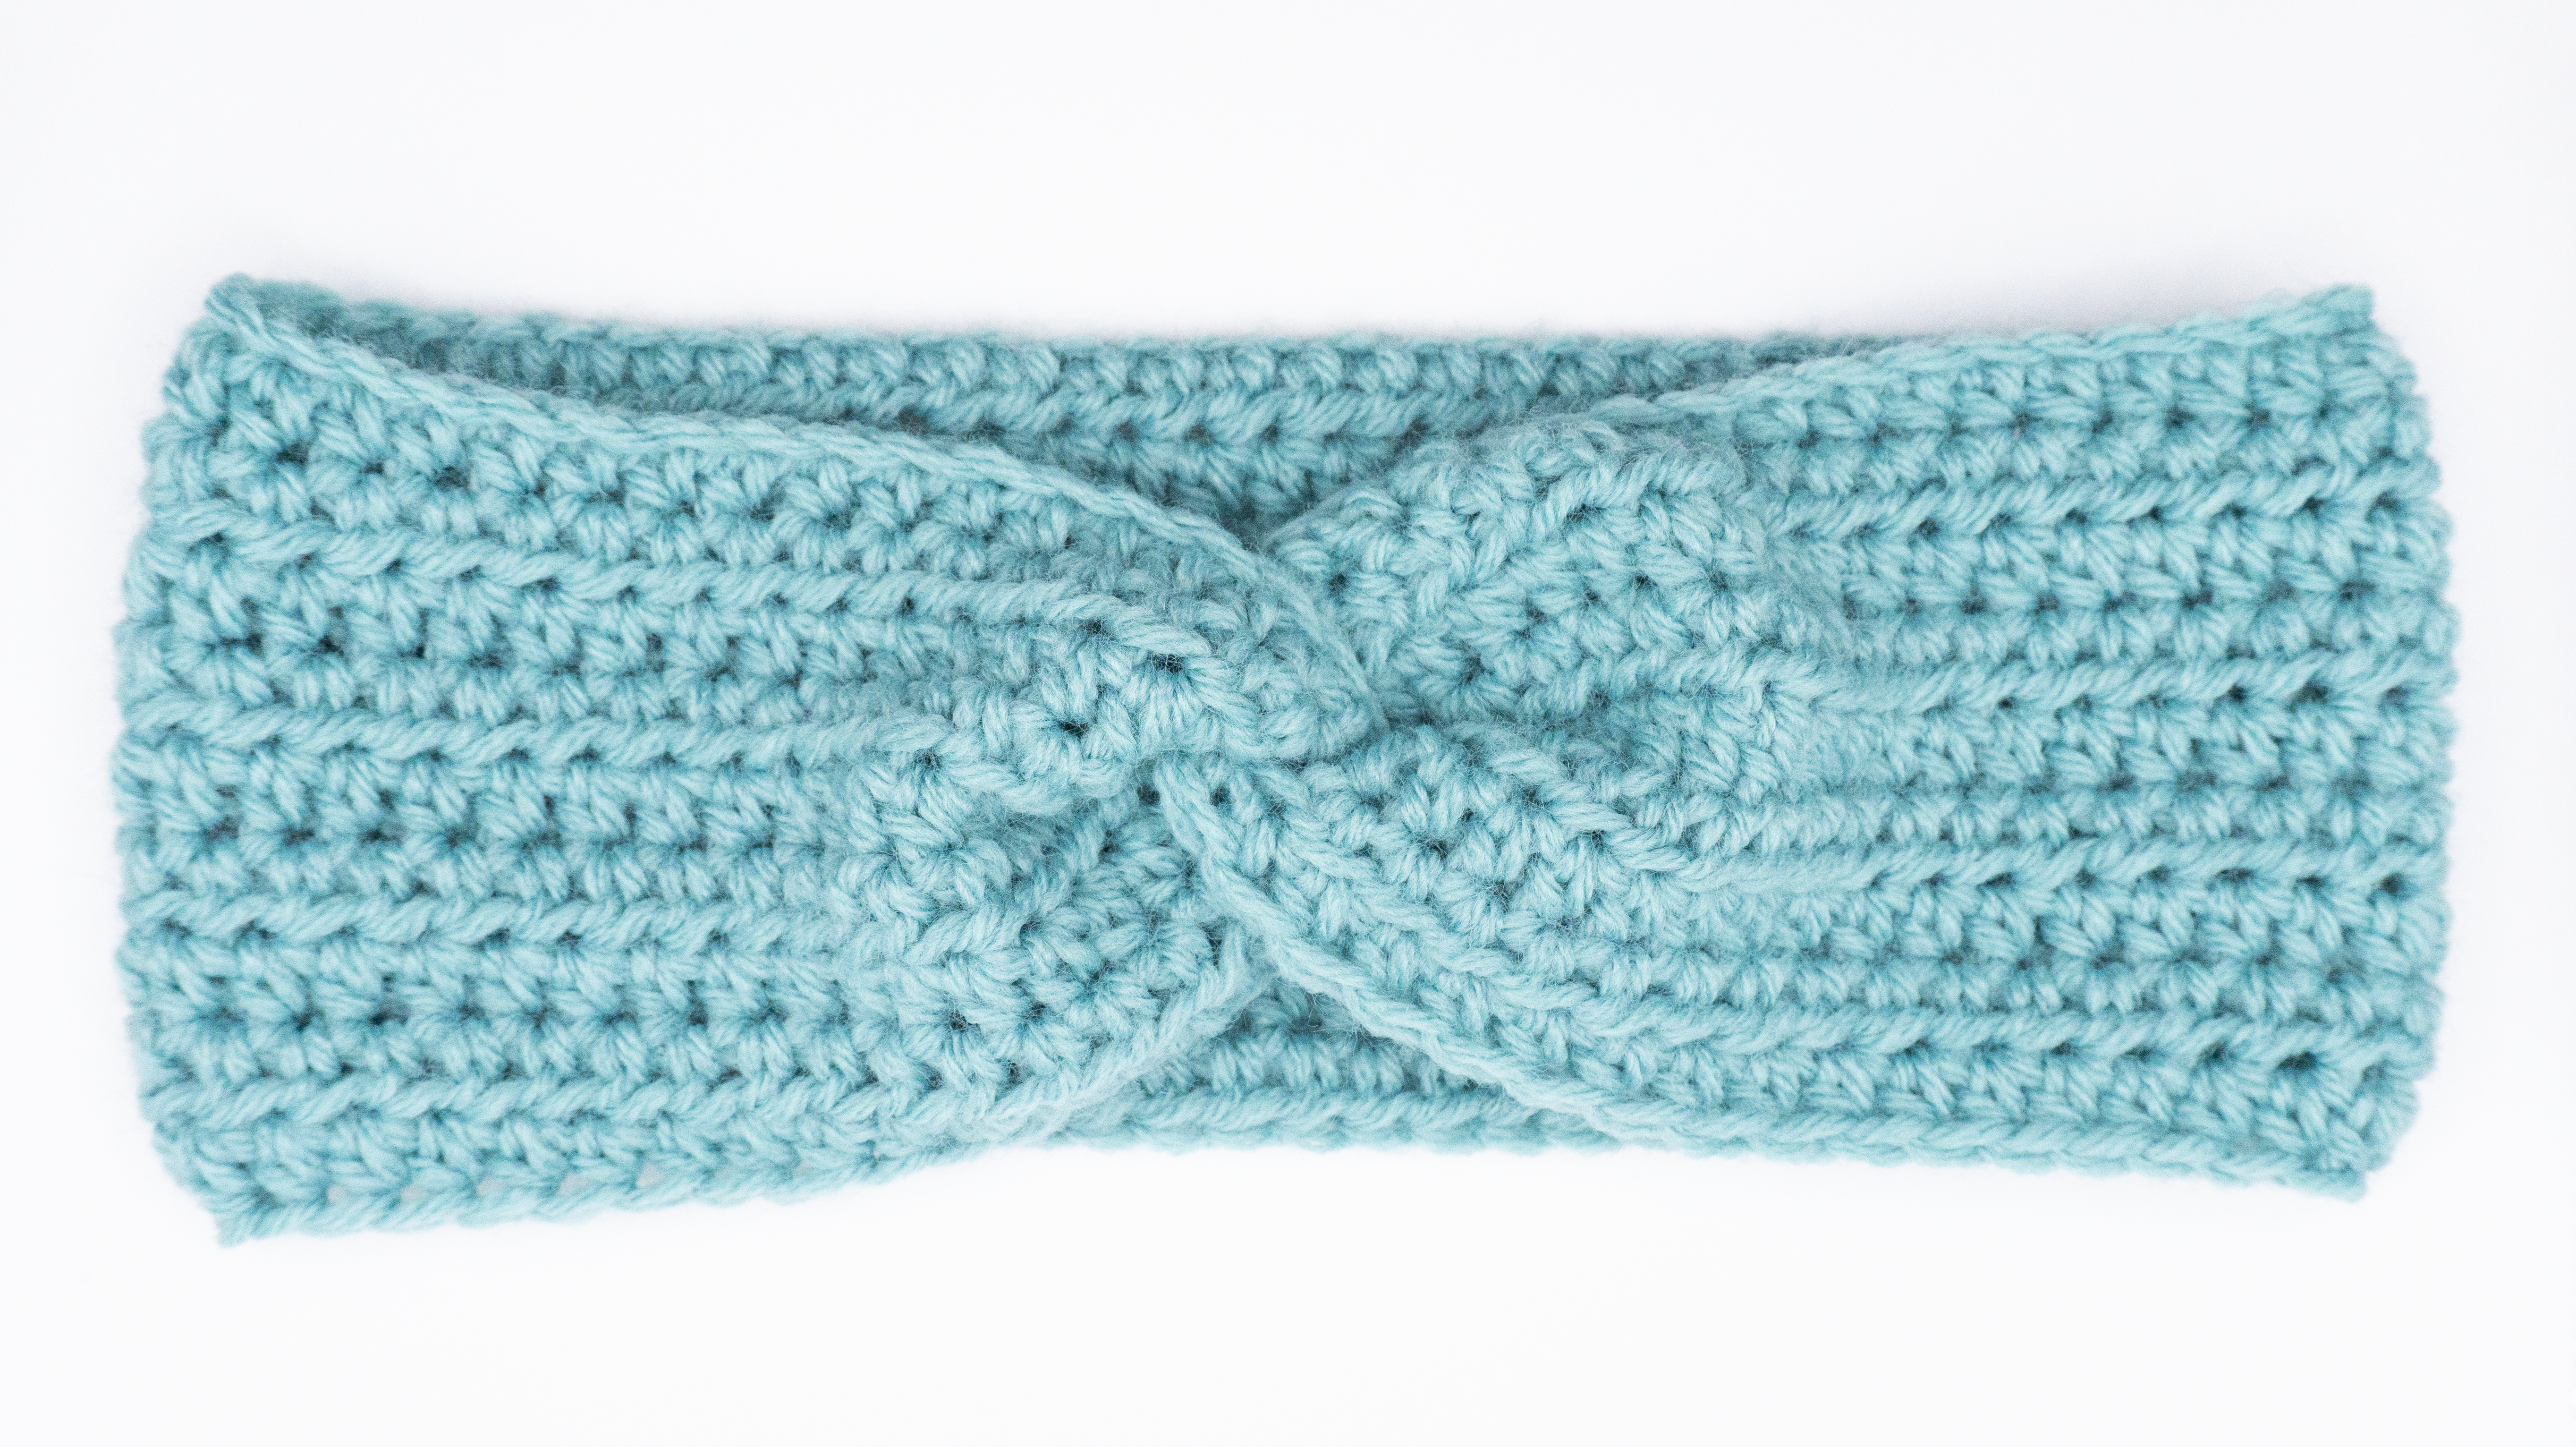
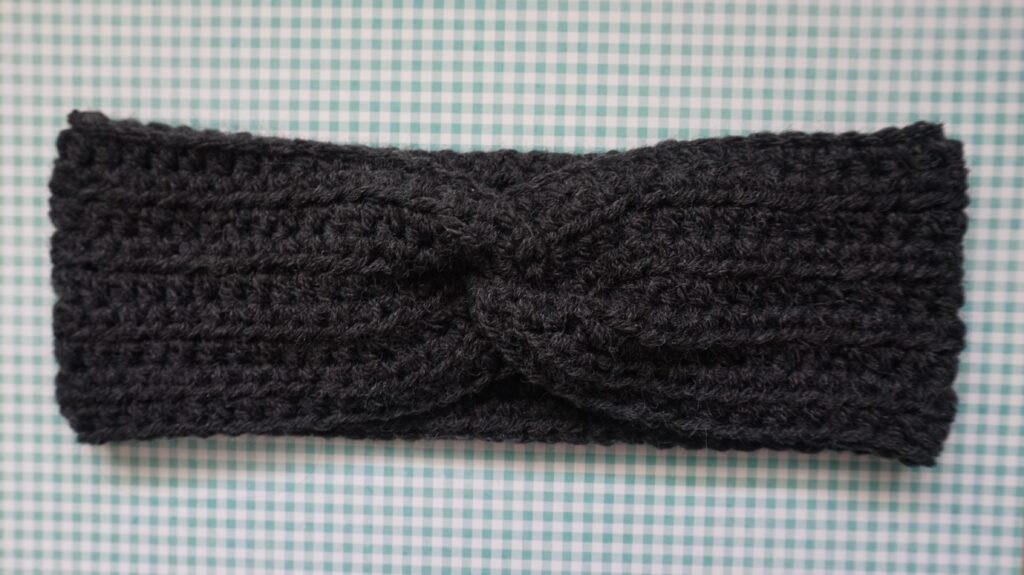
I understand that sometimes words on a page just aren’t enough. That’s why I’ve included a video tutorial below, showing you exactly how to sew the ends together to create a chic cross design. This not only secures your headband but adds a touch of elegance to the finished product.
Final Touches:
Your headband is nearly complete! All that’s left to do is to weave in the ends with your tapestry needle, snip off any excess yarn, and voila – you’ve crafted a beautiful headband.
It’s a Wrap!
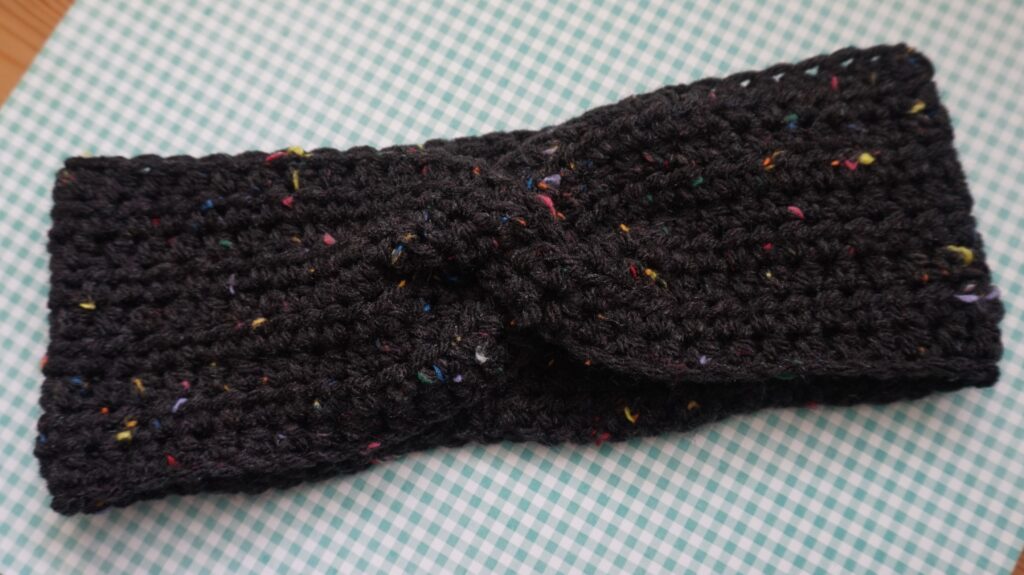
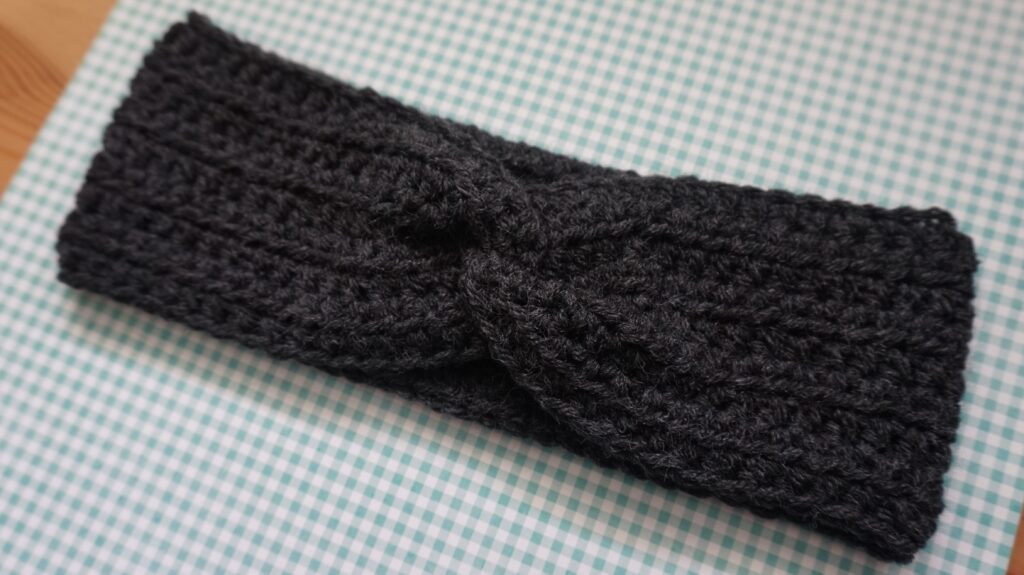
Your new crochet headband is ready to make its debut! It’s the ideal gift for birthdays, holidays, or just because. I always keep a few on hand for those times I need a quick and thoughtful present.
Share Your Craft
I’d love to see your creations! Share your completed headbands with me on [Insert Your Social Media Handles]. Use the hashtag #CraftyHeadbandLove so we can all admire your work


3 Comments
Pingback:
Pingback:
Pingback: