
Cute Egg and Tulip Applique Crochet Pattern – Spring Bunting
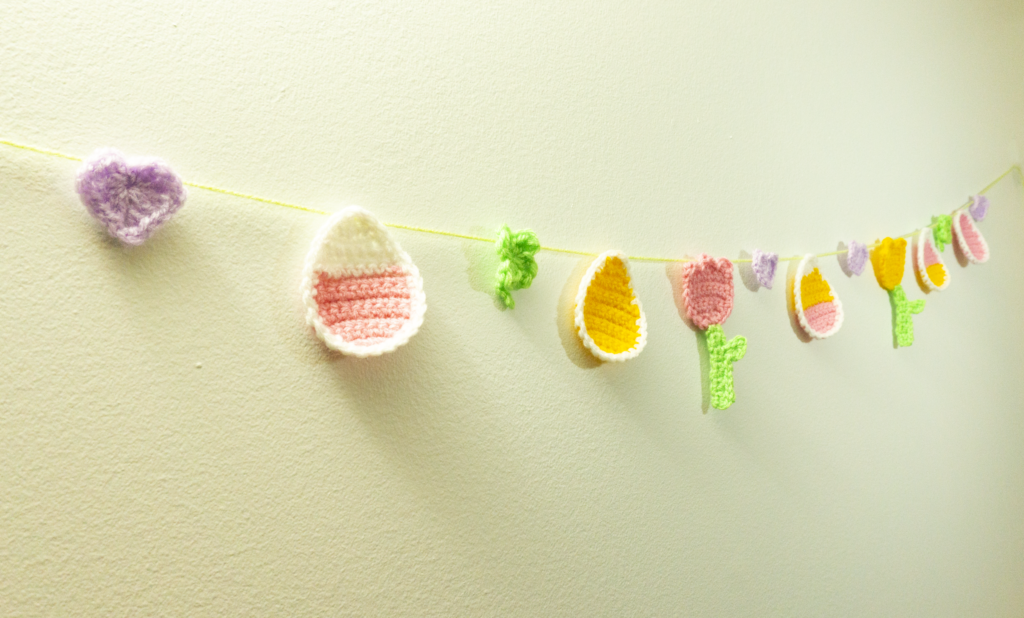
Table of Contents
Hello!
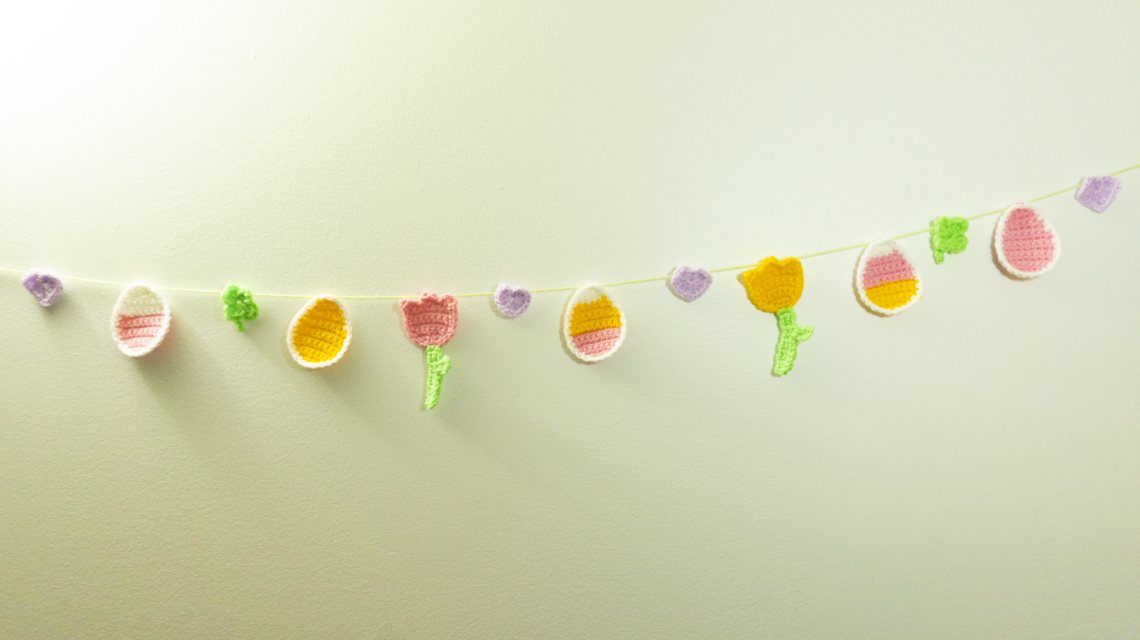
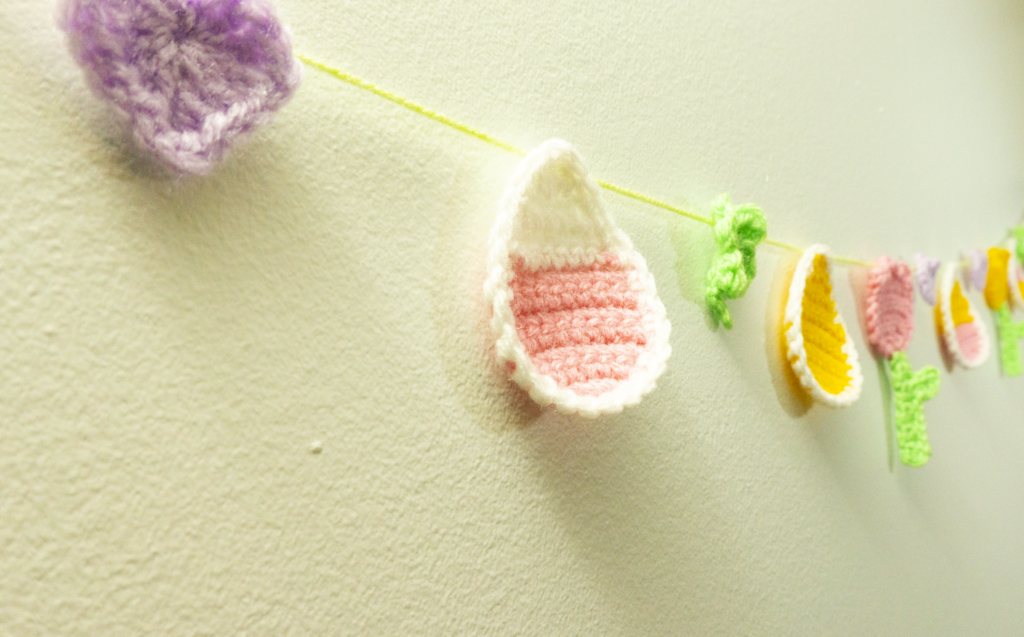
The other day I shared this cute spring bunting on my Instagram account and I said I would share the pattern with you all soon! Since I said, I should really keep my promise hehe so here is the pattern for the cute Egg and Tulip Applique! You can find the Heart and Four Leaf Clover pattern on my blog too! Just click the links or head over to the Crochet section in my site menu. The Hearts are part of my Love Messages Wall Hang pattern that I made for Valentine’s Day/Any Day of the year.
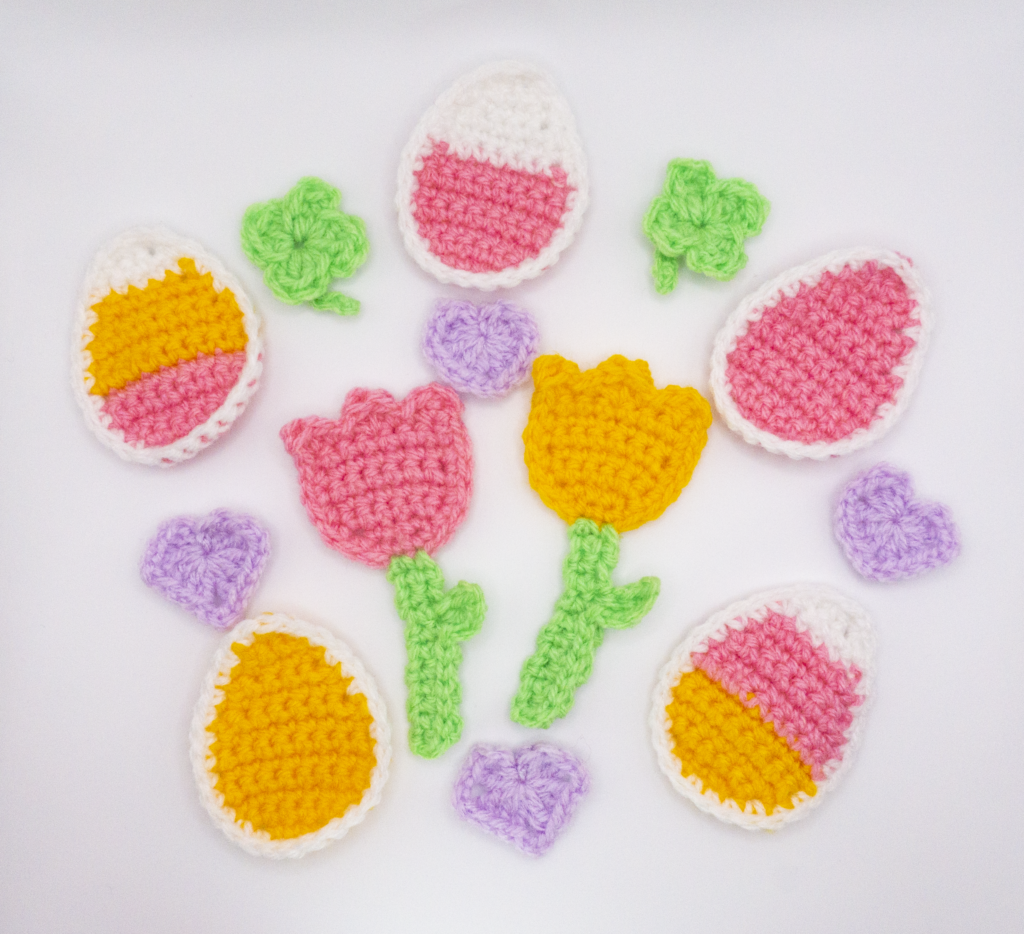
This post will feature the cute Egg and Tulip Applique. I have just used a few colours, but you can change it up and have them be any colour/colours you want! For this pattern I used Paton Astra yarn, which I find very easy to use, but you can use any DK yarn you have on hand. Let’s get started!
Note: Some of the items on my blog have affiliate links where I earn a small percentage from the purchase of the item. Thank you for your support!
Materials: Cute Egg and Tulip Applique
- 3.25 mm (D) Hook
- DK Yarn (I used Paton Astra)
- Scrap Yarn for sewing all your pieces into a bunting
- Scissors
- Tapestry Needle
Abbreviations: US Terms
| ST(s) – Stitch(es) | SLST – Slip Stitch | FO – Finish Off |
| DC – Double Crochet | CH – Chain | SC – Single Crochet |
| TRBL – Treble Crochet | SC2TOG- Single Crochet Two Stitches Together |
Pattern: Cute Egg and Tulip Applique
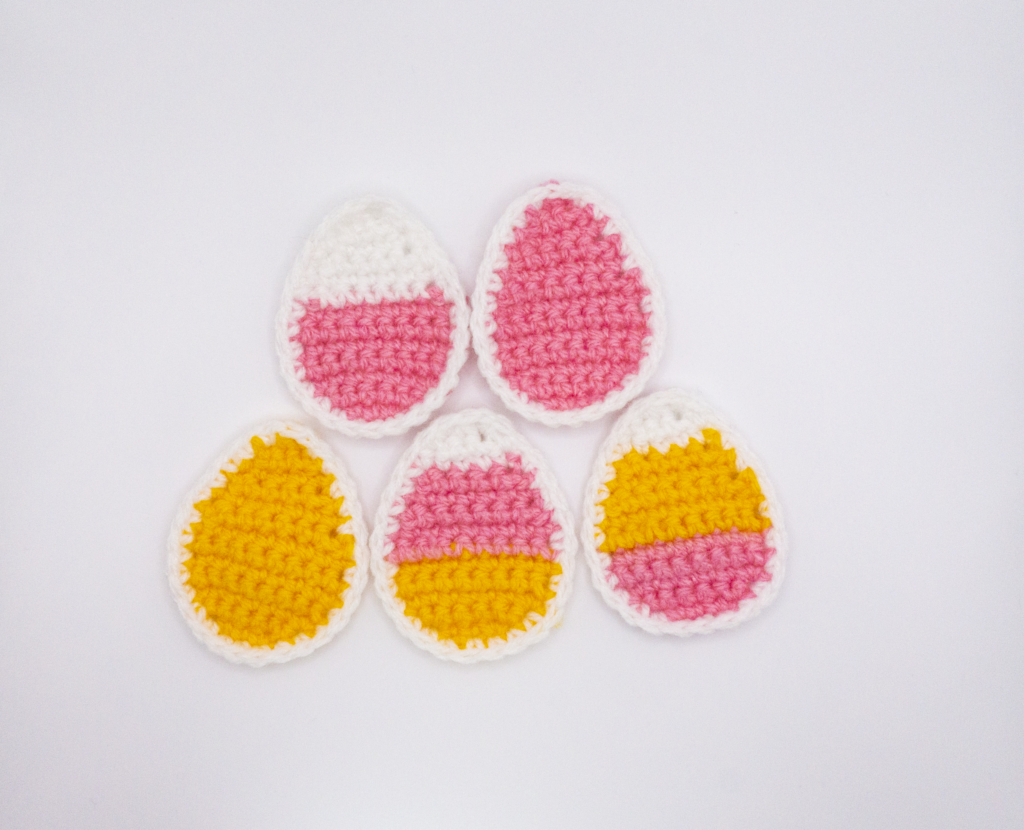
Egg Applique
Chain 4.
Row 1: In 2nd ST from hook do 2 SC, 1 SC in next, 2 SC in last. Turn. (5)
Row 2: CH 1. 2 SC in first, 1 SC in next 3 STs, 2 SC in last. Turn. (7)
Row 3: CH 1. 2 SC in first, 1 SC in next 5 STs, 2 SC in last. Turn. (9)
Row 4 – 5: CH 1. 1 SC in each Turn. (9)
Colour change (you can do your colour changes whenever you would like)
Row 6 – 7: CH 1. 1 SC in each. Turn. (9)
Row 8: CH 1. SC2TOG, 1 in next 5, SC2TOG. Turn. (7)
Row 9: CH 1. 1 SC in each. Turn. (7)
Row 10: CH 1. SC2TOG, 1 in next 3, SC2TOG. Turn. (5)
Colour change (you can do your colour changes whenever you would like)
Row 11: CH 1. SC in each. Turn. (5)
Row 12: CH 1. SC2TOG, 1 in next 3, SC2TOG. Turn. (3)
Row 13: CH 1. SC3TOG. CH 1. (1)
For border: Continue with SC all around the egg (28). FO with invisible FO.
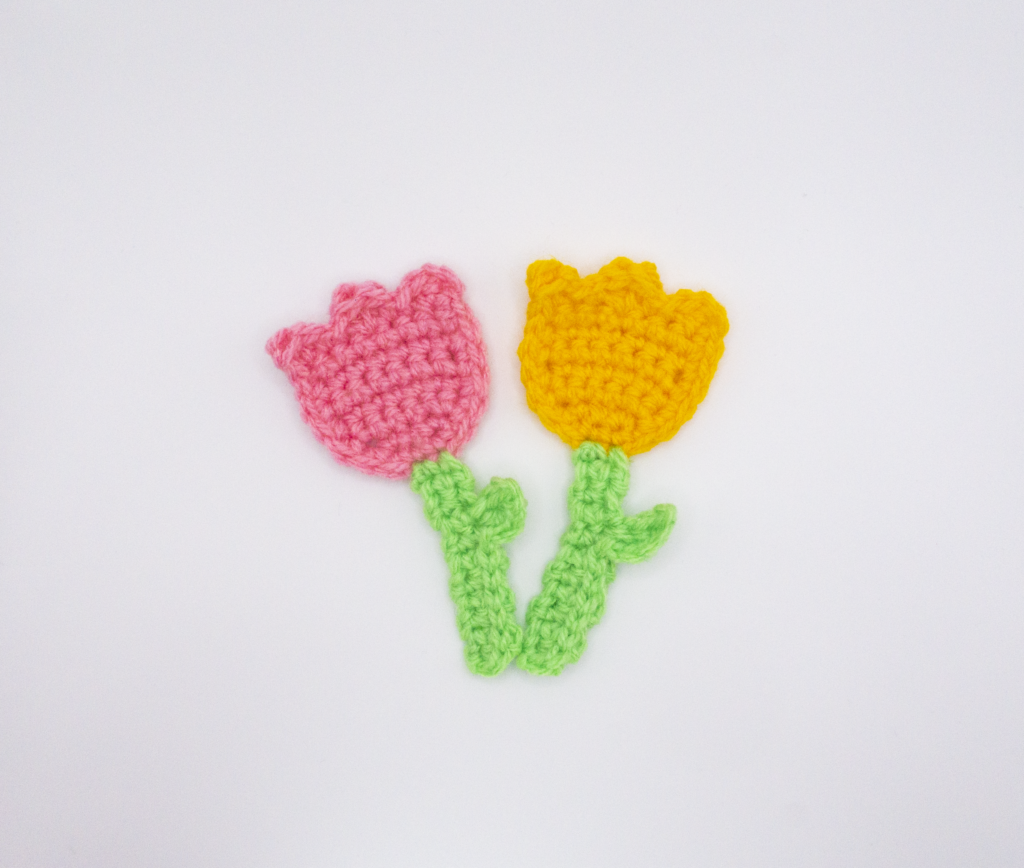
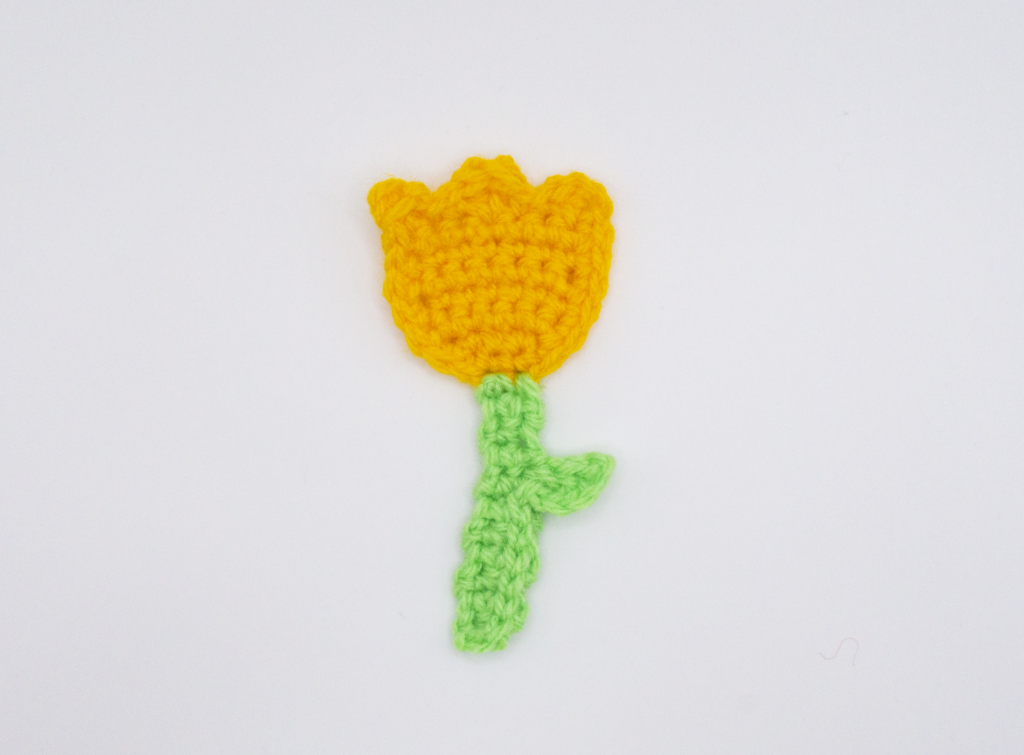
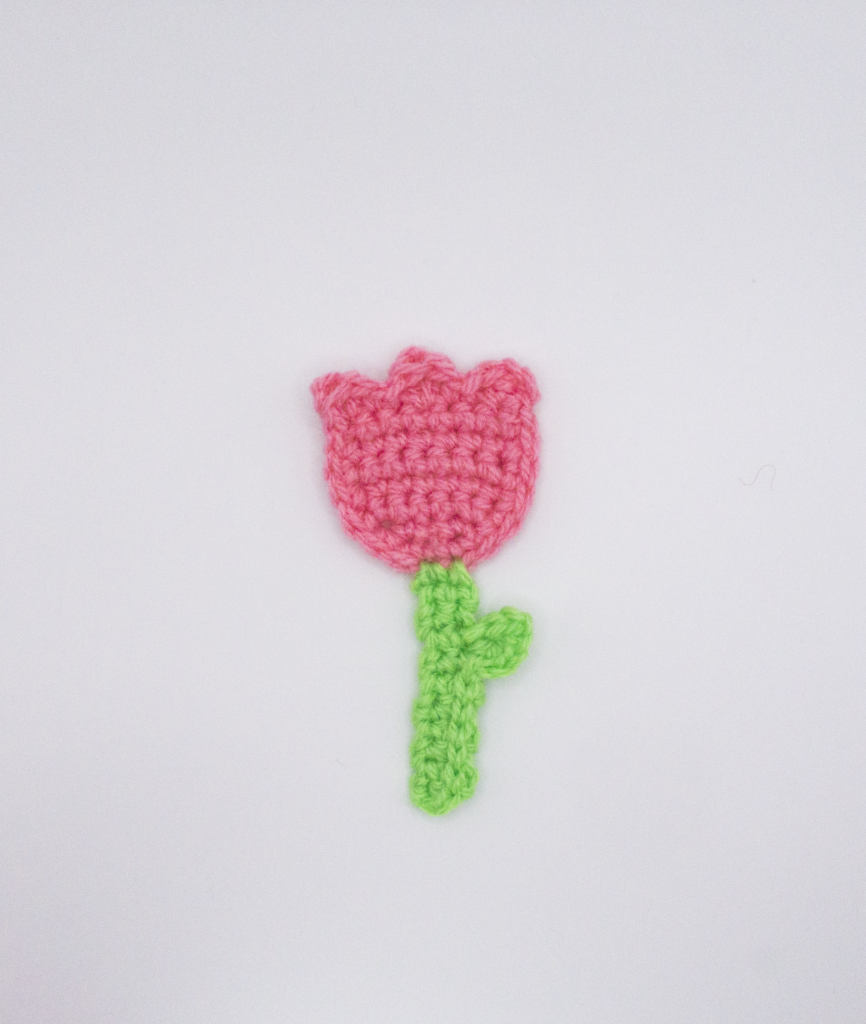
Tulip Applique
Chain 4.
Row 1: In 2nd ST from hook do 2 SC, 1 SC in next, 2 SC in last. Turn. (5)
Row 2: CH 1. 2 SC in first, 1 SC in next 3 STs, 2 SC in last. Turn. (7)
Row 3 – 6: CH 1. 1 SC in each. Turn. (7)
Row 7: CH 3, DC in same, SLST in next. SC in next. 2 TRBL in next. SC in next. SLST in next. (DC, TRBL, SLST) in last ST.)
Border (not including top petals): SC around bottom half of flower (14). FO with invisible FO.
Stem
Attach green into 7th SC of the border, counting from the left petal side with RS facing you.
Row 1: SC in 7th and 8th SC. Turn (2)
Row 2 -10: CH 1. SC in each. Turn. (2)
Row 11: CH 1. SC2TOG. (1) Do not FO.
Leaf
SLST up 7 rows (including Row 11) right edge of stem. CH 5. SLST in 2nd Chain from hook. TRBL in 7th row space. SLST into 7th row space. FO.
Video Tutorial for Tulip Applique:
Video Tutorial for Easter Egg Applique:
I love looking at all the bright spring colours! You can change when you do the colour changes for the eggs or you can just do them all one colour to add even more variety to your cute egg and tulip appliques.
Leave a comment below if you have any questions!
Happy Stitching!
Jessica
Pattern for personal use only. Feel free to sell the completed Crochet Cute Egg and Tulip Applique though! Please link back to my blog or my channel.
#jesscrafting


6 Comments
Pingback:
Pingback:
Pingback:
Pingback:
Pingback:
Pingback: