
Bernat Blanket Yarn and Lion Brand Wool Ease Thick and Quick Yarn Bath/Kitchen Mat Free Crochet Pattern
Hi Everyone!
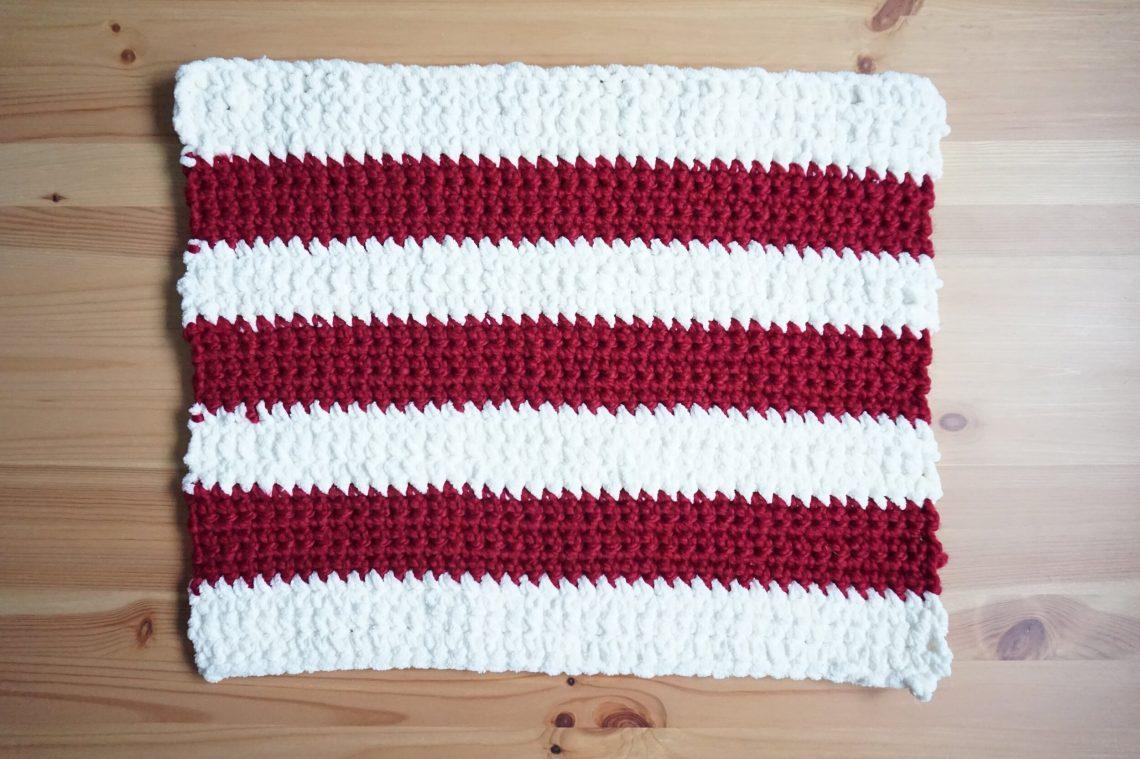
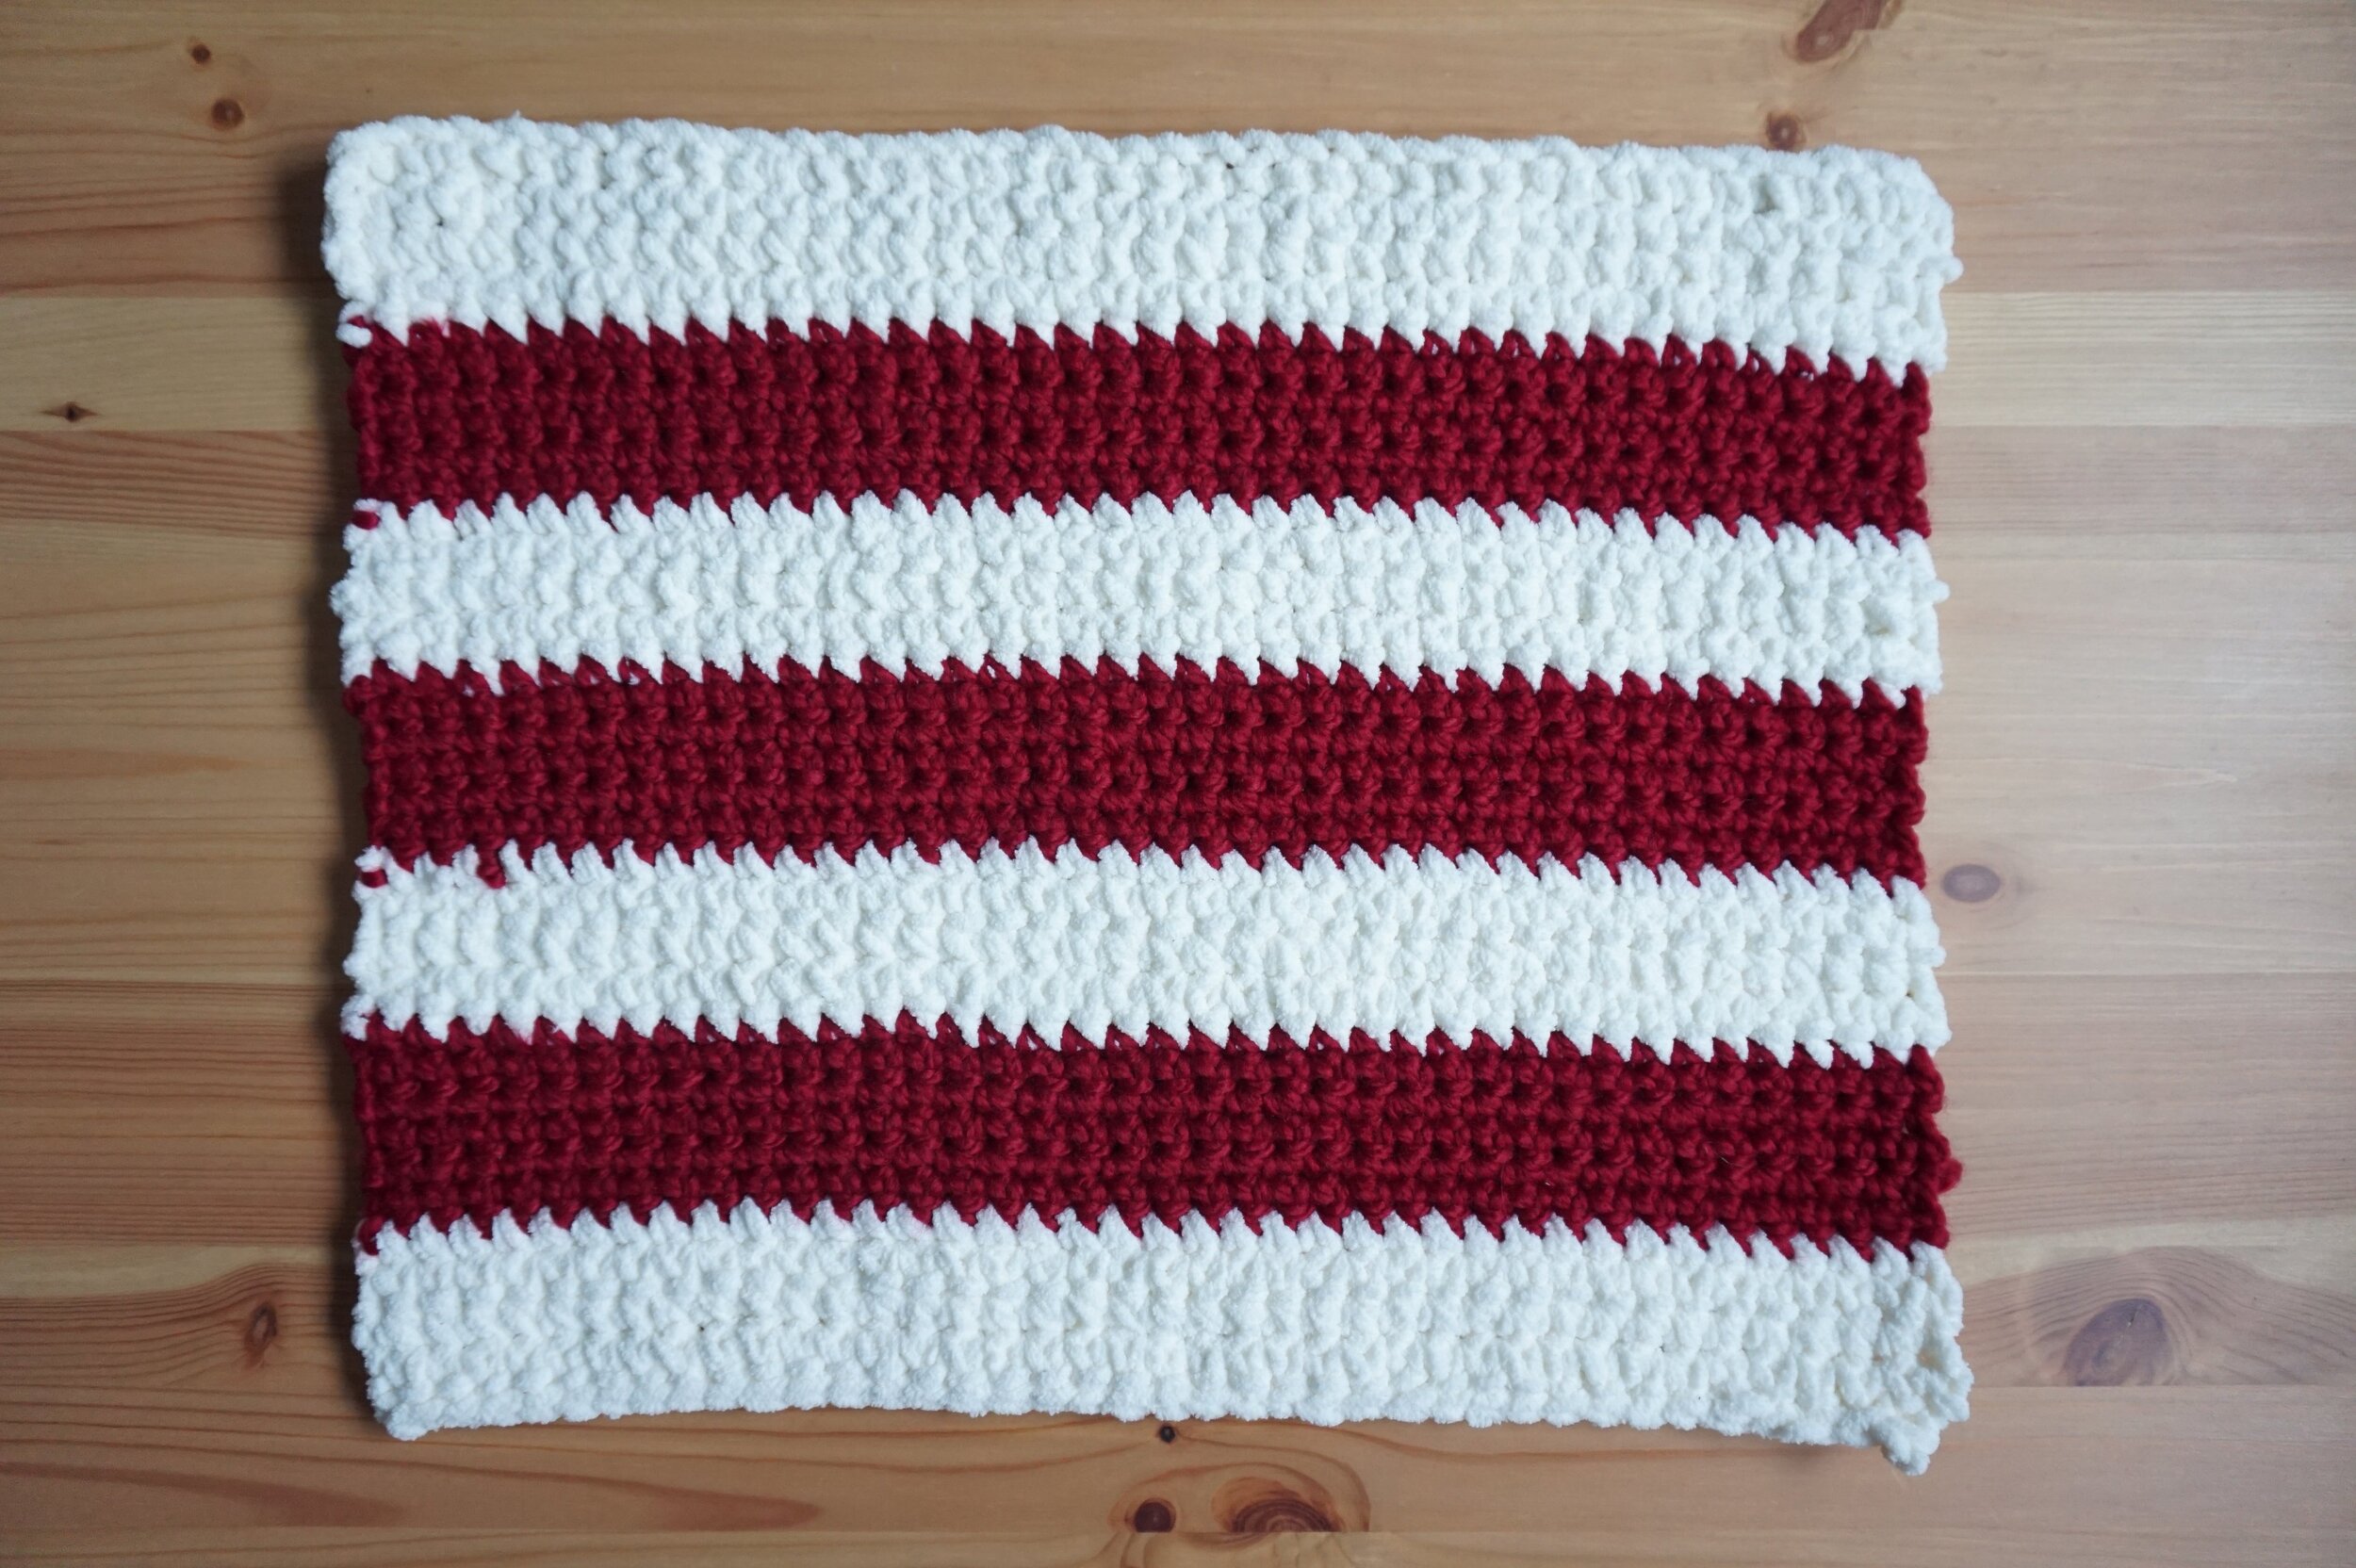
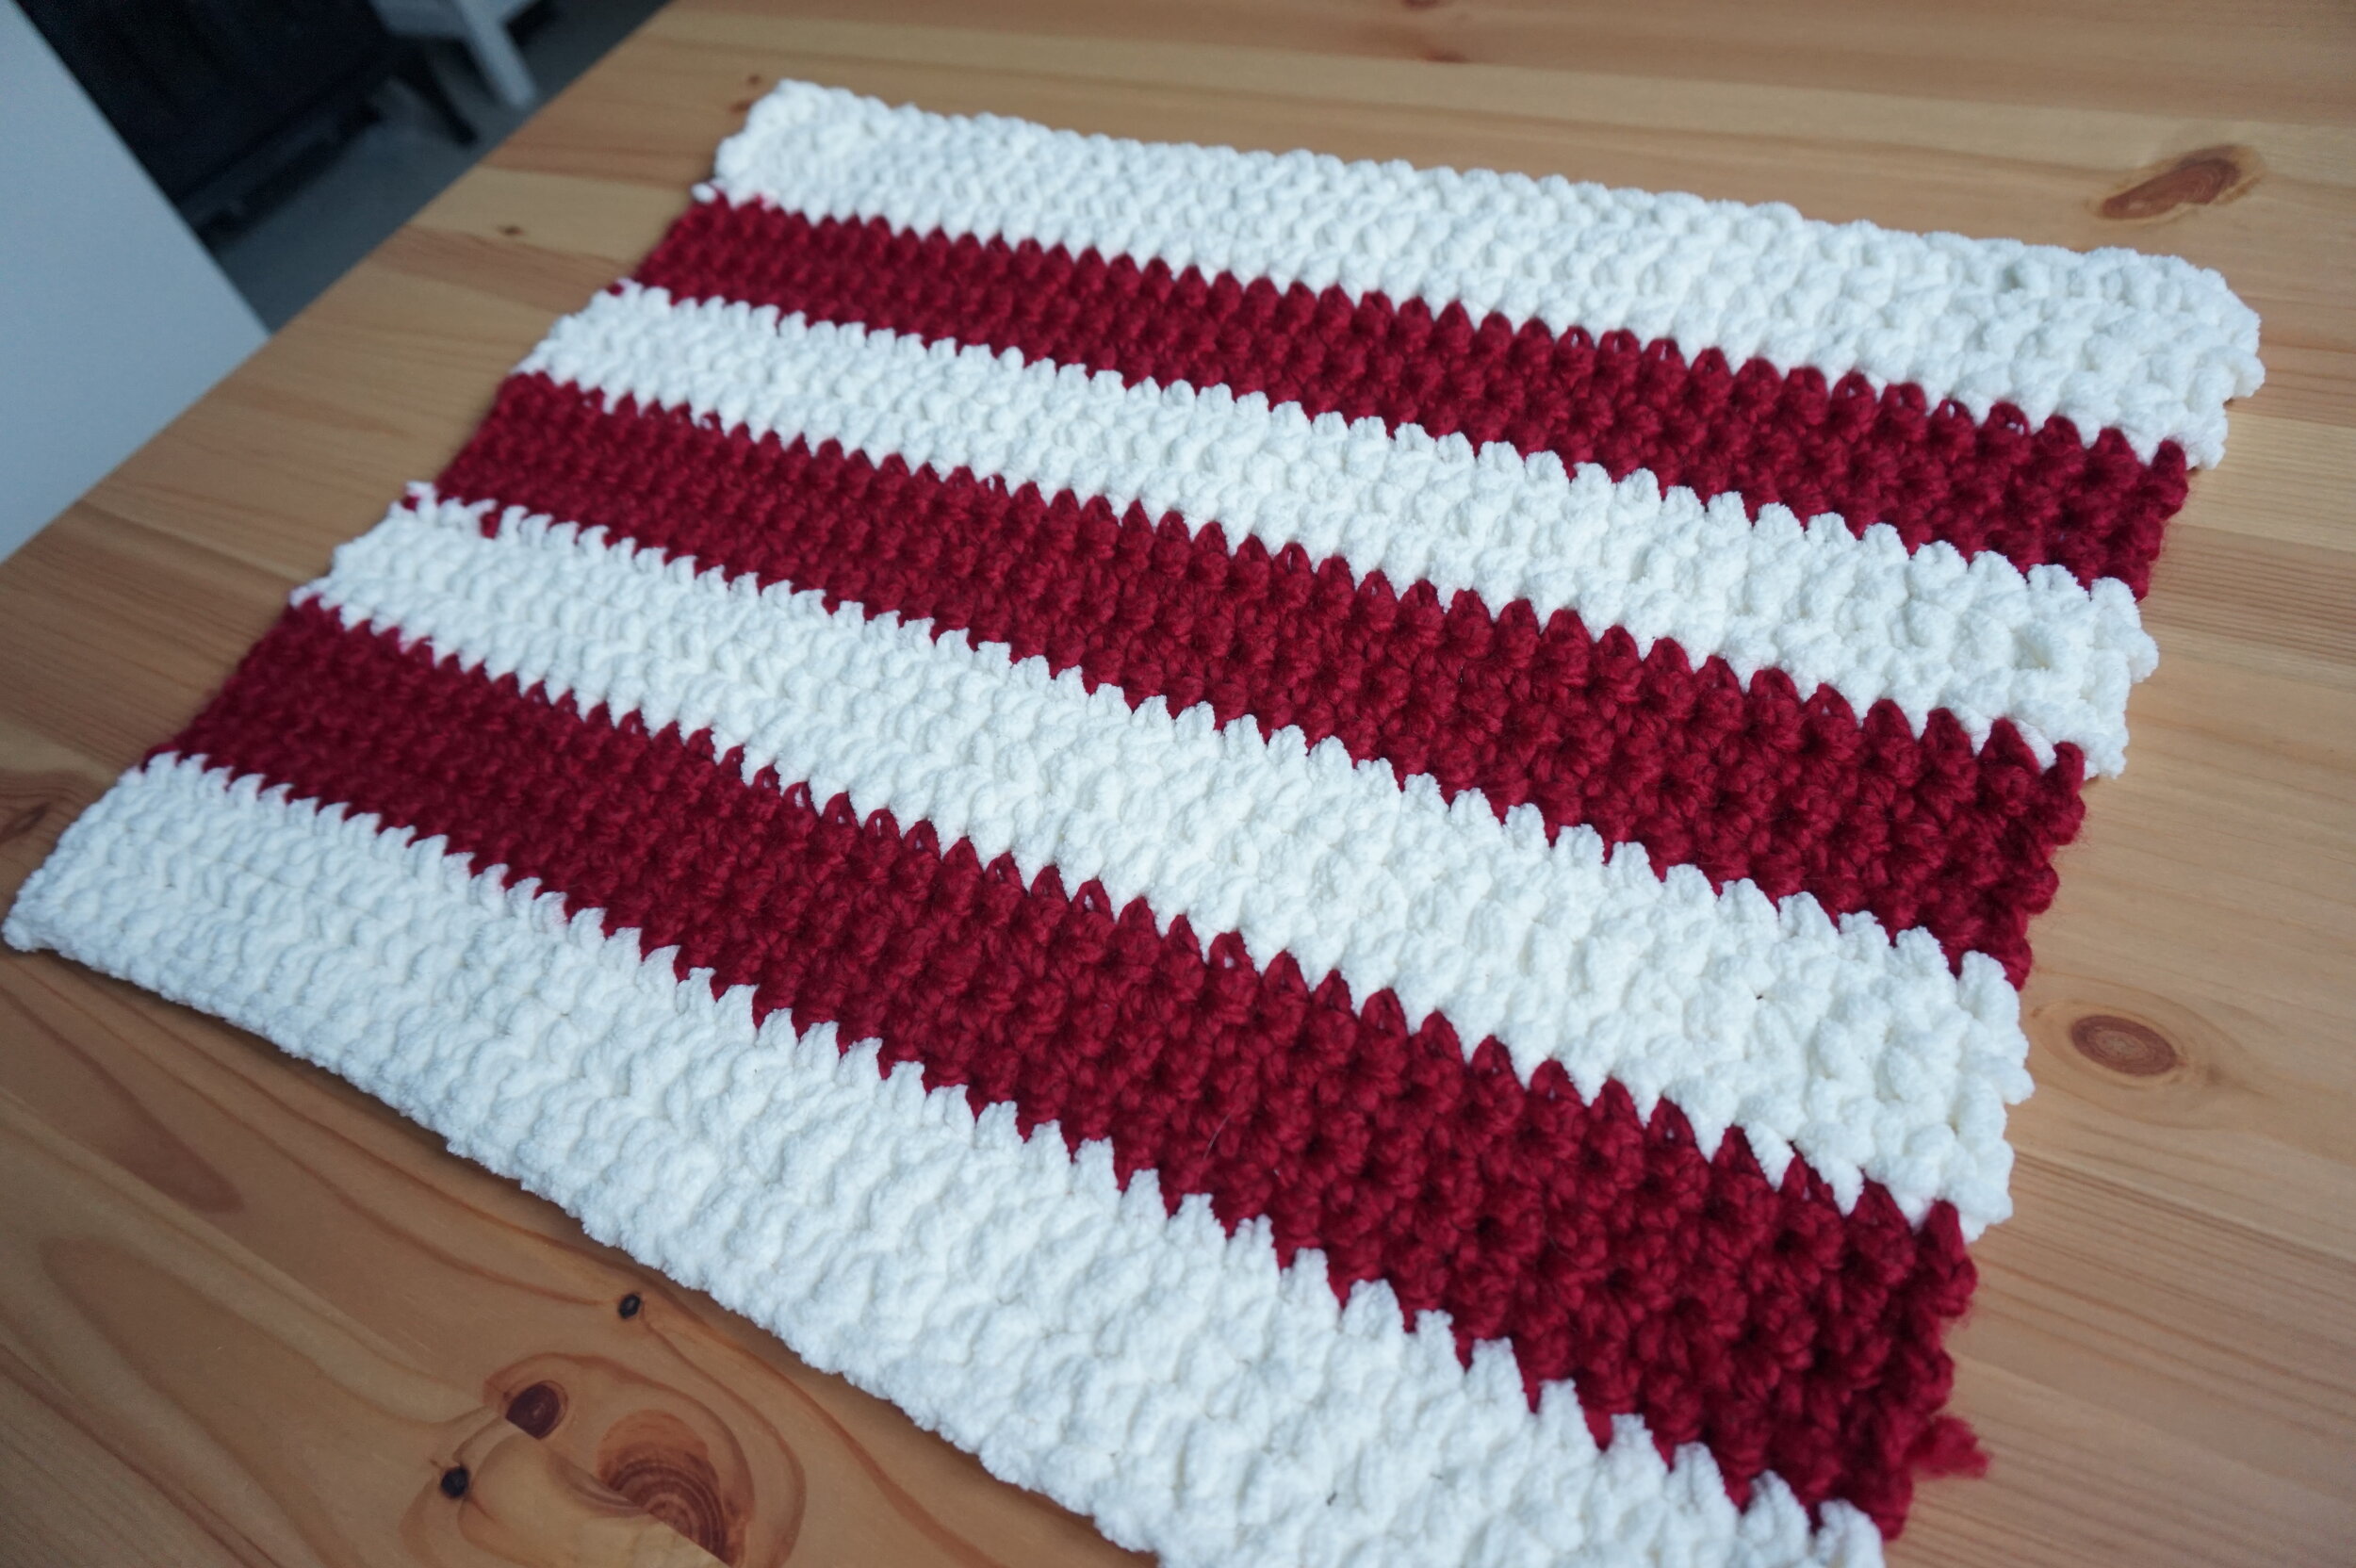
I realized the other day that we do not have a kitchen mat for our kitchen and I had quite a bit of leftover Bernat Blanket Yarn and Lion Brand Wool Ease Thick and Quick Yarn so I decided to use the leftovers for a soft and absorbent mat. You can use any super bulky yarn you have to make this and mix and match colours to create your own personal kitchen mat.
Abbreviations
SC – Single Crochet
CH – Chain
SLST – Slip Stitch
FO – Finish off
*Example of colour change
Materials
Super Bulky Yarn (6) in two colours if you would like a contrasting mat (Colours A and B)
10.00 mm (N) Hook
Scissors
Tapestry Needle
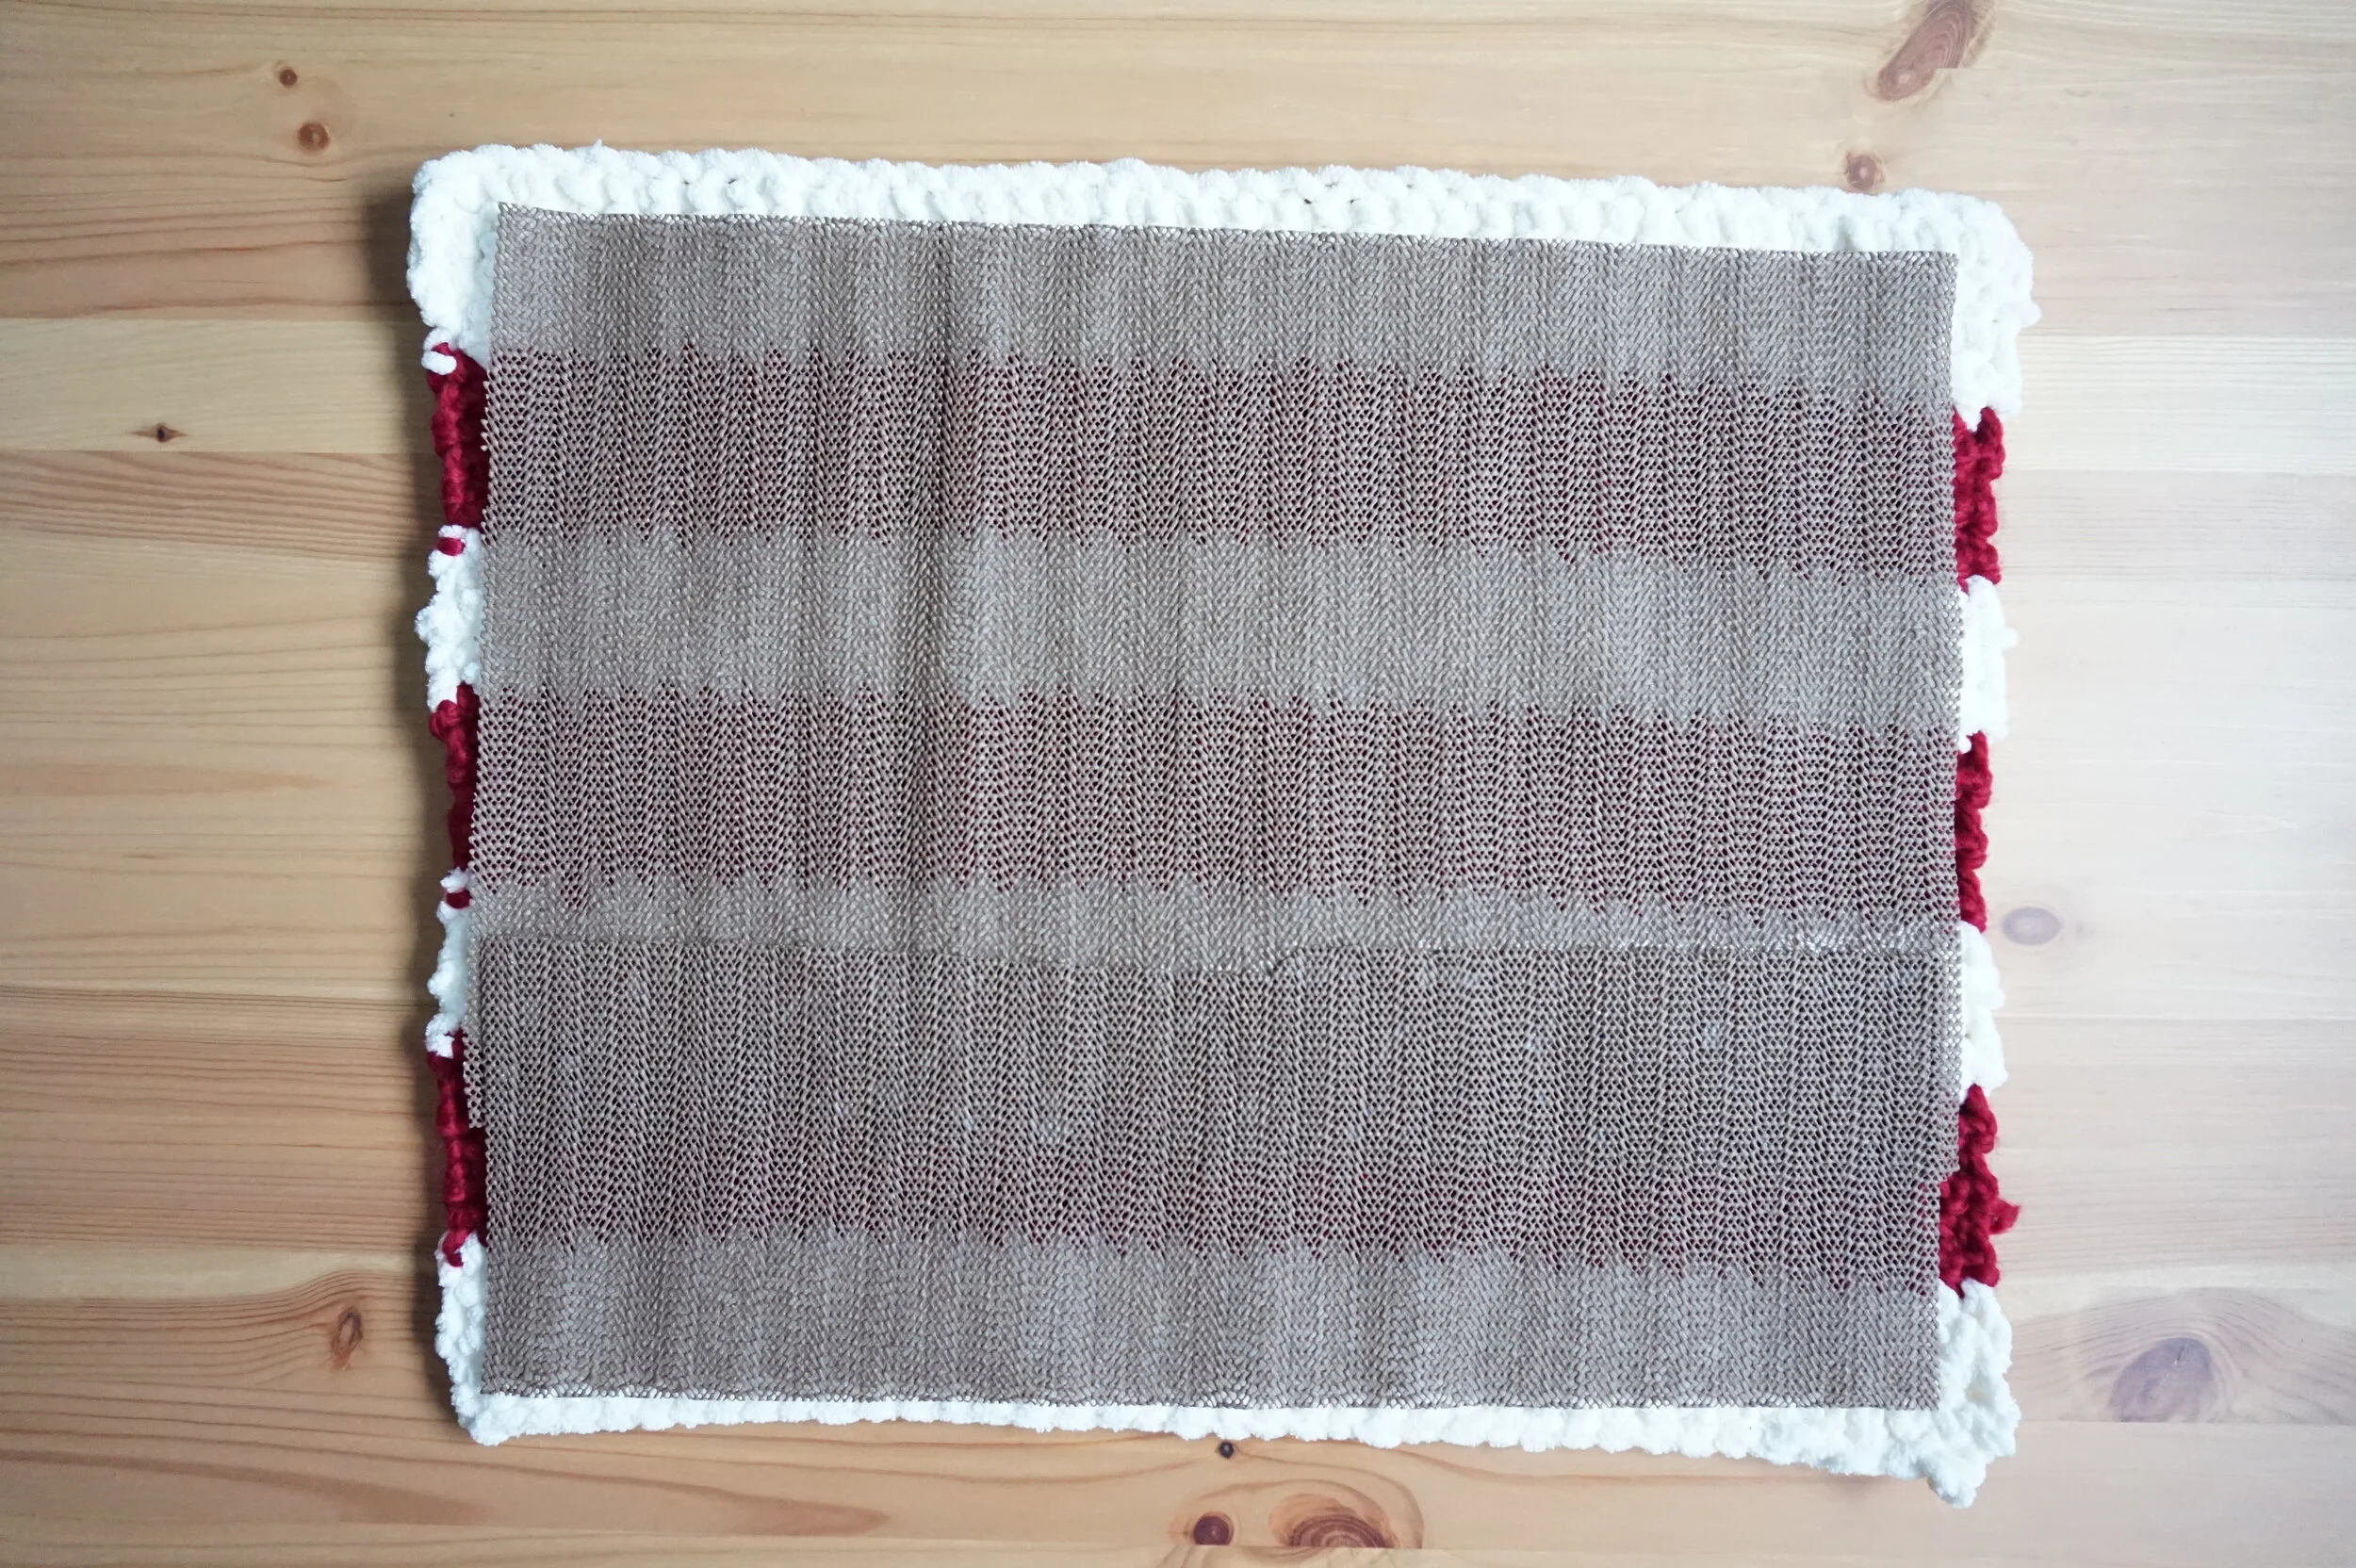
Non Slip Drawer Liner (Optional)
Pattern
Begin in colour A
CH 40.
Row 1: Turn. SC in 2nd chain from the hook and till end. Turn. CH 1. (39)
Row 2 – 3: SC in each ST across. Turn. CH 1. (39)
Row 4: SC in each ST across until you get to the last stitch. *Change to colour B. Turn. CH 1. (39)
Row 5 – 9: SC in each ST across. Turn. CH 1. (39)
Row 10: SC in each ST across until you get to the last stitch. *Change to colour A. Turn. CH 1. (39)
Row 11 – 13: SC in each ST across. Turn. CH 1. (39)
Row 14: SC in each ST across until you get to the last stitch. *Change to colour B. Turn. CH 1. (39)
Row 15 – 19: SC in each ST across. Turn. CH 1. (39)
Row 20: SC in each ST across until you get to the last stitch. *Change to colour A. Turn. CH 1. (39)
Row 21 – 23: SC in each ST across. Turn. CH 1. (39)
Row 24: SC in each ST across until you get to the last stitch. *Change to colour B. Turn. CH 1. (39)
Row 25 – 29: SC in each ST across. Turn. CH 1. (39)
Row 30: SC in each ST across until you get to the last stitch. *Change to colour A. Turn. CH 1. (39)
Row 31 – 33: SC in each ST across. Turn. CH 1. (39)
Row 34: SLST in each ST across until you get to the last stitch. SLST twice in the last stitch. (39)
FO. Weave in ends.
The next step is optional, but if you have tile or laminate floors (or anything that is slippery) you might want to put a non slip drawer liner on the bottom of the mat to keep it from sliding around. You can also try using caulking or hot glue on the bottom of the mat as well to find out what works best for your floors. 🙂
Once you have finished your mat, you can enjoy standing on a nice and soft mat while you are at your kitchen sink or after a nice long relaxing bath or shower.
If you have any questions, please feel free to leave a comment below!
Happy Crafting!
Take care,
Jessica

