
Ten Things I Learned from Knitting my First Sweater
Hi Everyone!
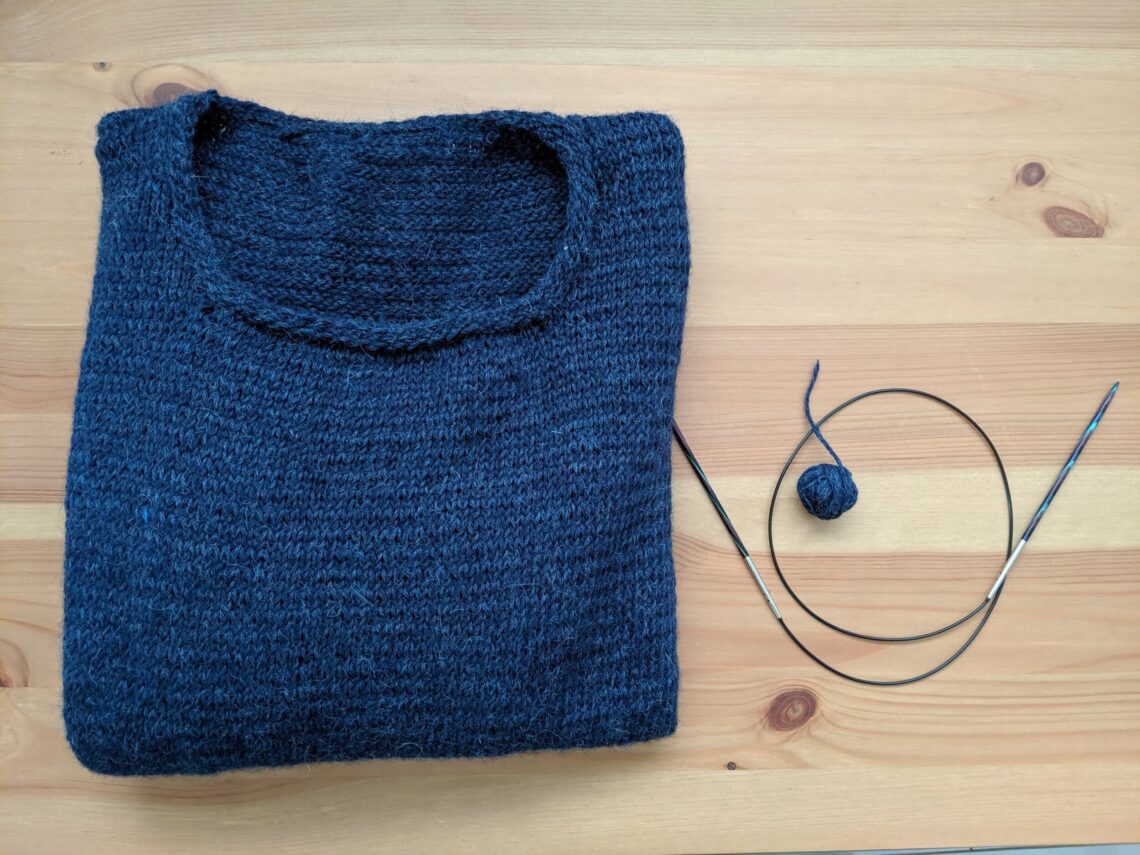
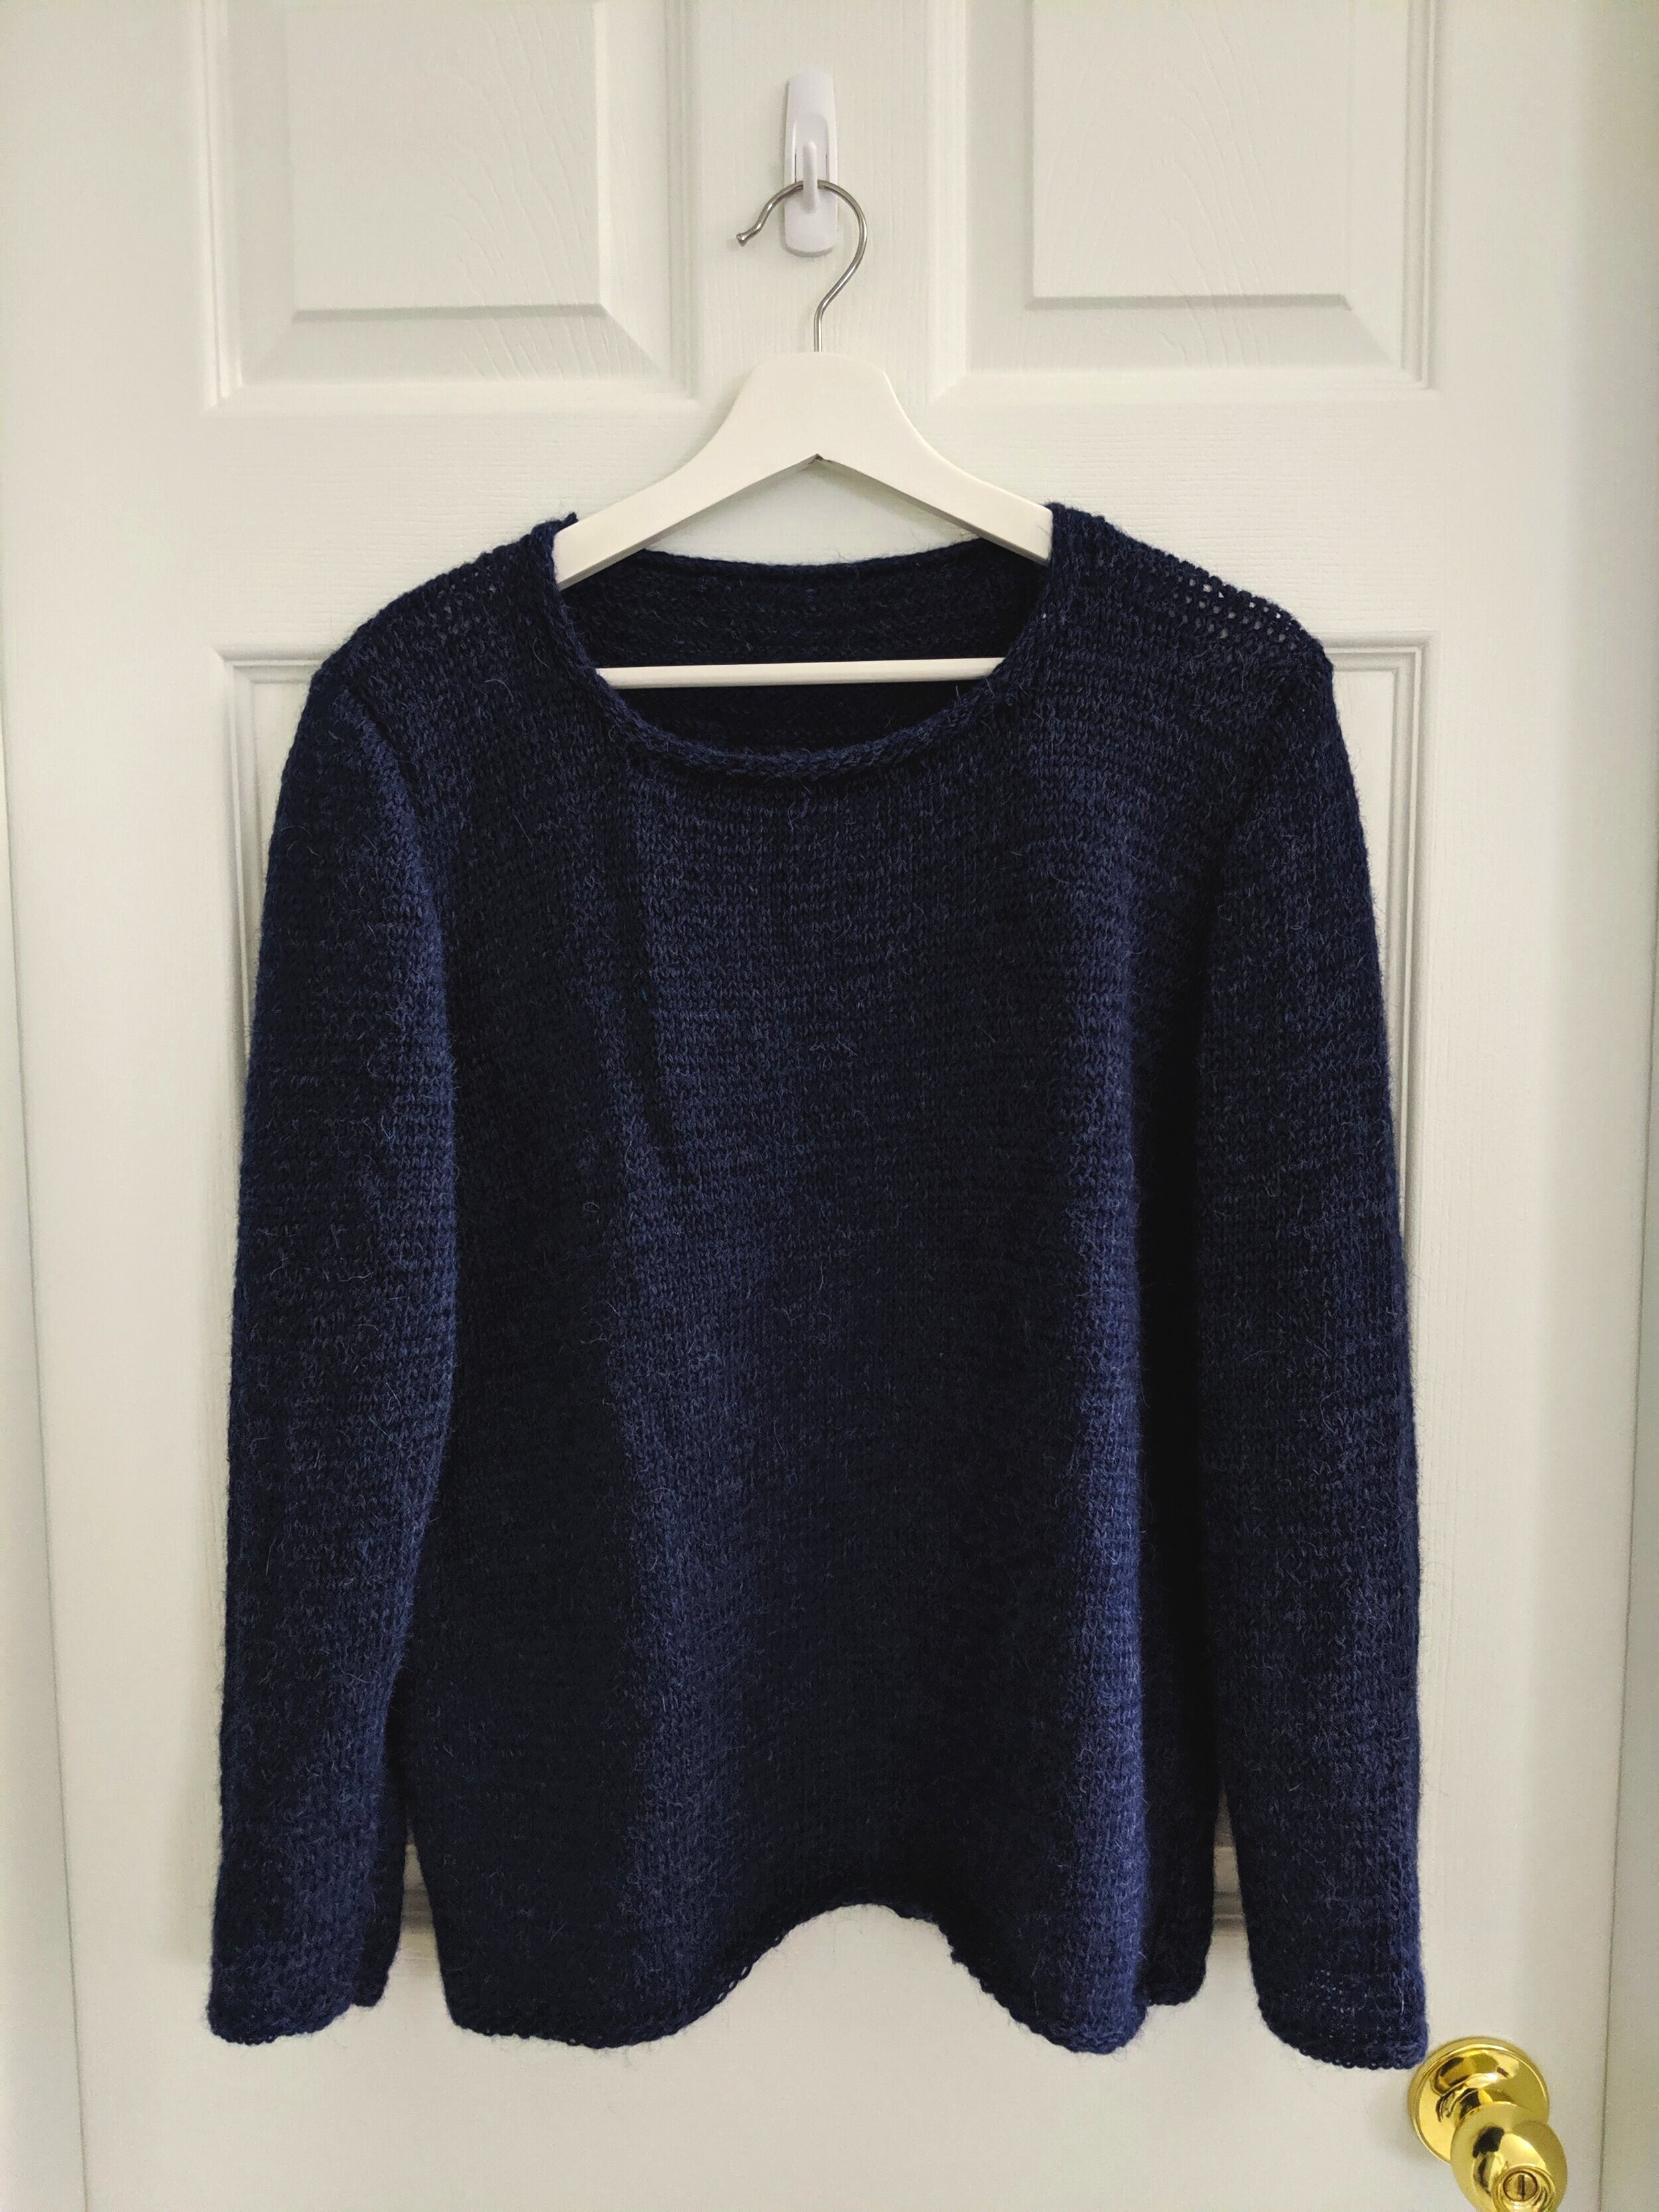
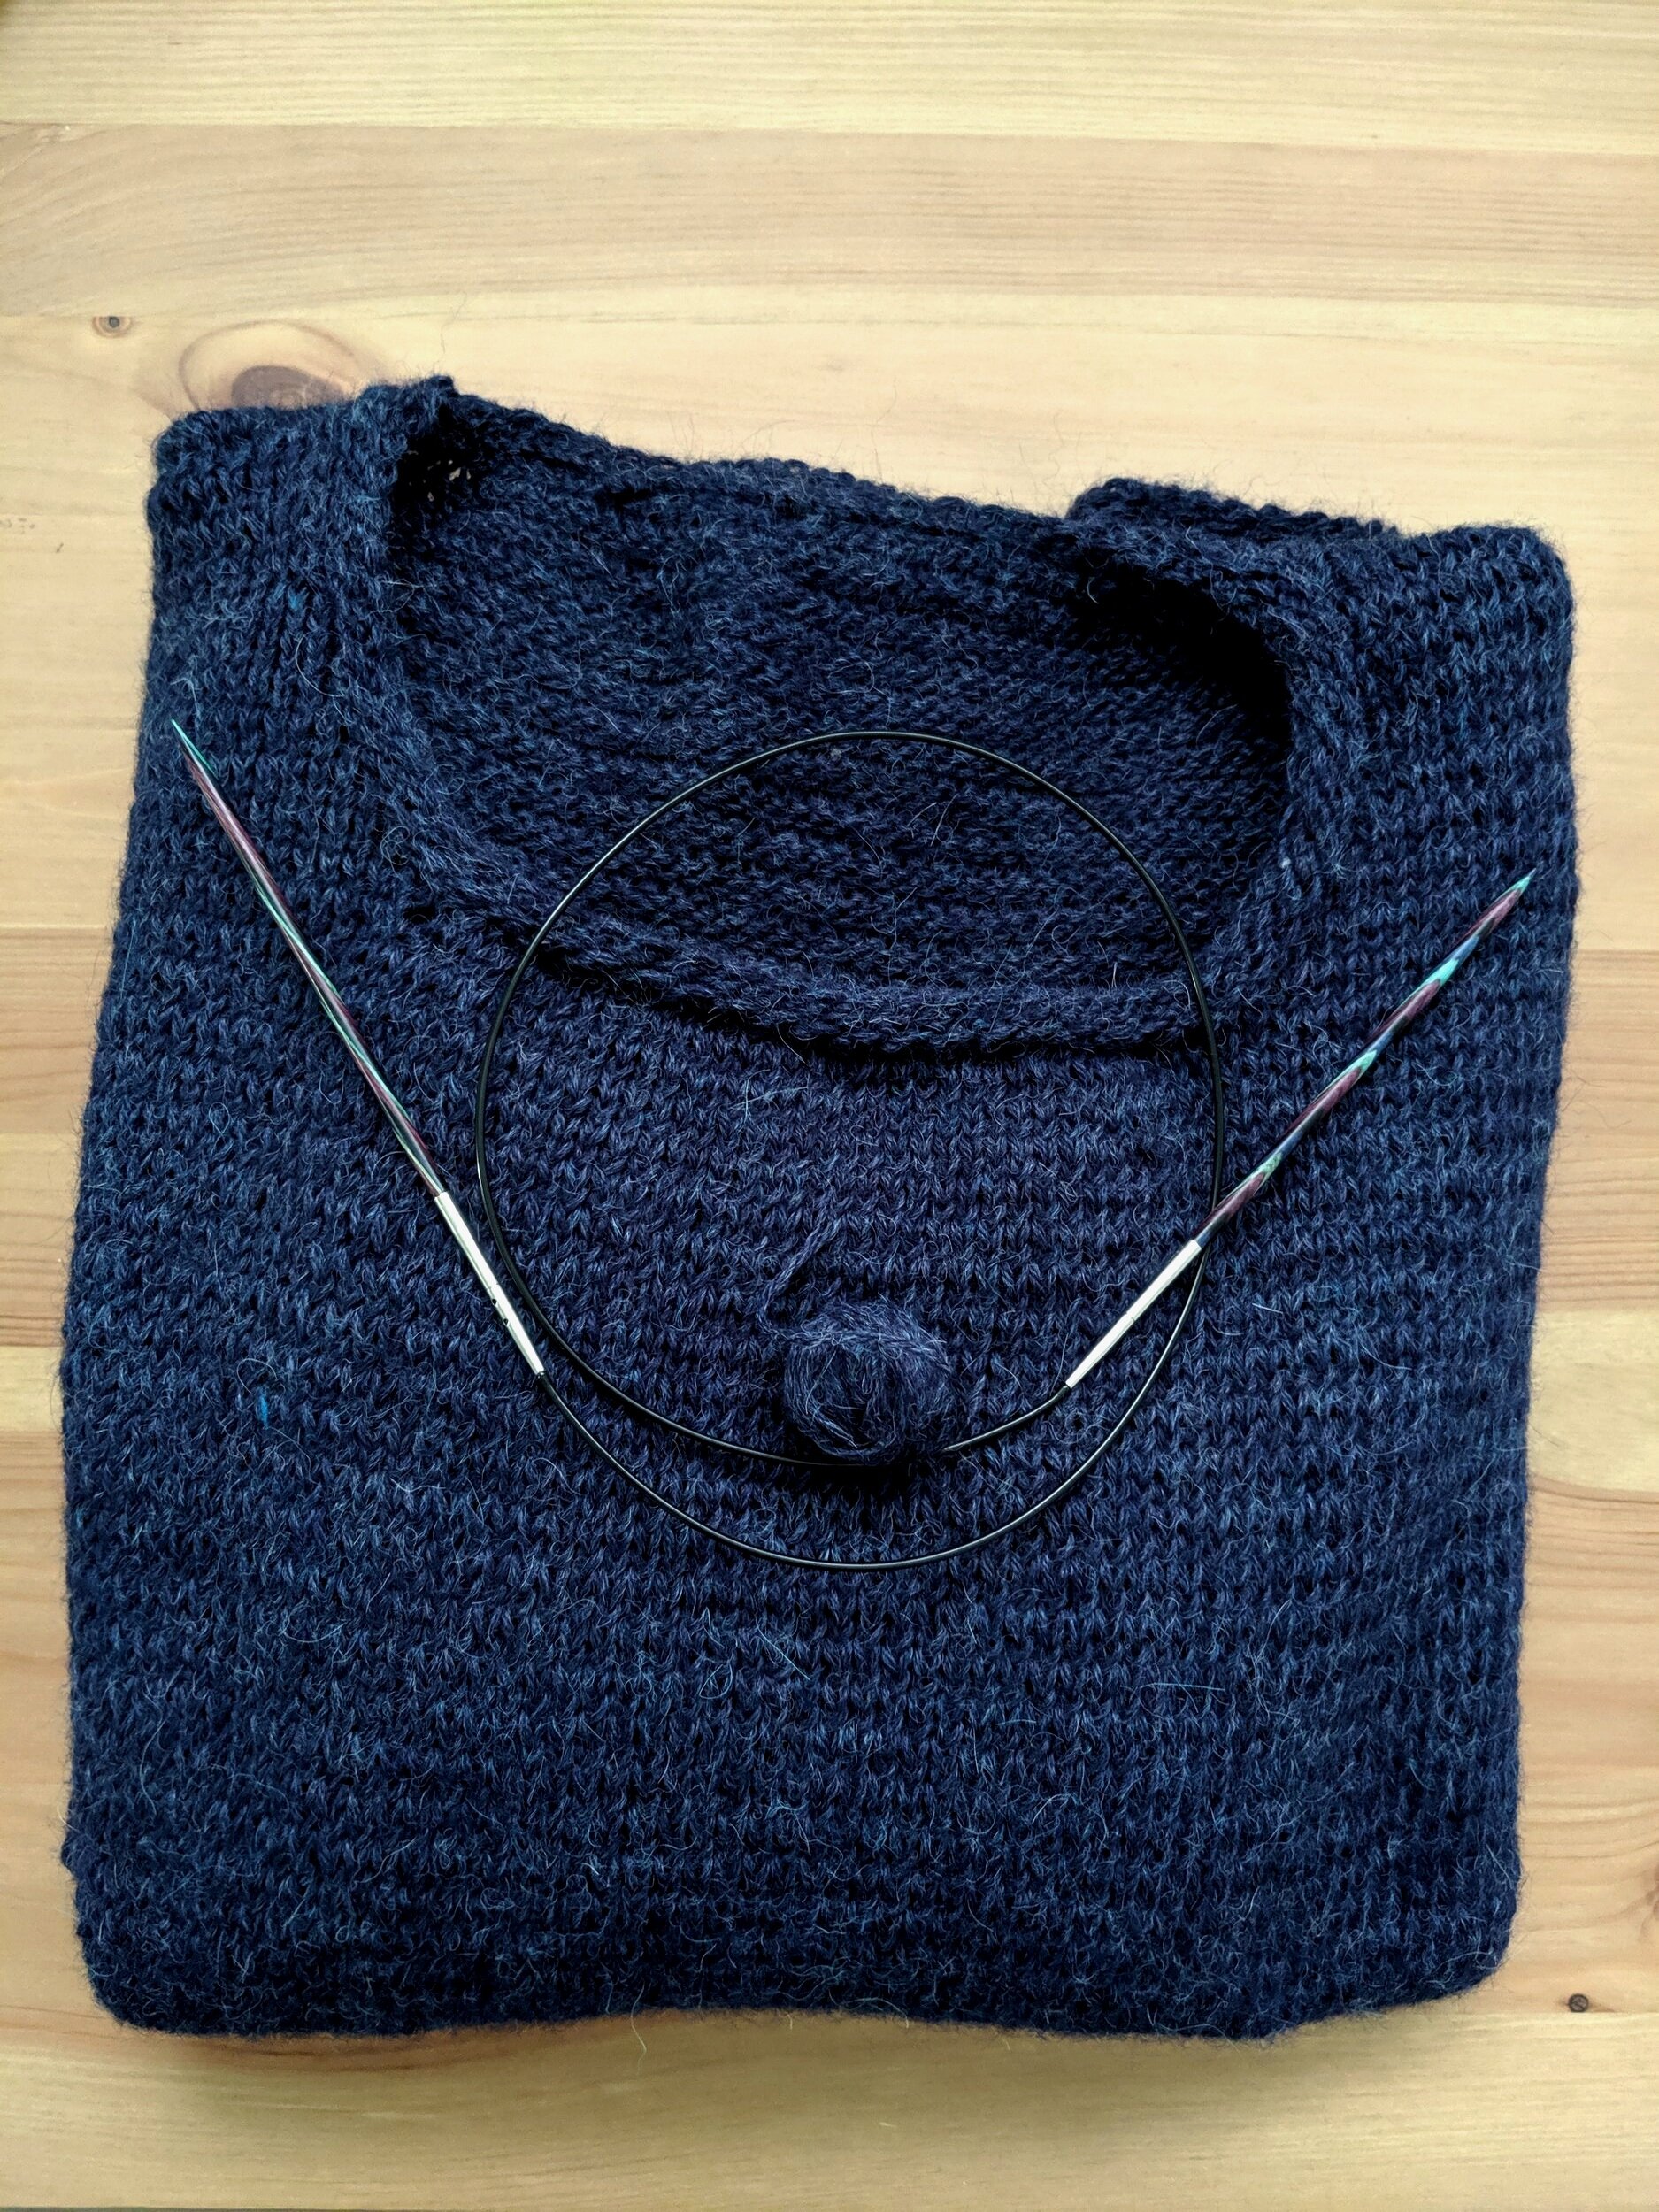
As some of you may know, I recently finished my first knitted sweater using Susan’s Simple Sweater pattern by Sue Blacker. It took awhile since I am a slow knitter, but am very glad I did it. I made a few mistakes, but it’s wearable so I am very happy with that!
Since this was my first big knitting project I wanted to share some of the things I learned while I made this sweater and help you in case you needed some pointers for your first knitted sweater project.

So here they are:
Lesson Number 1: Don’t change needles in the middle of your project.
This was one of the mistakes I made during my project. I had just received an interchangeable needle knit for Christmas and was very excited to start using them so I changed the original needles that I was using to the new ones. Big mistake! Either the original needles I was using were the wrong size to begin with or there was a slight difference in the sizing of the needles, depending on the brand. As a result, if you look closely at the front of my sweater you will noticed the difference in the stitches. This can also create a problem when you sew the pieces together.
Lesson Number 2: Read all the instructions of the pattern before you begin.
Like you would for a baking recipe, read the entire pattern before you begin. This will help you notice any new stitches that you may not know or any weird little aspects of the pattern that you may want to know before you start knitting. This will help you understand the pattern and lessen the likelihood of having to frog your knitting.
Lesson Number 3: Don’t just start sewing pieces together without reading the pattern.
This goes along with lesson number 2. I was so excited when I finished the first panel and a sleeve of the sweater that I starting sewing up the sides and sleeves together assuming that was what I was supposed to do, but didn’t realize I had to leave some pieces flat so I could match each panel together without bulking up the sweater. Thankfully with some creative hand sewing I could still finish this sweater without having too much bulking and holes, but it would look a lot nicer and fit better if I had done it properly.
Lesson Number 4: Research how to sew pieces together.
If I had researched how to set the sleeves into the sweater properly before sewing everything together I wouldn’t have made the mistake I made in lesson number 3. I found these great instructions from Amy’s Amy Herzog’s Design website and if you would like video instructions you can follow Staci from Very Pink Knits video.
Lesson Number 5: Make a swatch!
Make a swatch so you can adjust the pattern to your gauge/tension. This will create a better fitting sweater and you will have better control of the final results.
Lesson Number 6: Block your pieces before sewing them together.
It may seem like an extra step, but you will definitely find it easier to see where your pieces meet up and it will make sewing everything together a lot easier. This will also decrease the amount of bulking you may get when you are sewing your sweater together. You don’t have to buy expensive blocking foams, you can just buy some from the dollar store or maybe even some towels and cardboard.
Lesson Number 7: Make sure you have the right yarn and tools for your project.
I hate it when I am getting into a project and I realized that I don’t have all the tools that I need for my project and I have to delay finishing it up. So it is important to take note of the things you need when you are reading through the pattern before you start your project.
Lesson Number 8: Knowing how to take care of your finished sweater.
Some yarns require more care than others. It is important to know if you can hang dry your sweater or if you should dry them flat. You don’t want to finish your sweater and then accidentally stretch it out or have fold marks on it.
Lesson Number 9: Buy all your yarn at the same time.
It may not always be that important, but different batches of yarn can have slightly different colouring so it is important to try to get yarn from the same dye batch when you make your sweater.
Lesson Number 10: Don’t be so hard on yourself and have fun!
I know it may seem like I made a lot of mistakes when I made this sweater, but I actually had a lot of fun making it and at the end of the day I can still wear it and be proud that I was able to knit all the pieces and sew them together to make a sweater I can wear. You may also make a few mistakes, but you can fix them and also create a sweater that you will love 😀
Good luck with your sweater and happy crafting!
Feel feel to leave a comment below if you have any questions!
Take care,
Jessica


