
Bunny Lovey Baby Safety Blanket Crochet Pattern
Hi Everyone!
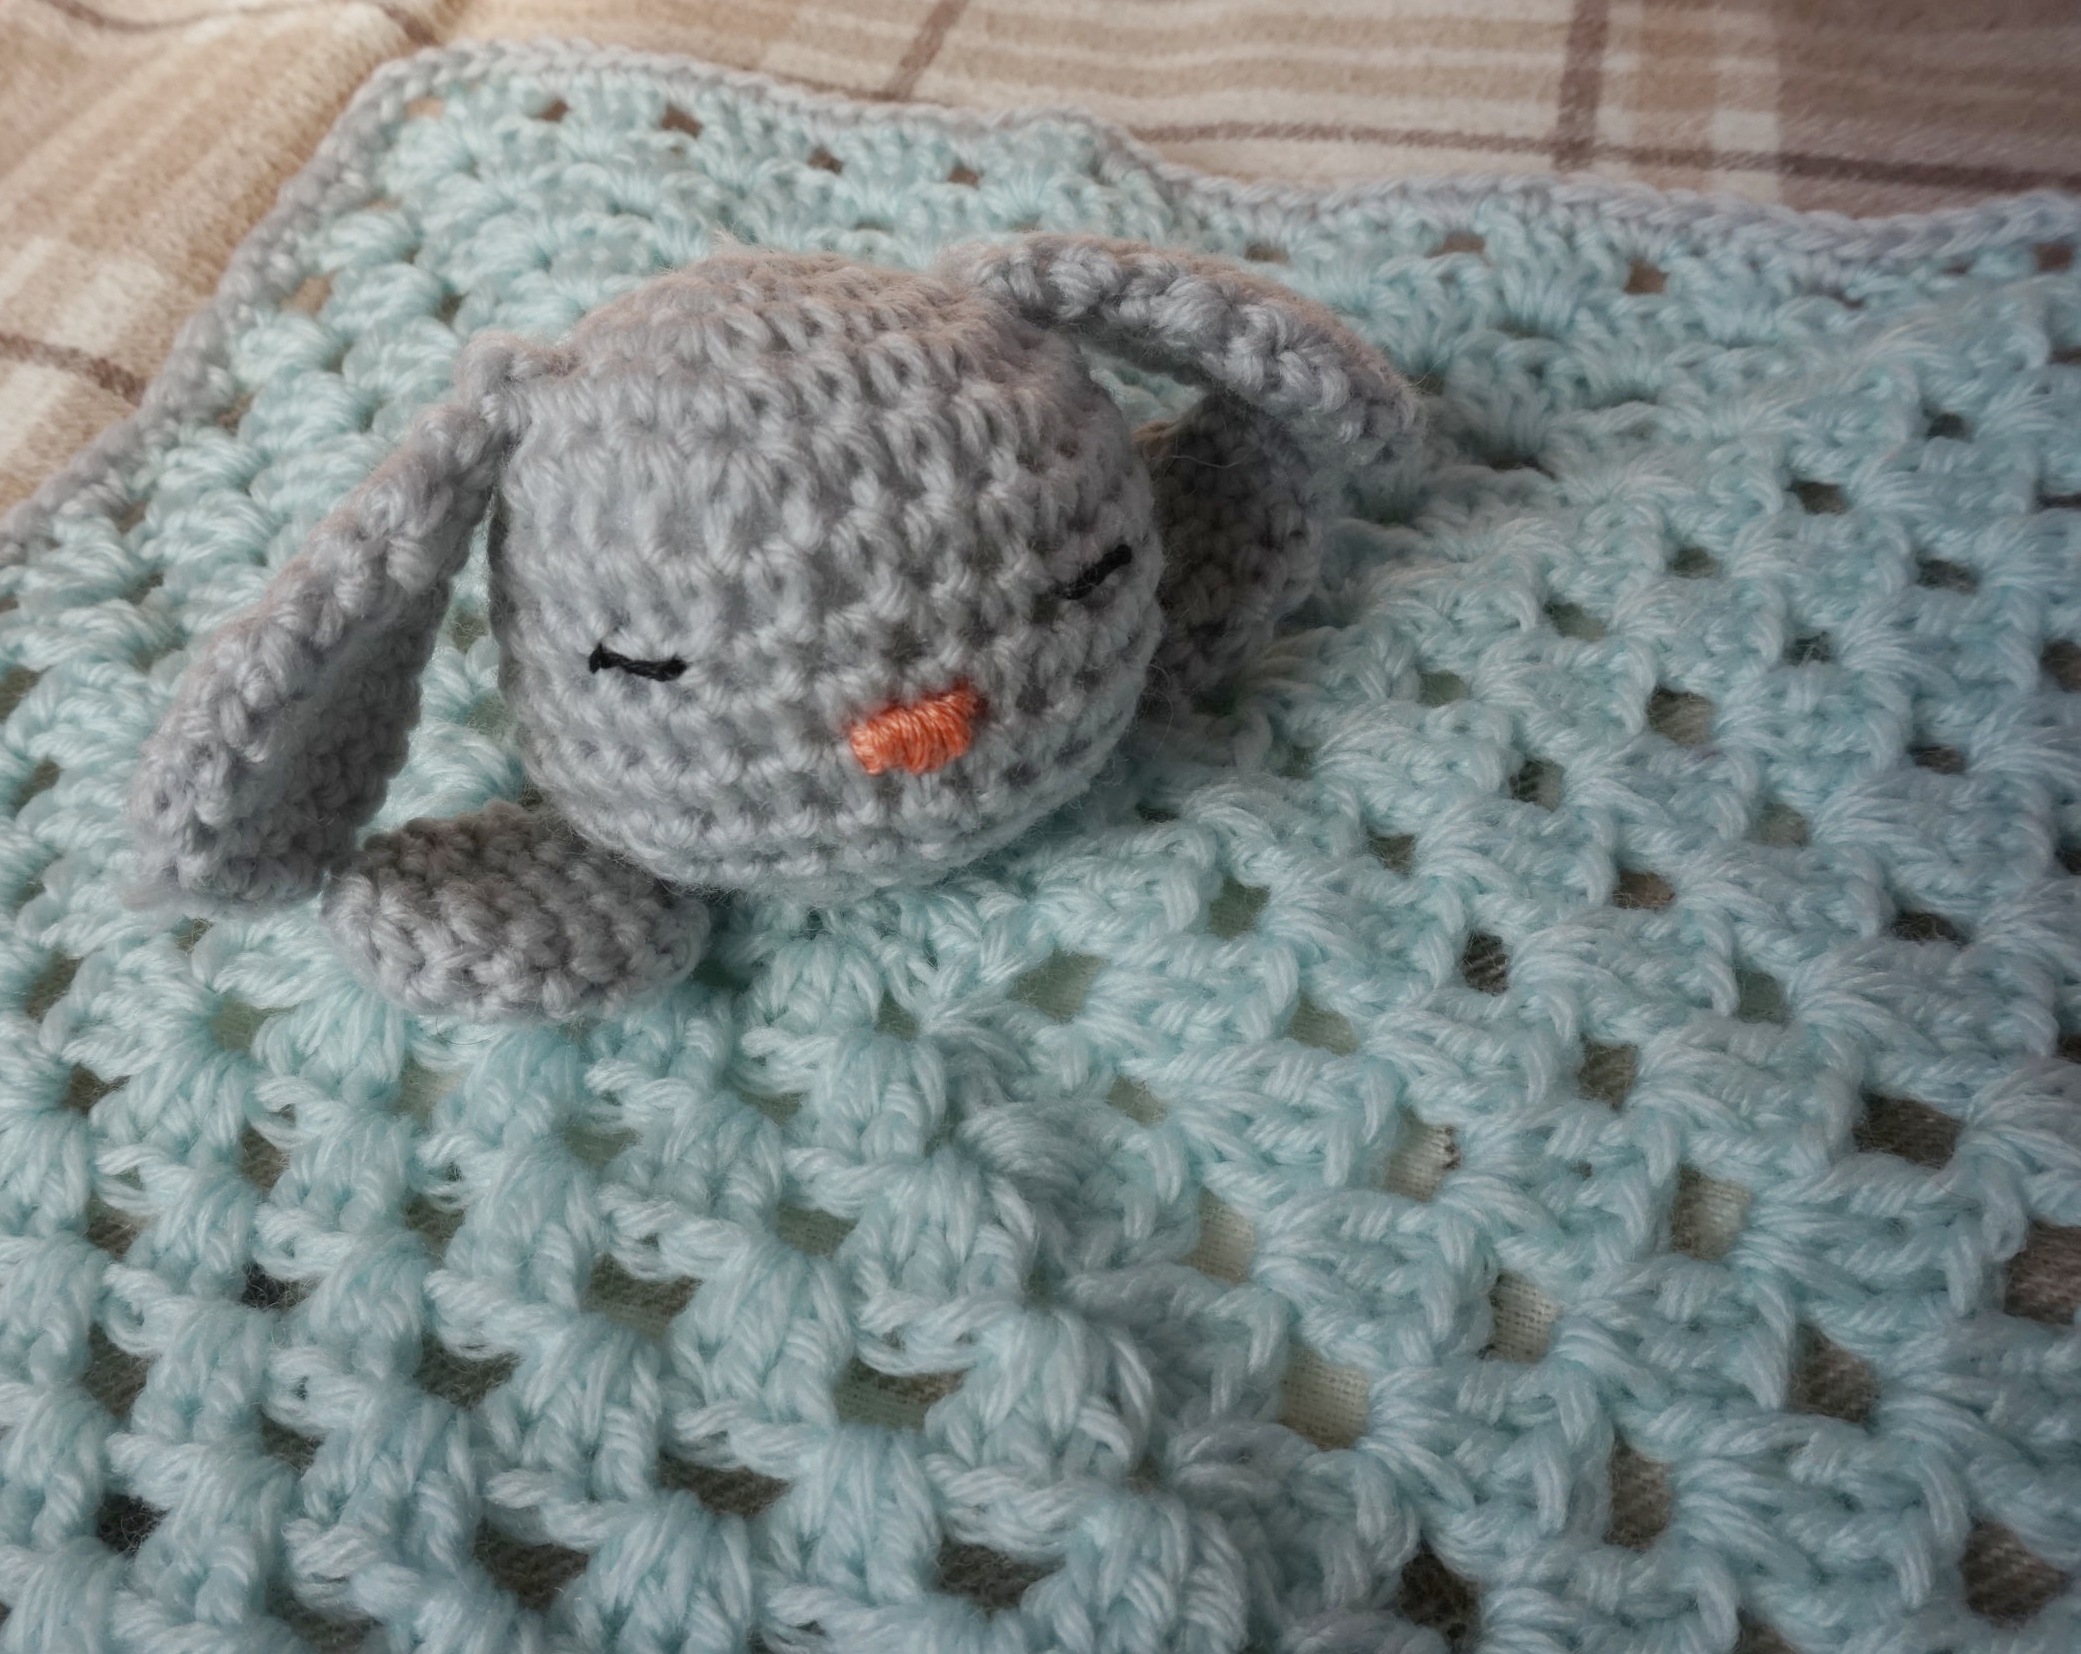
I have seen these lovey blankets by many different crafters and wanted to try making one myself. I have this really soft yarn that my friends got me from Japan and decided to use that for it. It isn’t perfect, but I think it came out quite cute! Let’s make a Bunny Lovey together!


Here’s the pattern:
Materials
5.00 mm Hook
DK Yarn (Lightweight Yarn)
Scissors
Tapestry and Sewing Needles
Safety Eyes and Nose or Pink and Black Embroidery Thread
Stitch Marker
Stuffing
Pattern
Bunny Head
Round 1: 6 SC into magic ring (6)
Round 2: 2 SC into each stitch (12)
Round 3: *1 SC into next stitch, then 2 SC into next stitch.* Repeat from * to * around (18)
Round 4: *1 SC into next 2 stitches, then 2 SC into next stitch.* Repeat from * to * around (24)
Round 5: *1 SC into next 3 stitches, then 2 SC into next stitch.* Repeat from * to * around (30)
Round 6 – 9: 1 SC into each stitch around (30)
Round 10: *1 SC into next 3 stitches, then SC2TOG the next two stitches.* Repeat from * to * around (24)
Round 11: *1 SC into next 2 stitches, then SC2TOG the next two stitches.* Repeat from * to * around (18)
Round 12: *1 SC into next stitch, then SC2TOG the next two stitches.* Repeat from * to * around (12)
Note: Stuff the head with the stuffing
Round 13: SC2TOG around (6)
FO. Leave tail to sew head onto blanket.
Bunny Ears (make 2)
Round 1: 6 SC into magic ring (6)
Round 2: 2 SC into each stitch (12)
Round 3: 1 SC, then 2 SC in next stitch, 5 SC, 2 SC in next stitch, 4 SC (14)
Round 4 – 5: 1 SC in each, around (14)
Round 6: 1 SC, then SC2TOG into next 2 stitches, 5 SC, the SC2TOG into next 2 stitches, 4 SC (12)
Round 7 – 8: 1 SC in each, around (12)
Round 9: SC2TOG around (6)
Round 10 – 11: 1 SC in each, around (6)
FO. Leave tail to sew onto bunny head.
Bunny Arms (make 2)
Round 1: 6 SC into magic ring (6)
Round 2: 2 SC into each stitch (12)
Round 3 – 5: 1 SC in each, around (12)
Round 6: SC2TOG around (6)
Round 7: 1 SC in each, around (6)
FO. Leave tail to sew onto blanket.
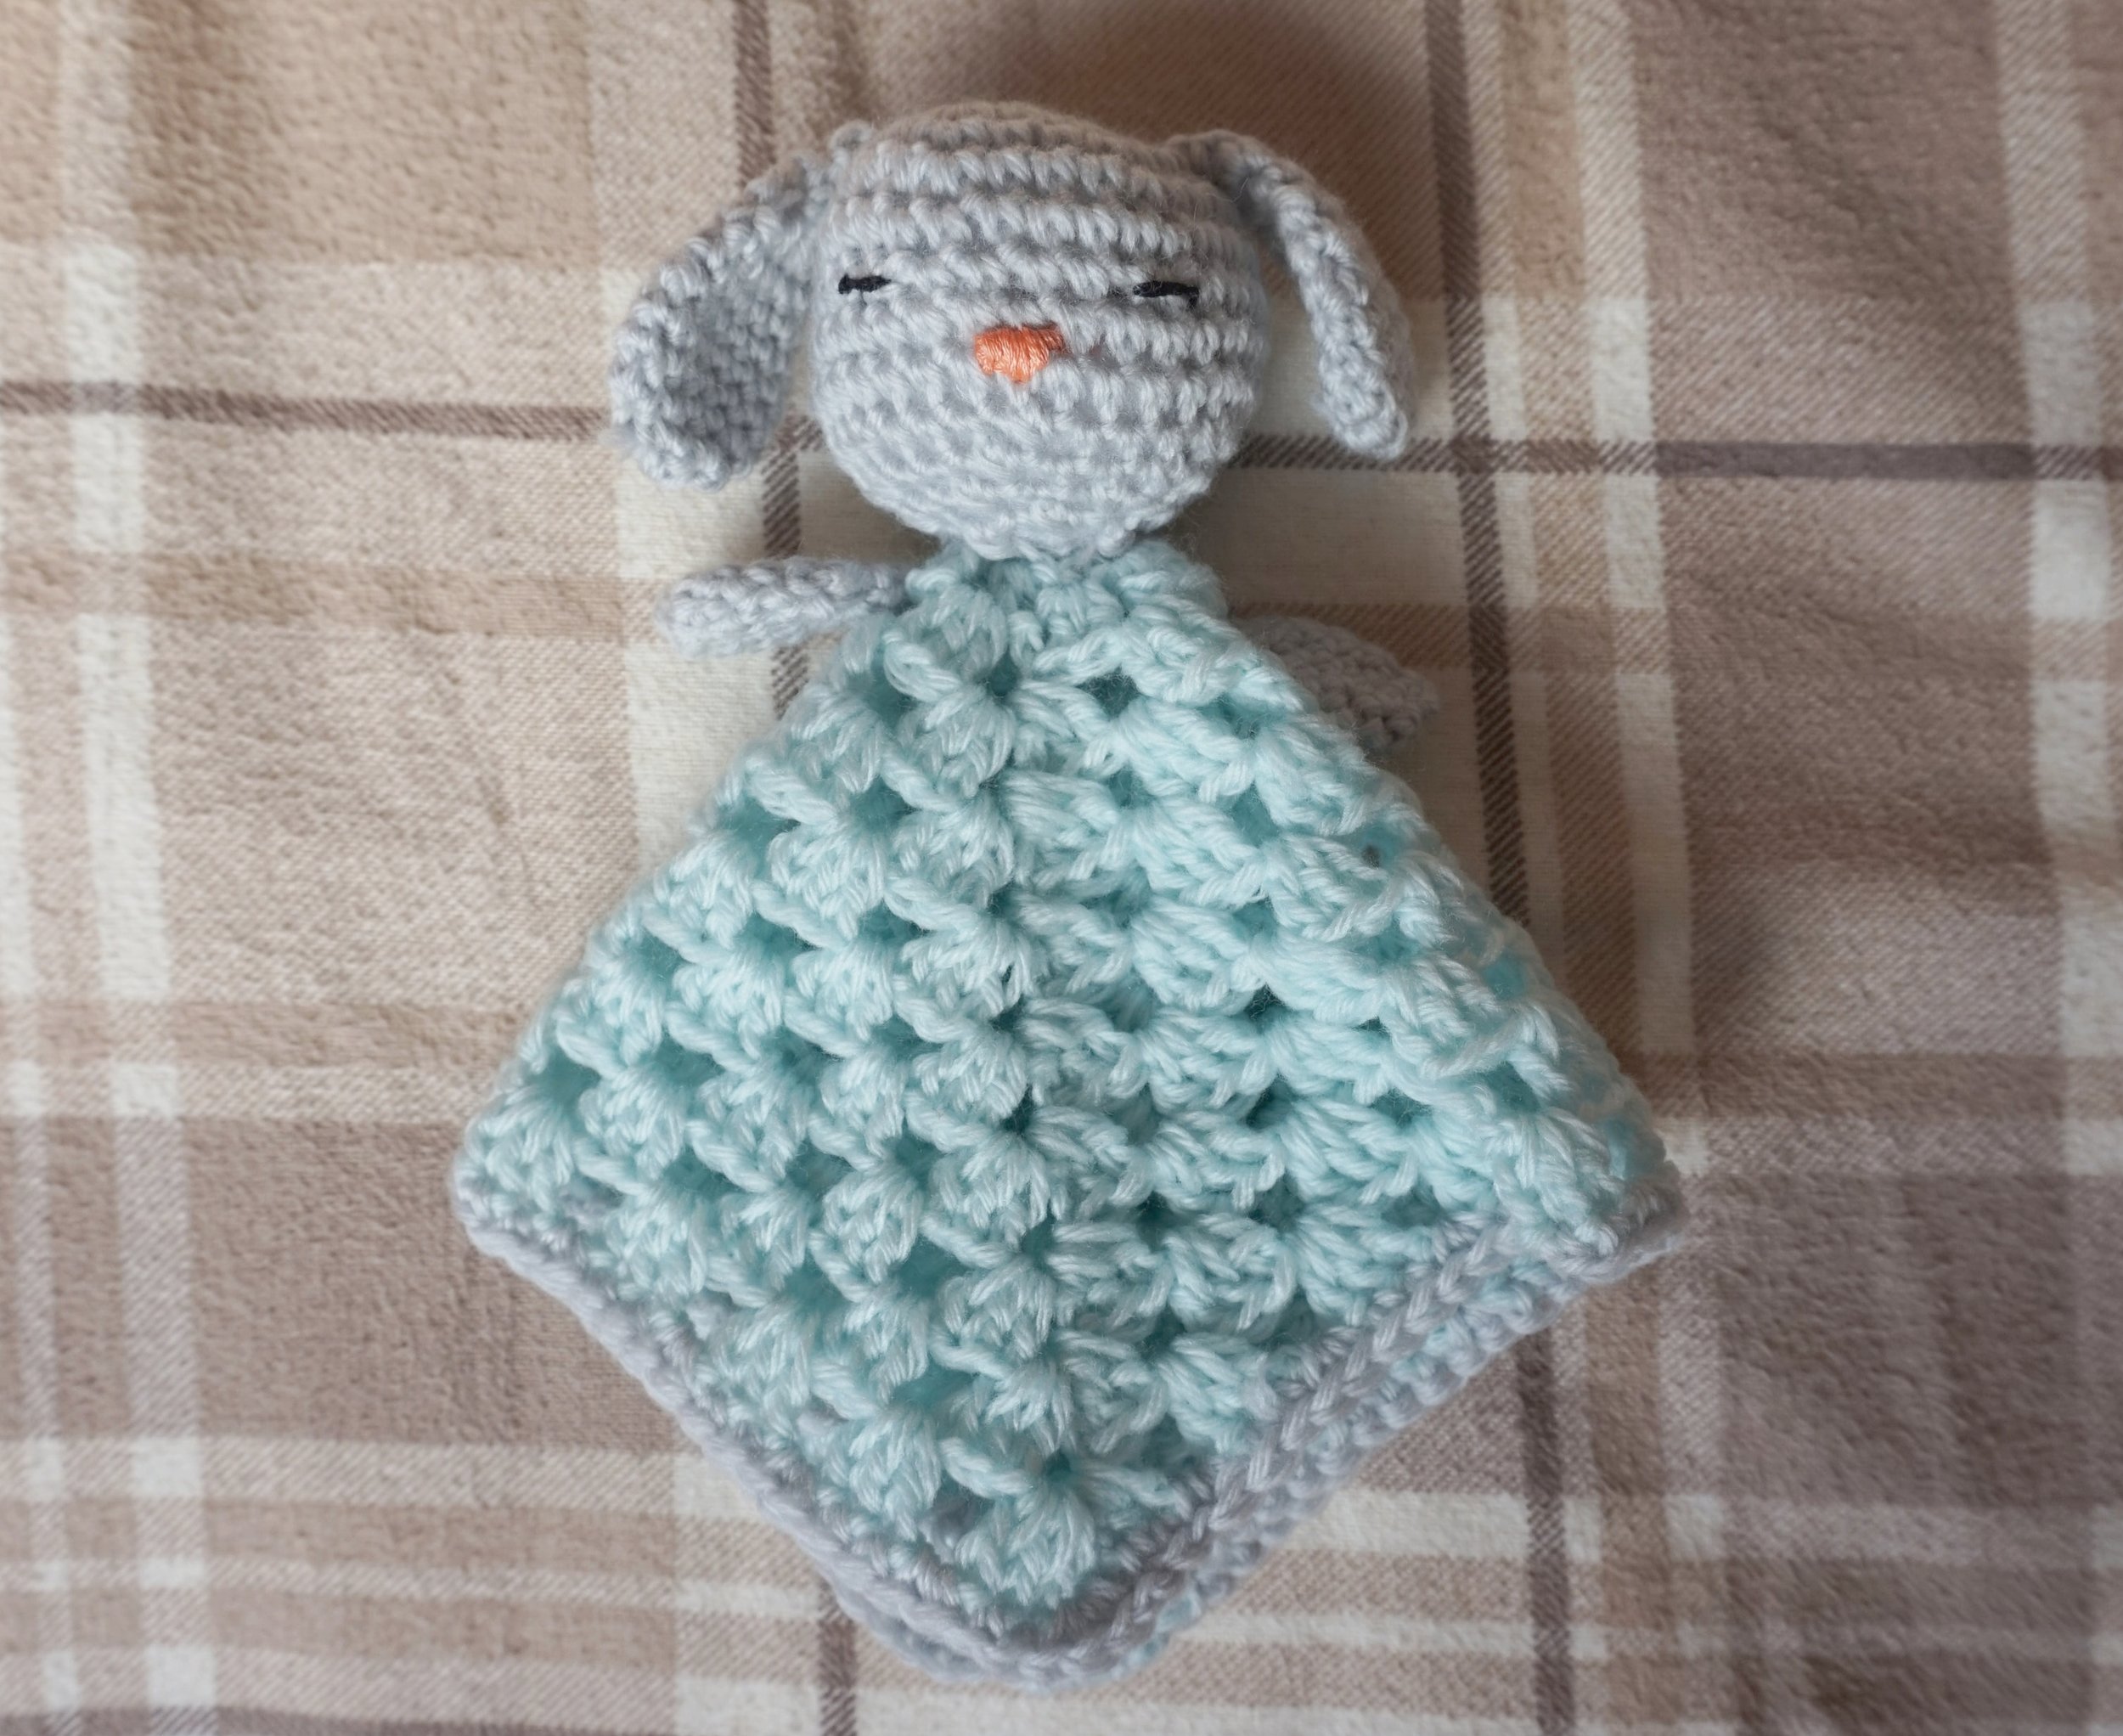
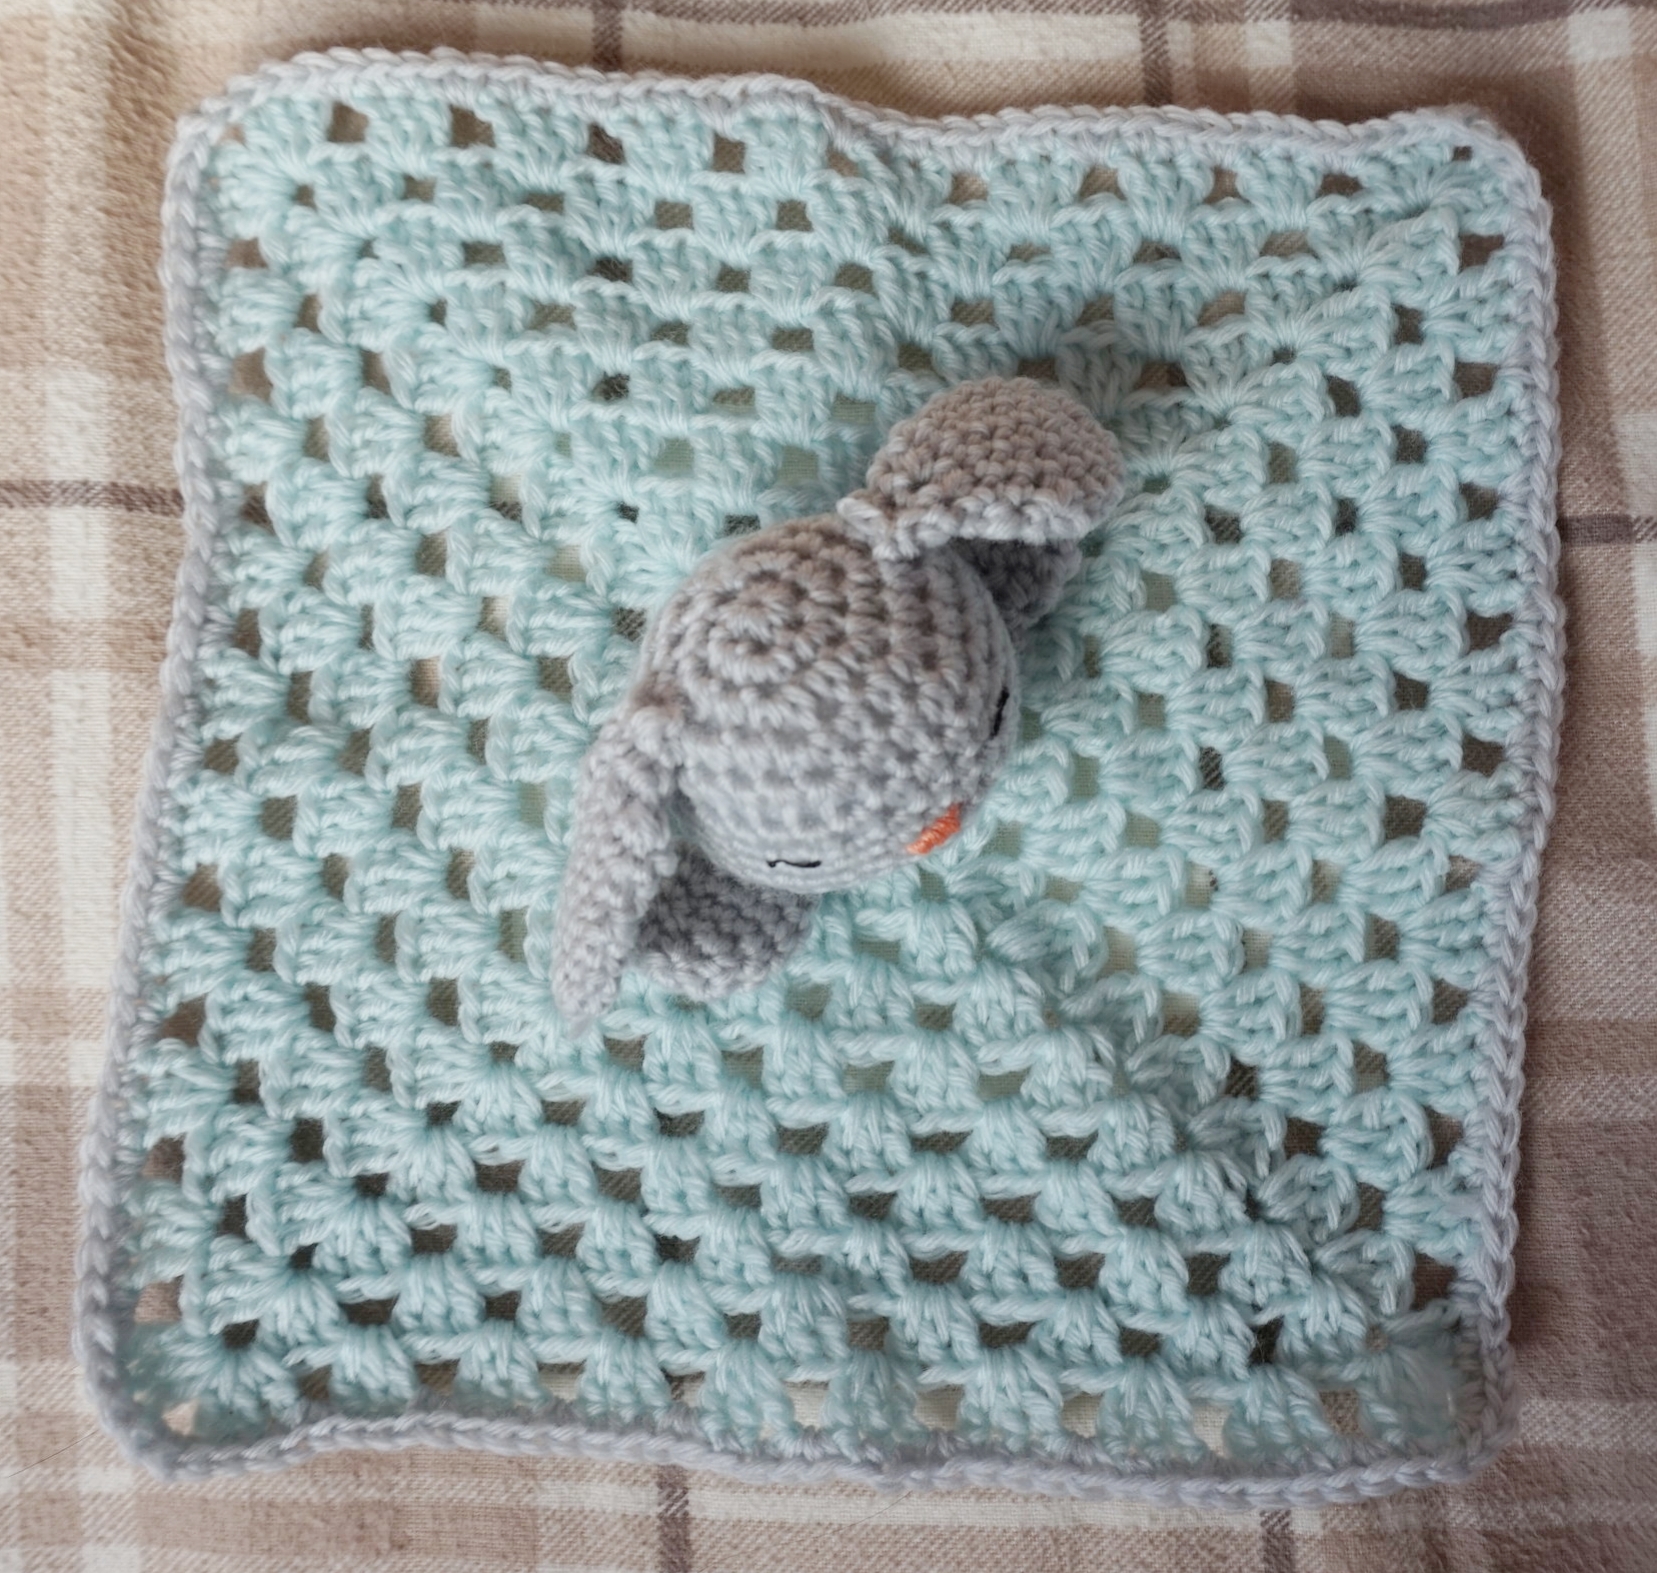
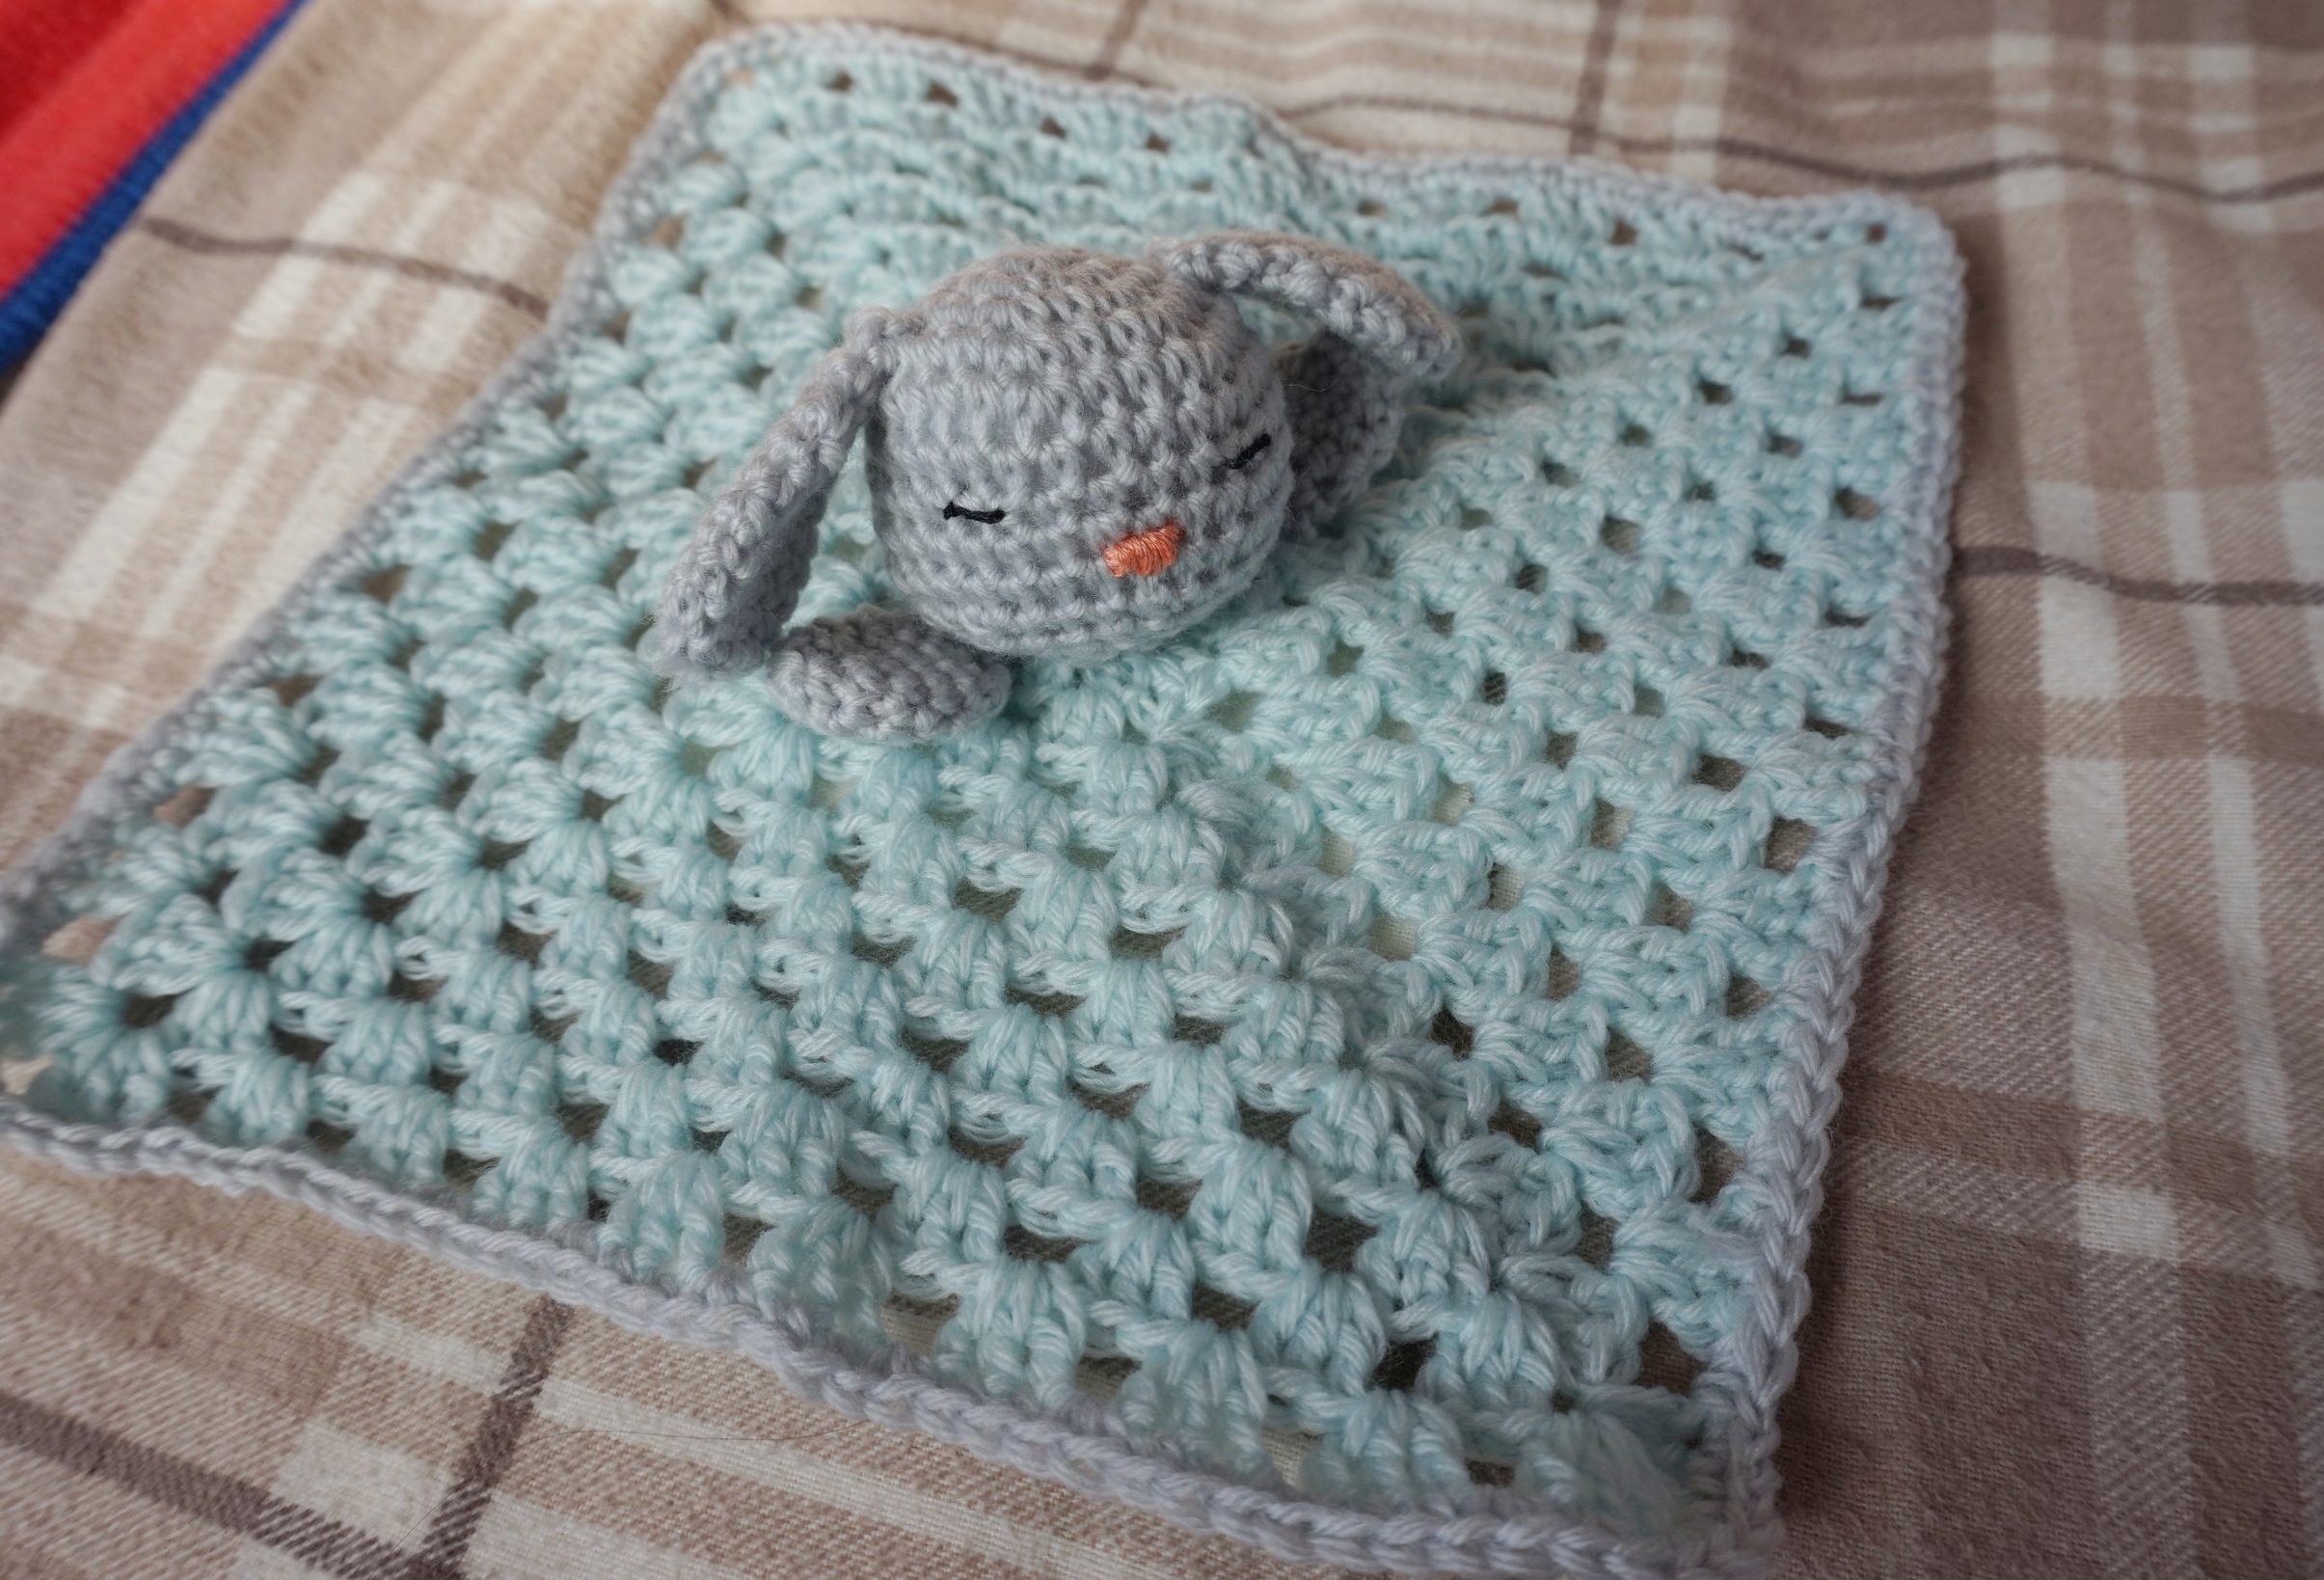
Granny Square Blanket
Round 1 – 10: I used The Spruce’s pattern for the granny square blanket and just added a SC border in a contrasting colour. In my case, I used the same colour as the bunny to make it match. I have also used this pattern before if you would like another option.
Round 11: SC around.
FO. Weave in end.
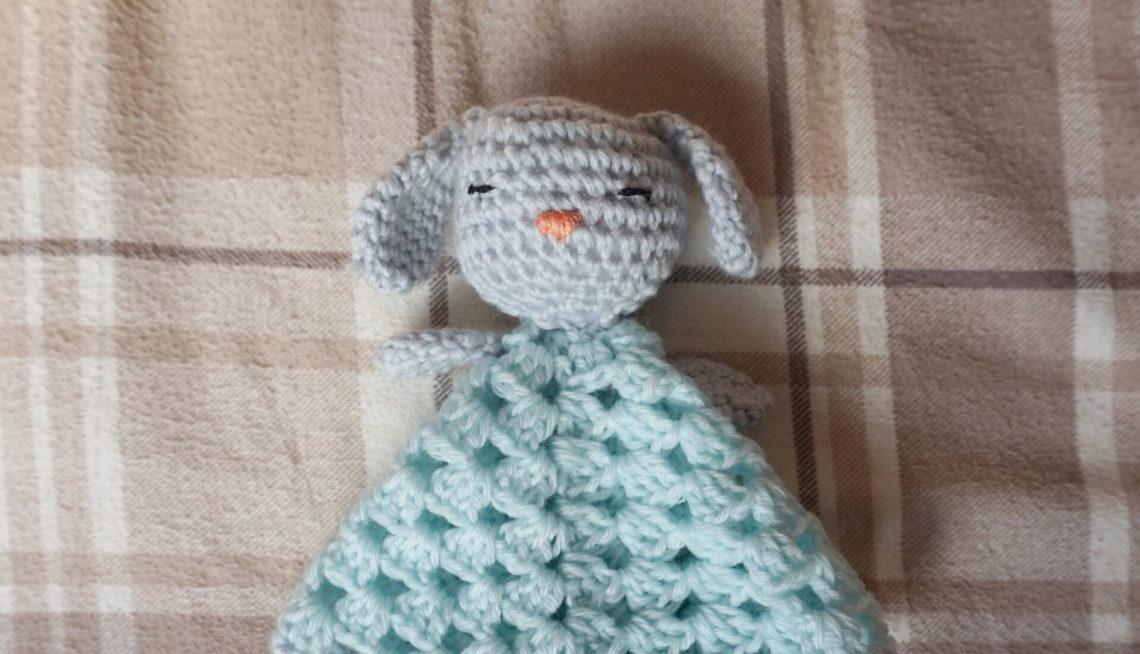
Embroidered Eyes and Nose
Eyes: Using the black embroidery thread and a sewing needle, go into Round 7 of the bunny’s head and sew on the sleeping eyes about 1 cm (0.4 in) long and then another eye 5 SCs apart.
Nose: Using the pink embroidery thread and a sewing needle, follow All About Ami’s tutorial for the nose, but don’t include the bottom parts of tutorial. Sew it in between Round 8 and 9.
Assembly
Sew the ears onto the head into Round 4 with them flopping downwards. The ears are about 11 stitches apart with them on either side of the bunny head.
Sew the bunny head onto the middle of the blanket and have it facing one of the four corners.
Sew the bunny arms one row apart from the bunny head, on either side of the head.
Done! It was a fun little project to do and was fun to design a little bunny.
If you have any questions, feel free to leave a comment below or email me at [email protected]
Thanks for visiting my blog!
Cheers,
Jessica

