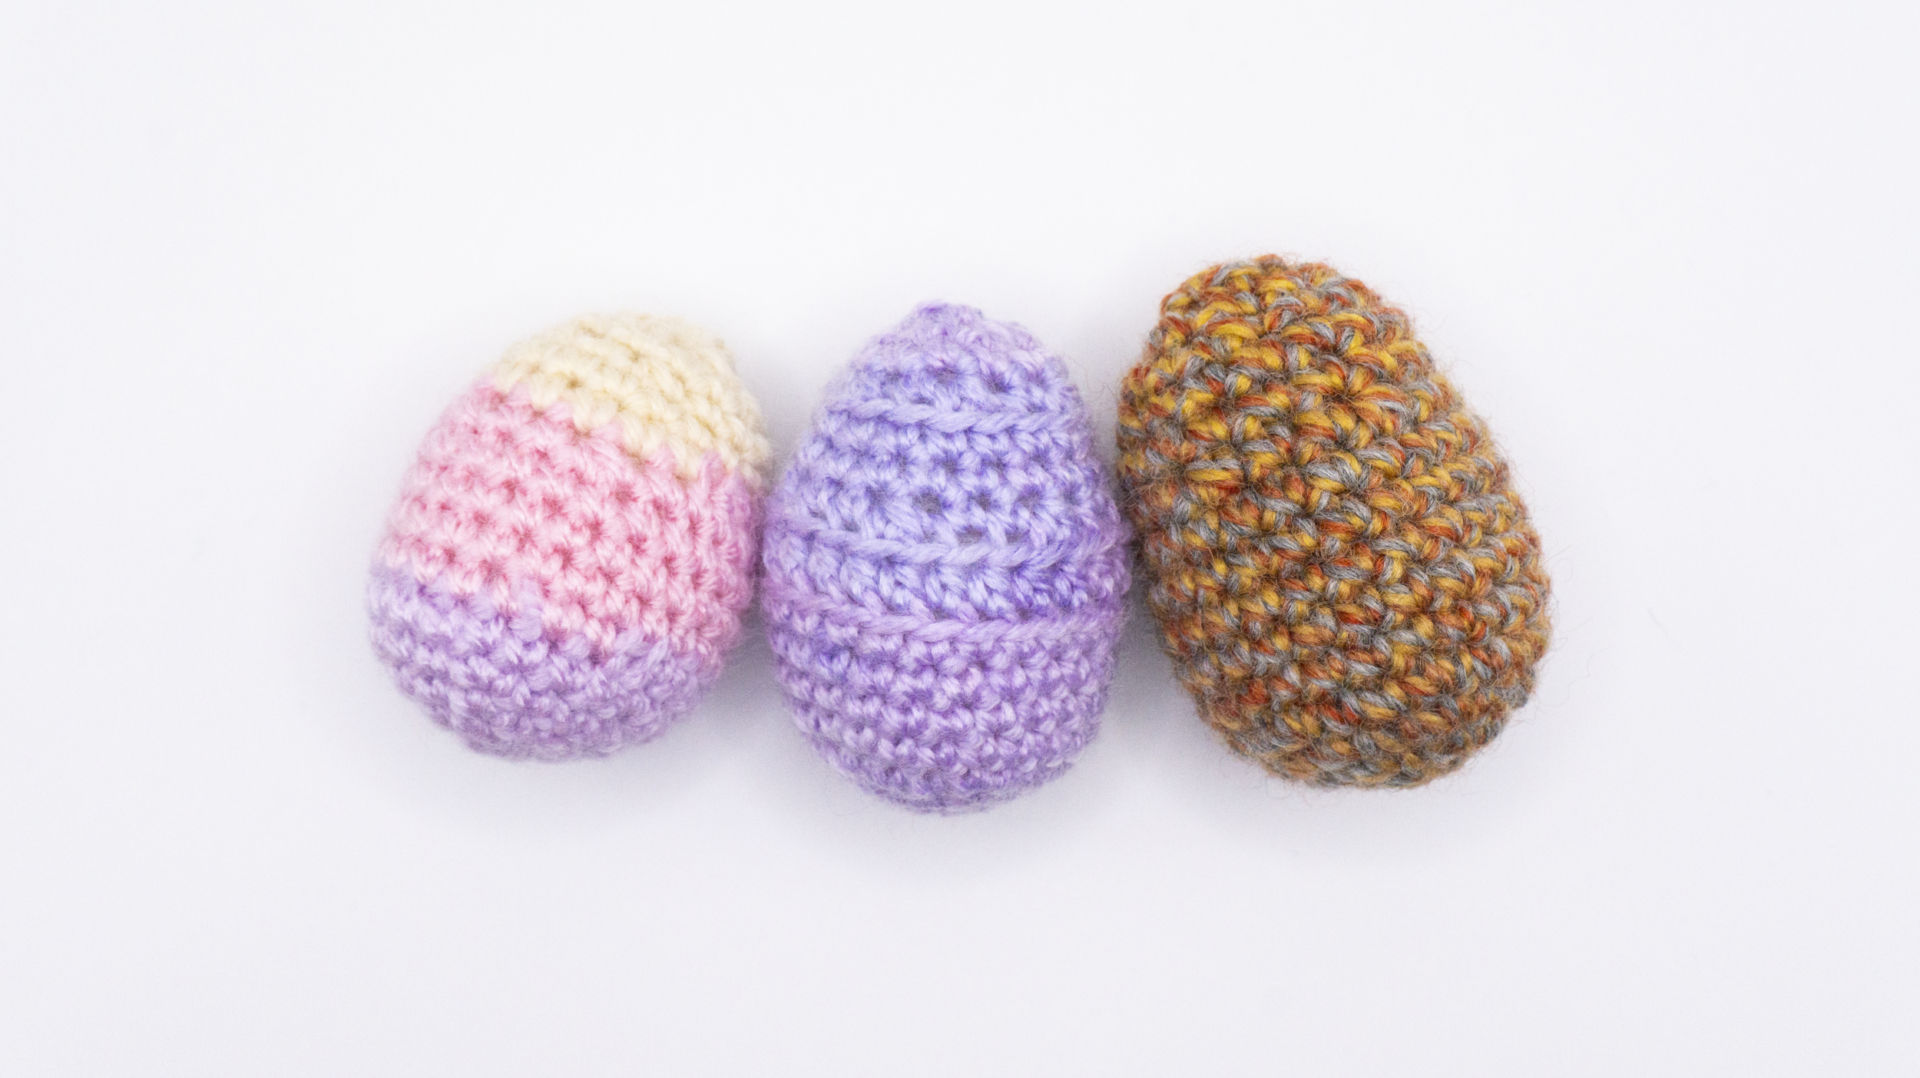
Easy Crochet Easter Egg Pattern – Spring Decor Three Ways
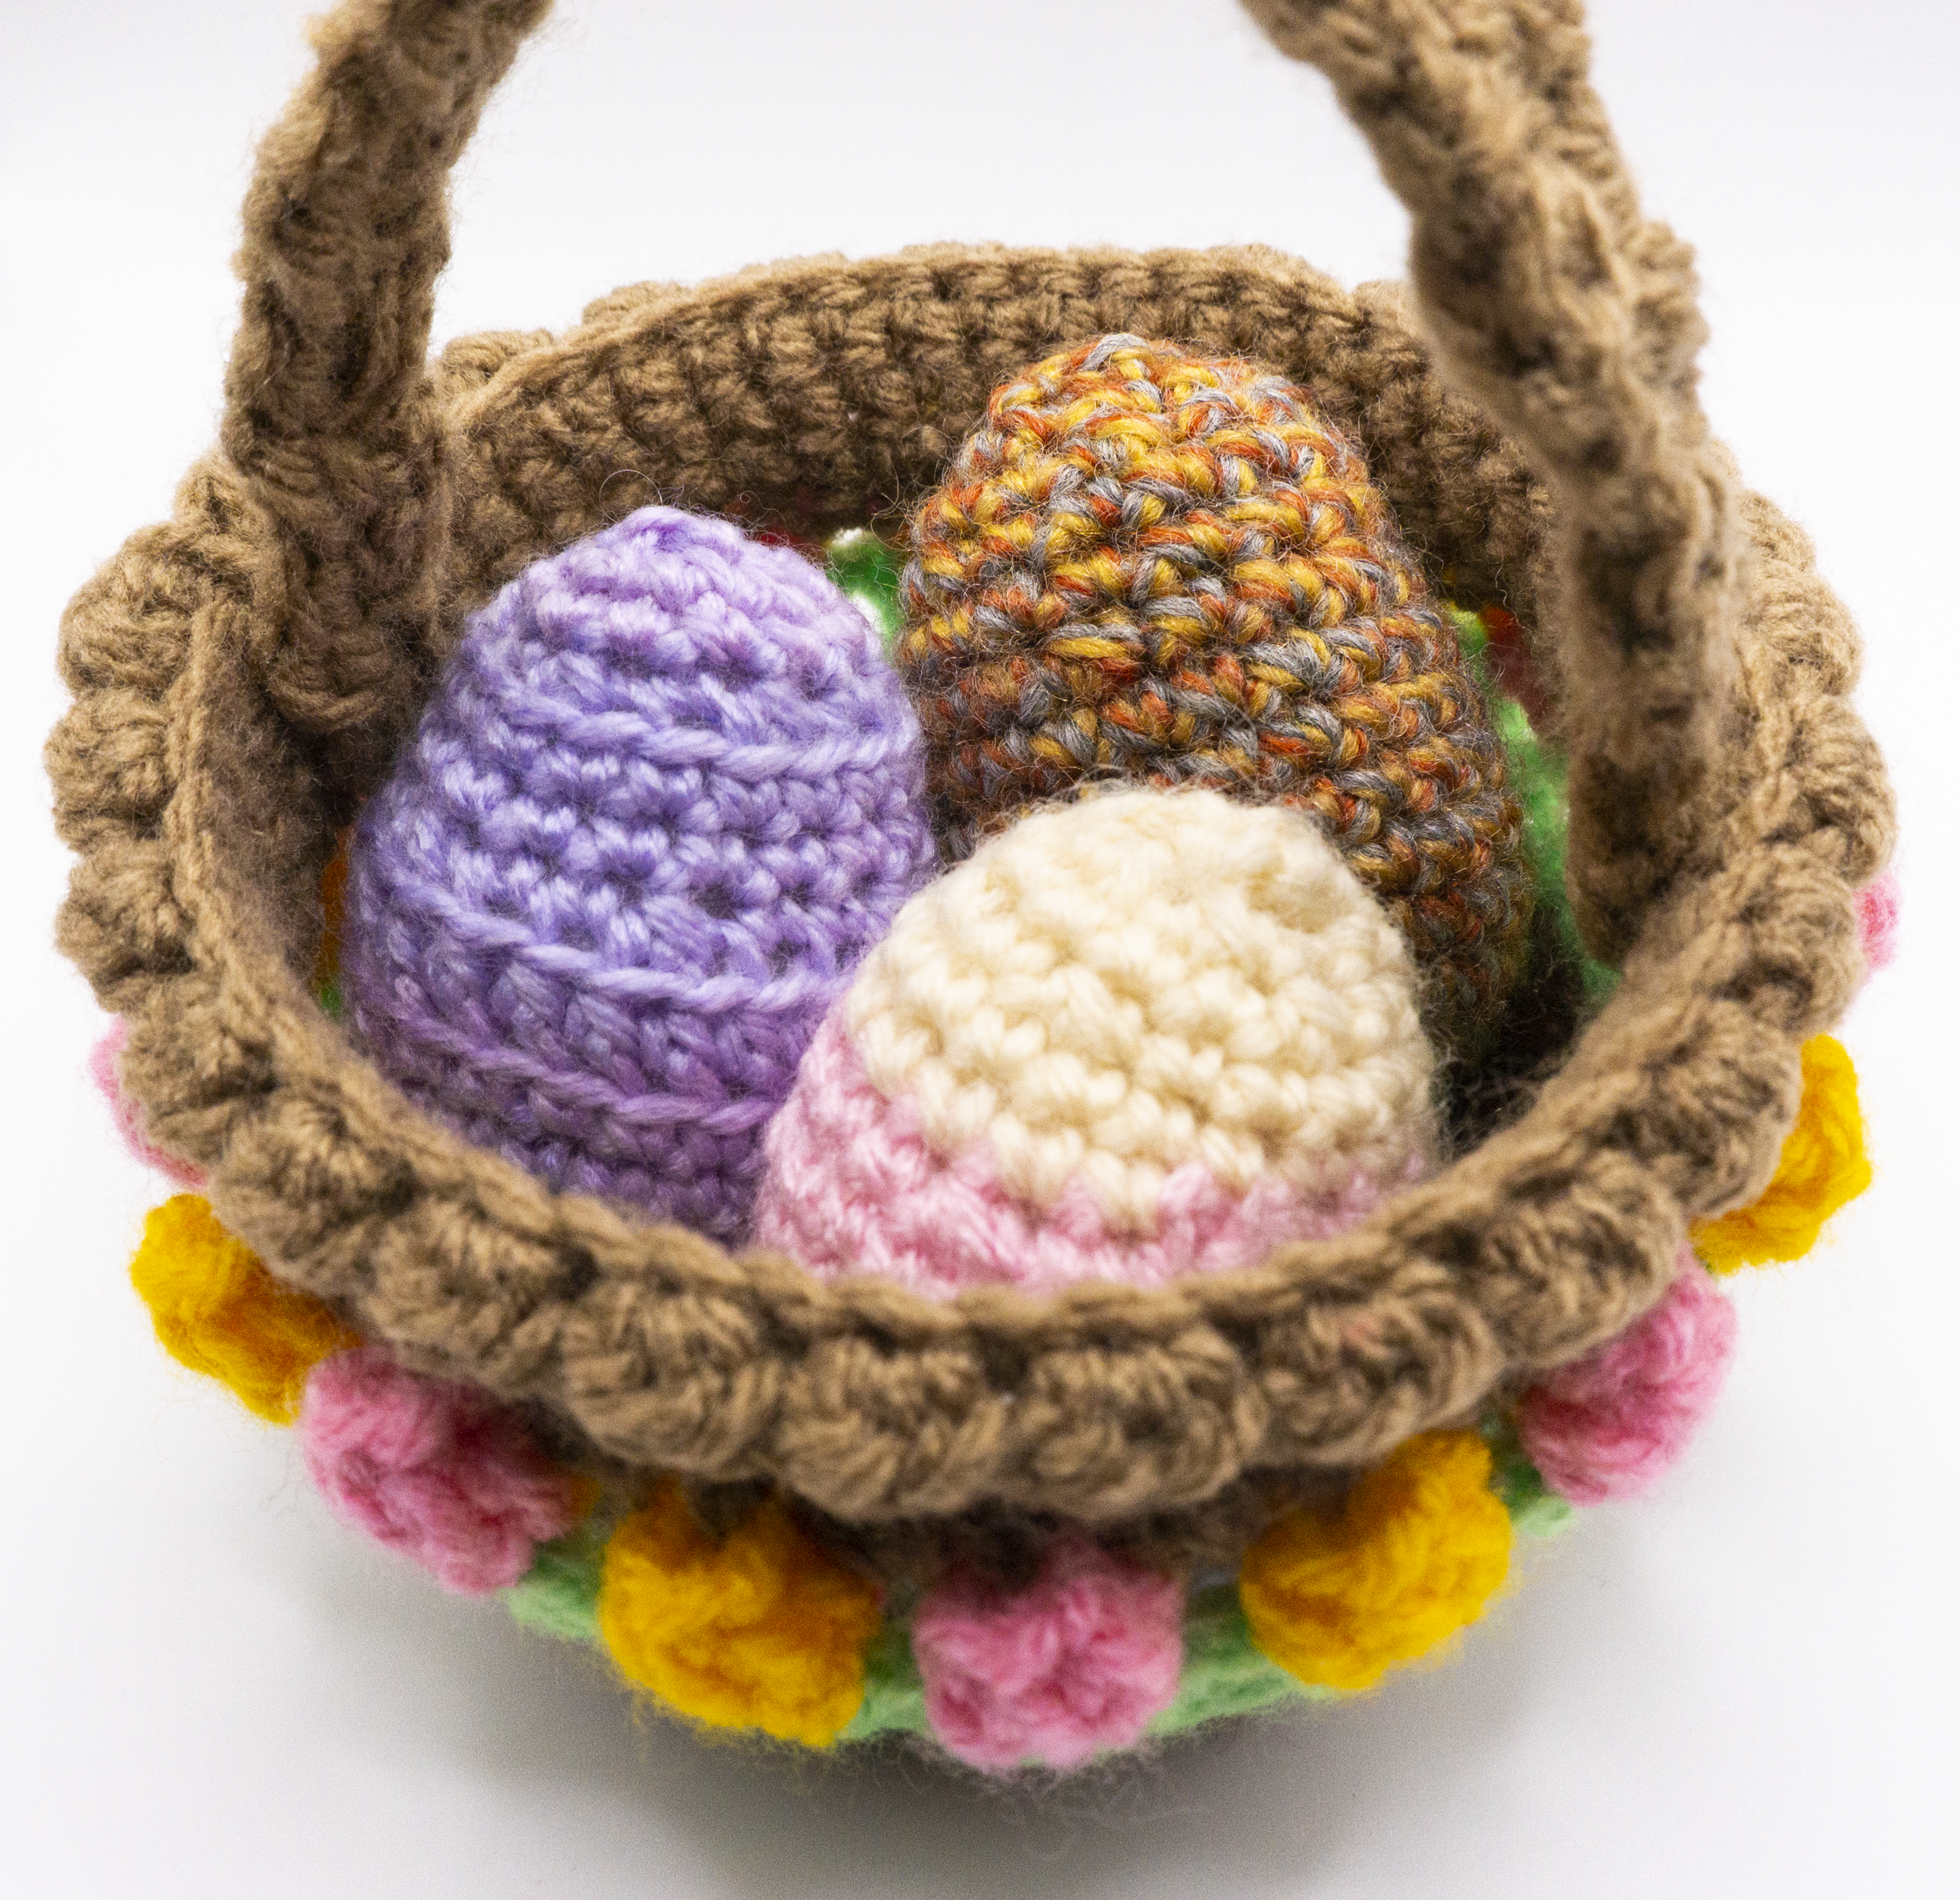
Table of Contents: Crochet Easter Egg
With Easter a month away, I have been trucking along figuring out some crochet Easter egg patterns to share. After I discovered how wonderful it is to use DK yarn to make amigurumi’s with, I have been using it non stop in my pattern designs! It creates a much softer look and it curves nicer than some thicker yarns when you are making more detailed items.
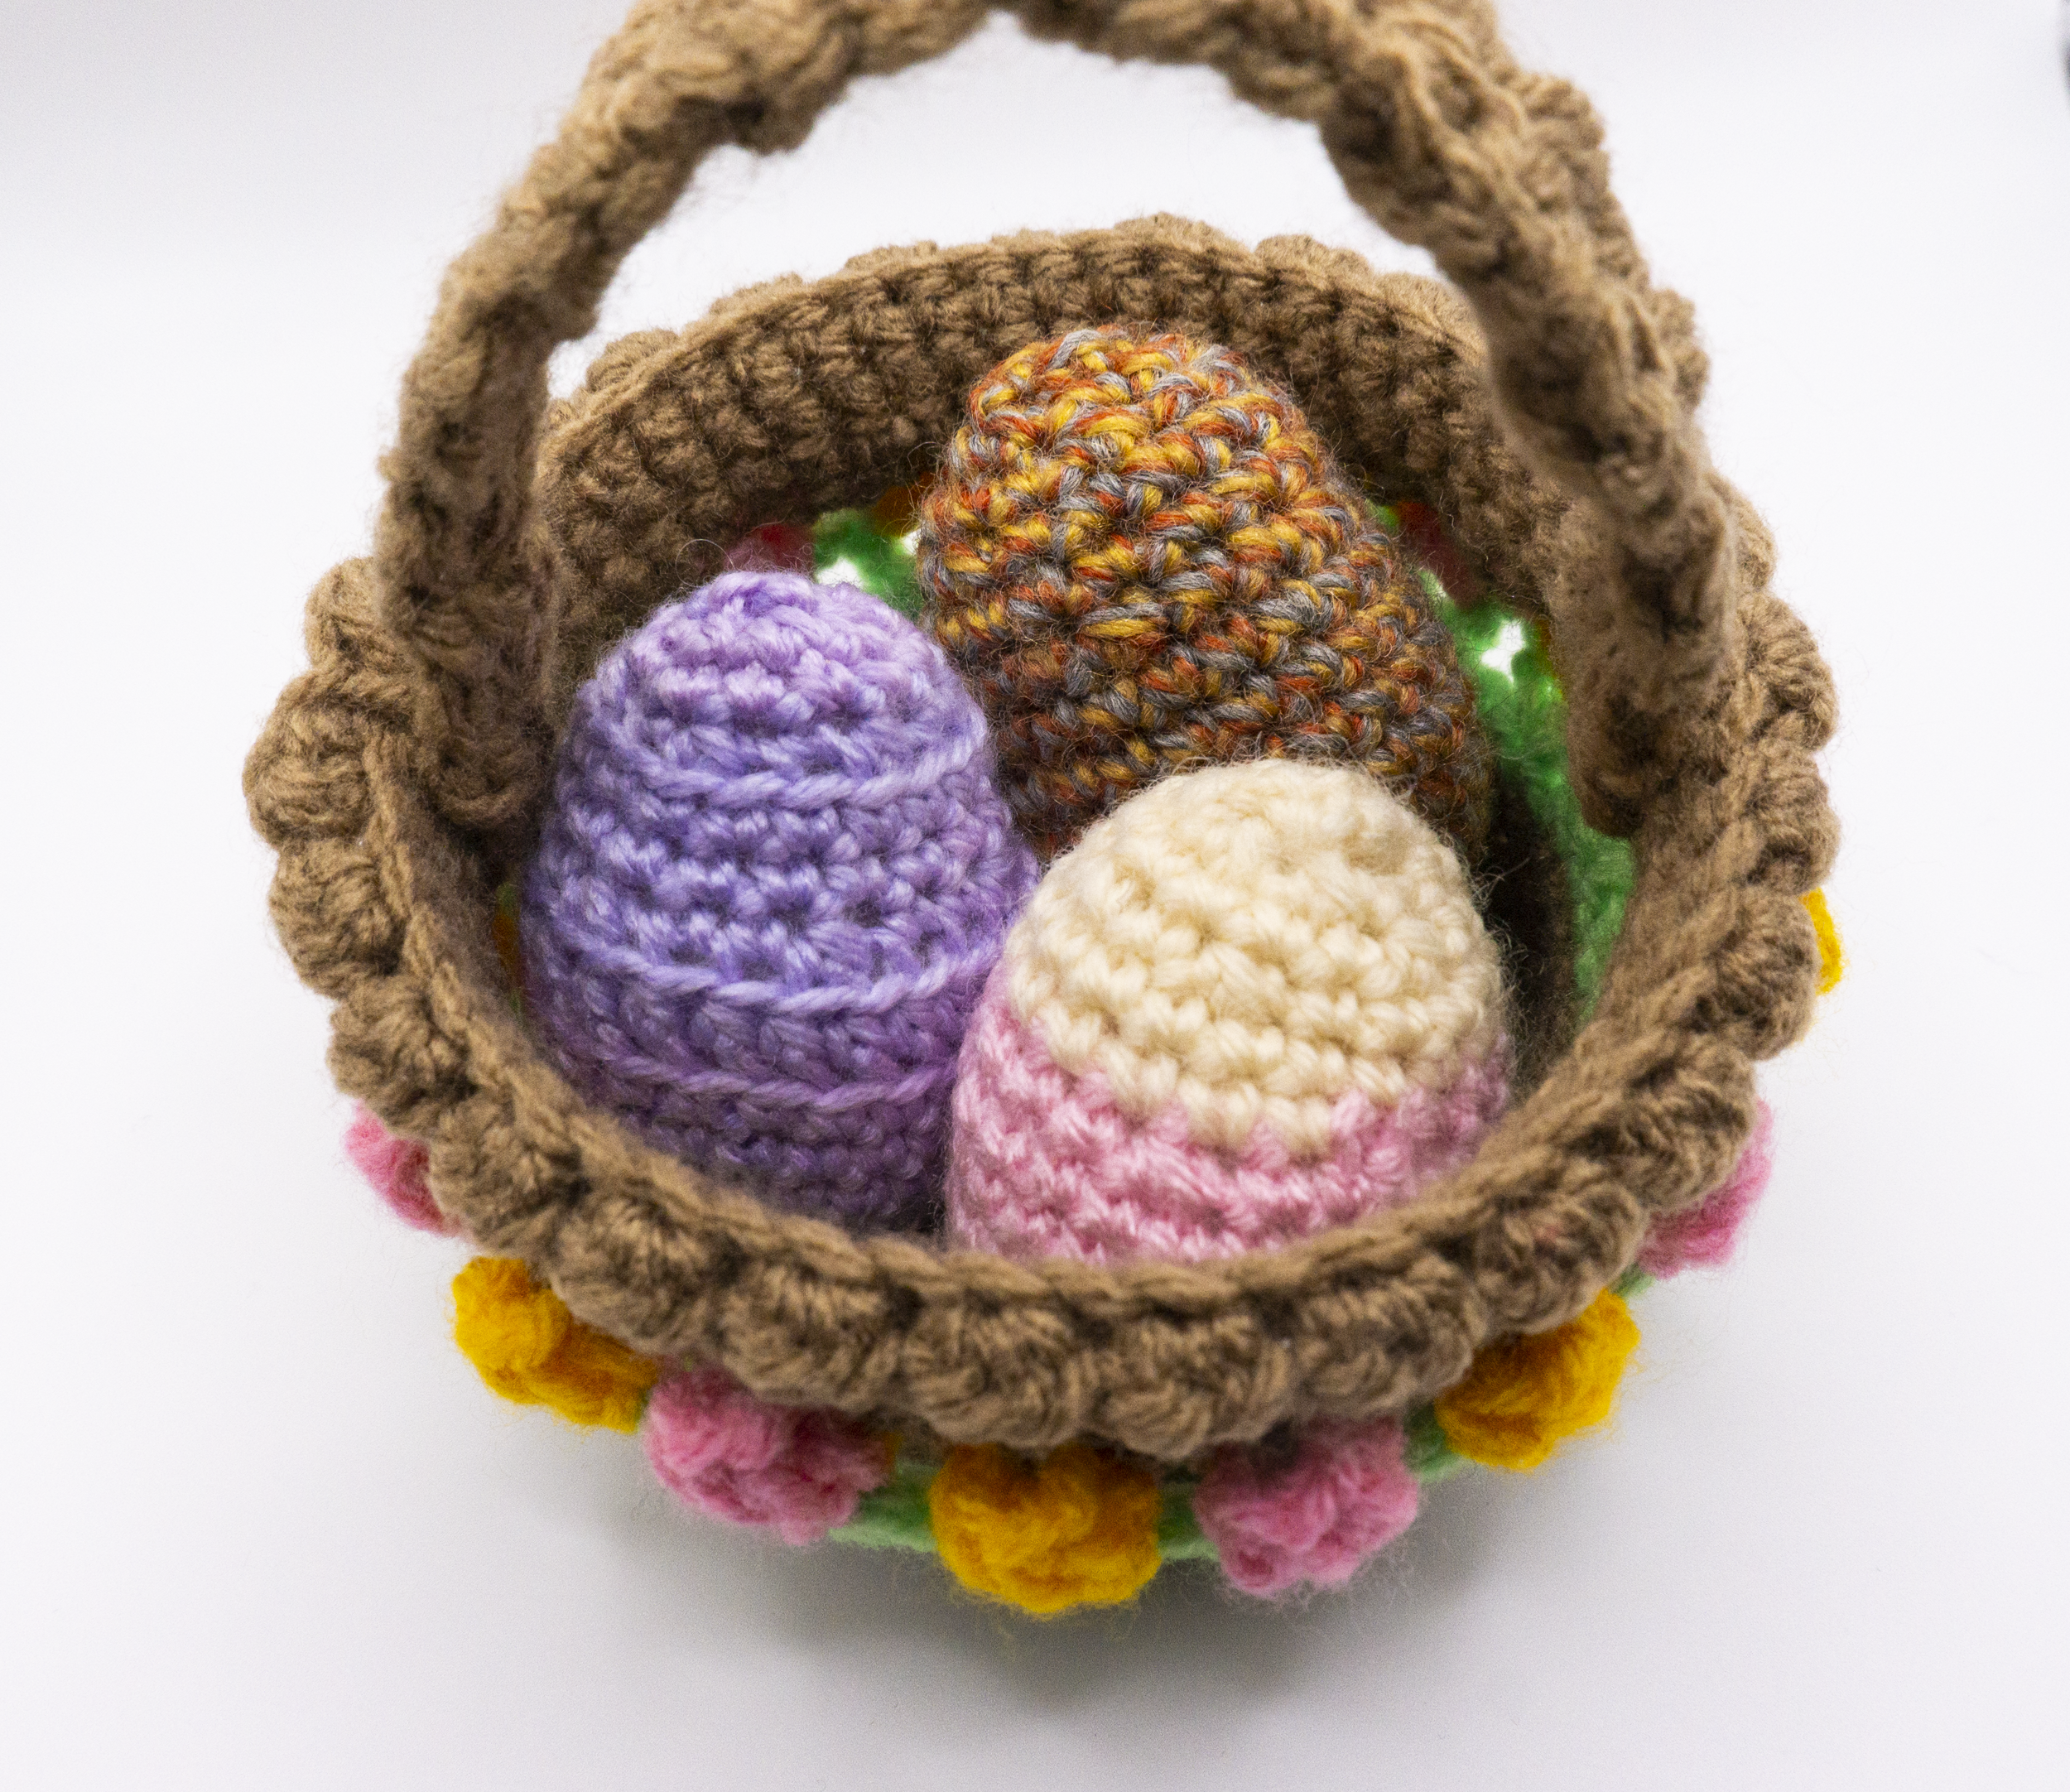
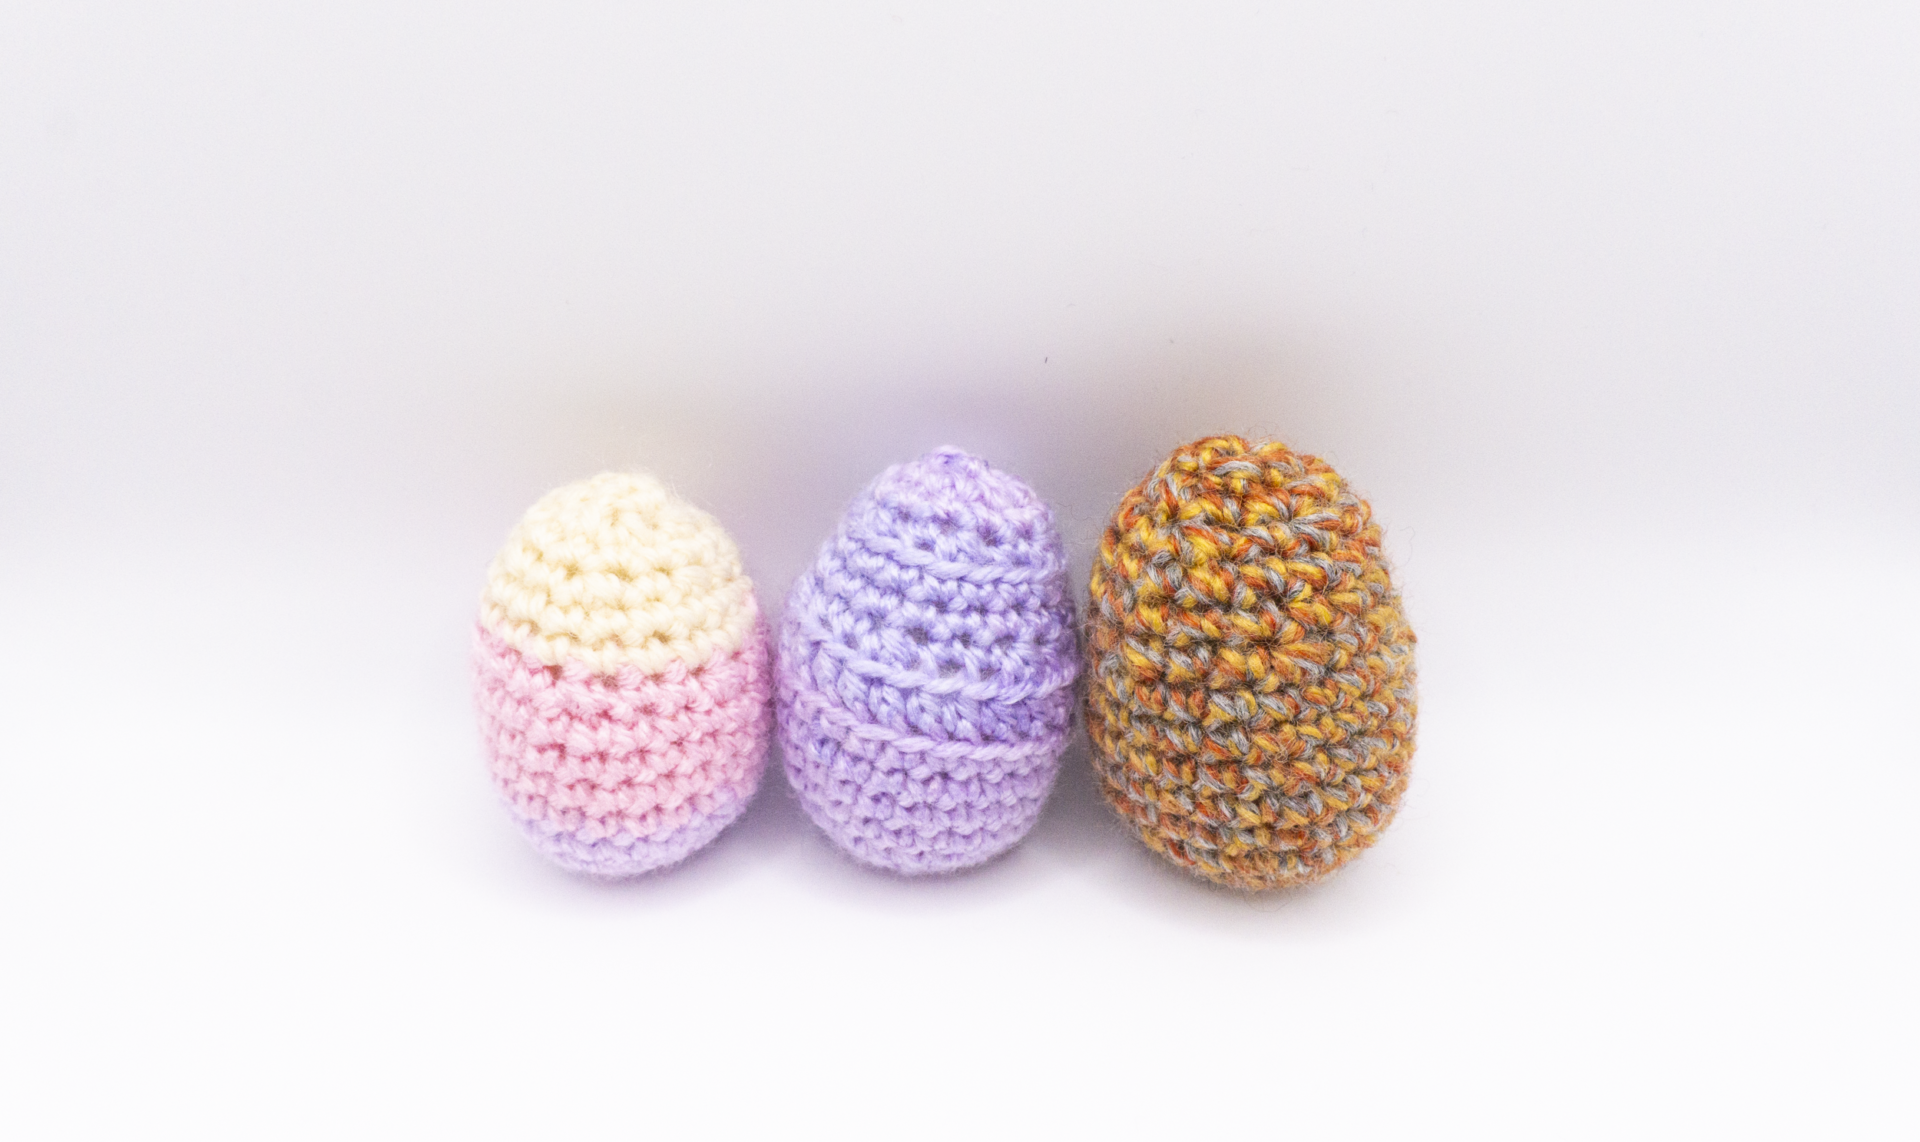
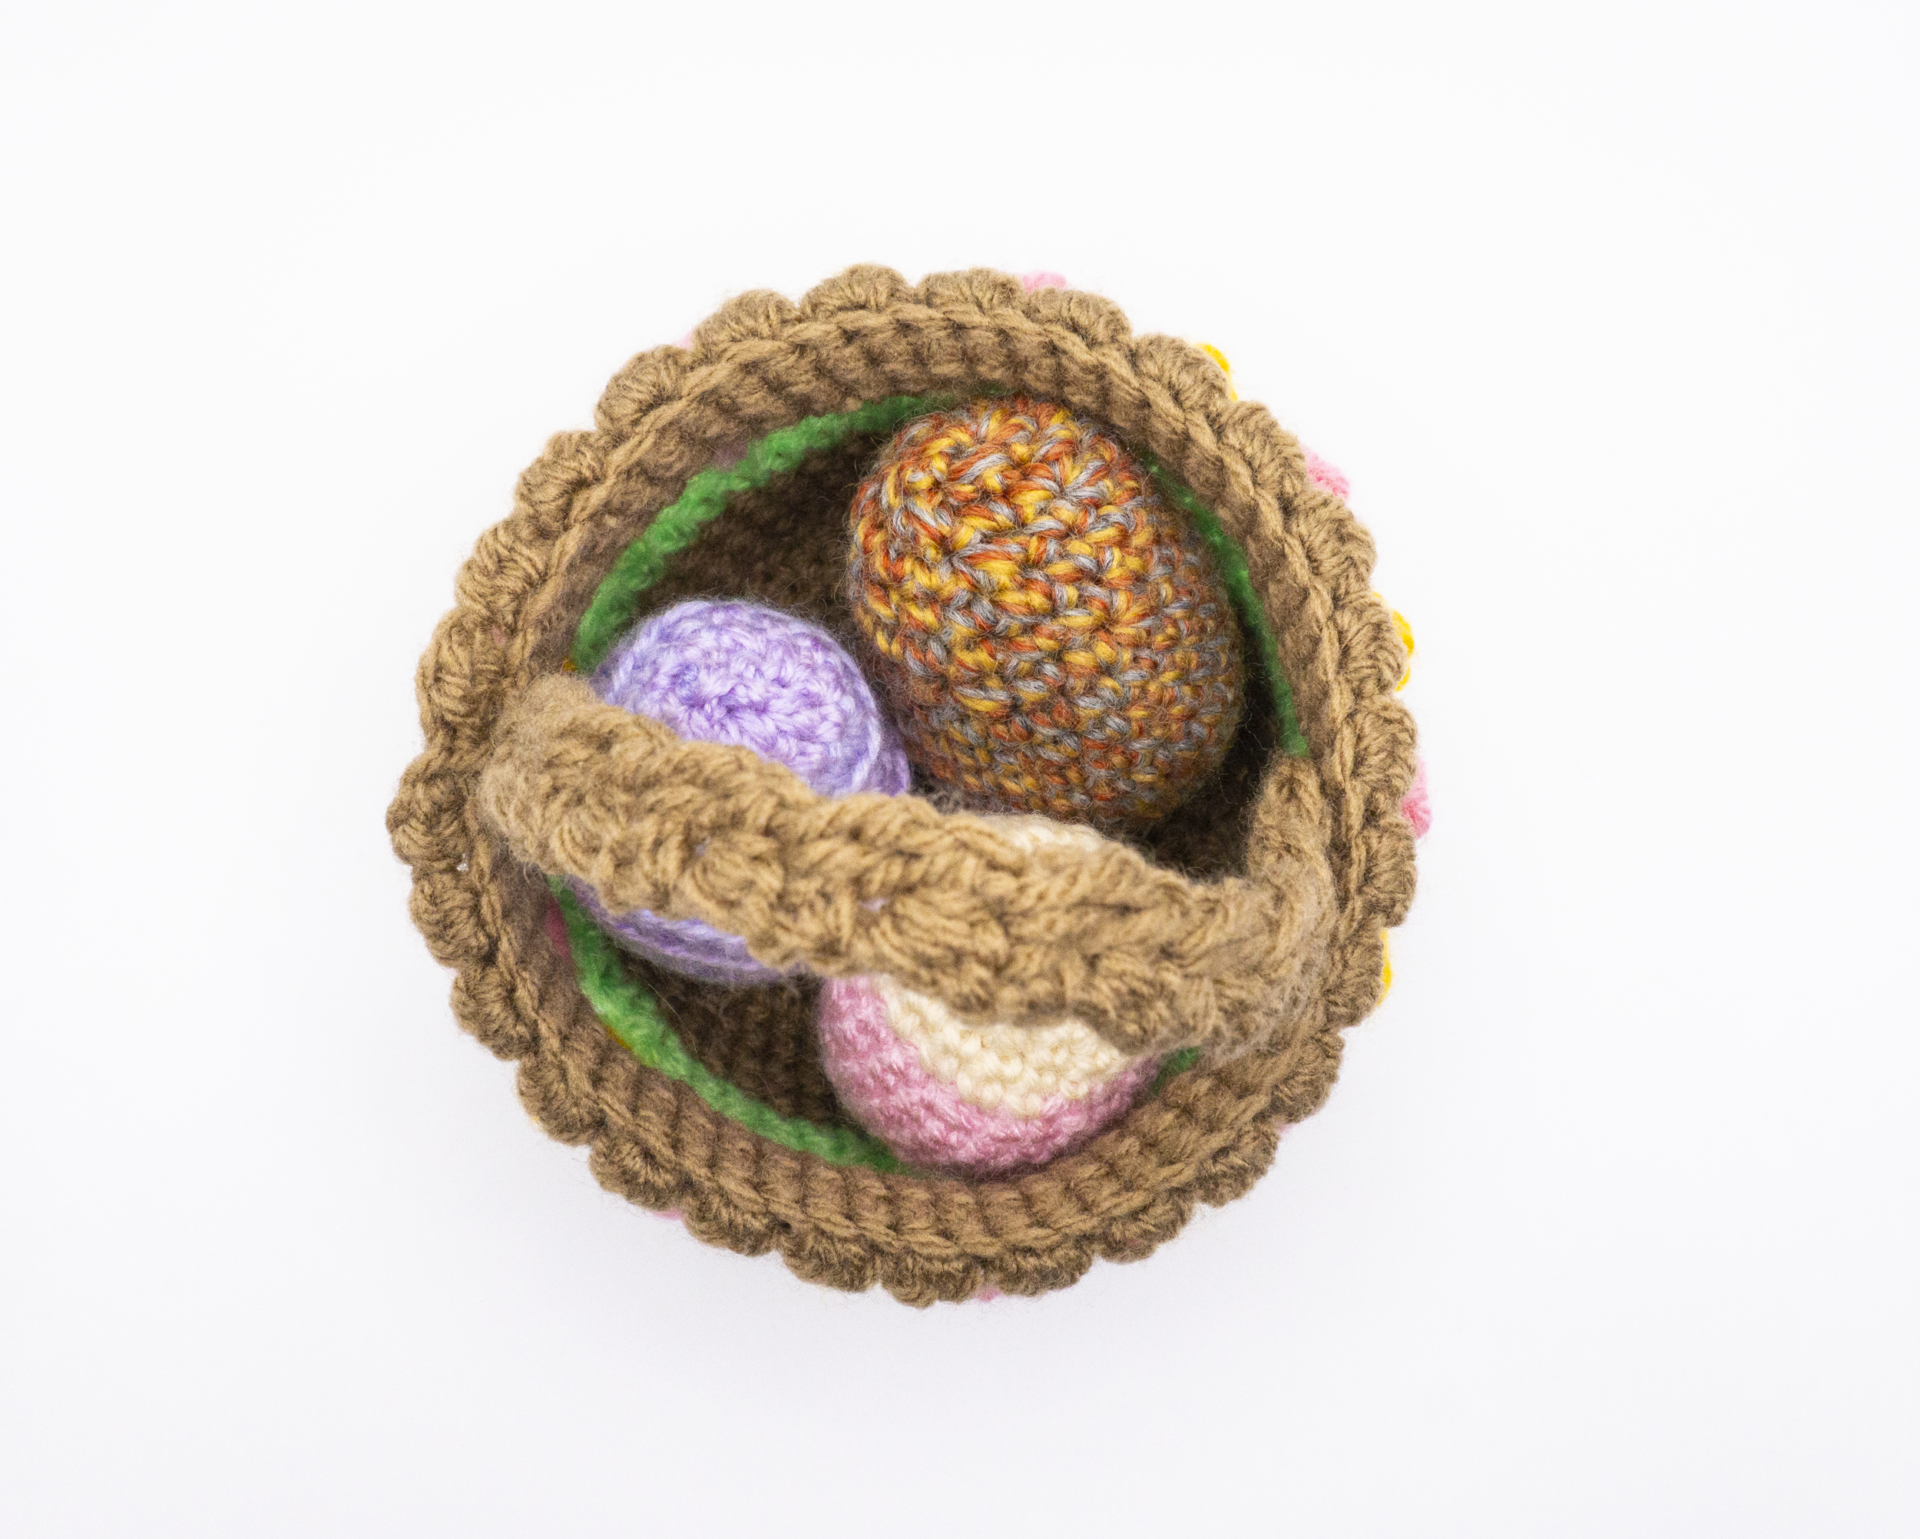
Today I wanted to share one pattern, but by making a few changes to them you can make many different eggs with just a few different stitches or colour changes. You can use them for decorations or add it to your egg hunt this year! Remember to check out my pattern for the tulip basket to use on your egg hunting day!
Materials: Crochet Easter Egg
- 3.00 mm (D) Hook
- DK Yarn (I used Loops and Thread and some yarn scraps)
- Scissors
- Stitch Marker
- Stuffing
- Tapestry Needle
Abbreviations
| SC – Single Crochet | BLO – Back Loop Only | HDC – Half Double Crochet |
| MR – Magic Ring | SC2TOG – Single Crochet Two Stitches Together | FLO – Front Loop Only |
| ST(s) – Stitch(es) | FO – Finish Off |
Pattern: Crochet Easter Egg
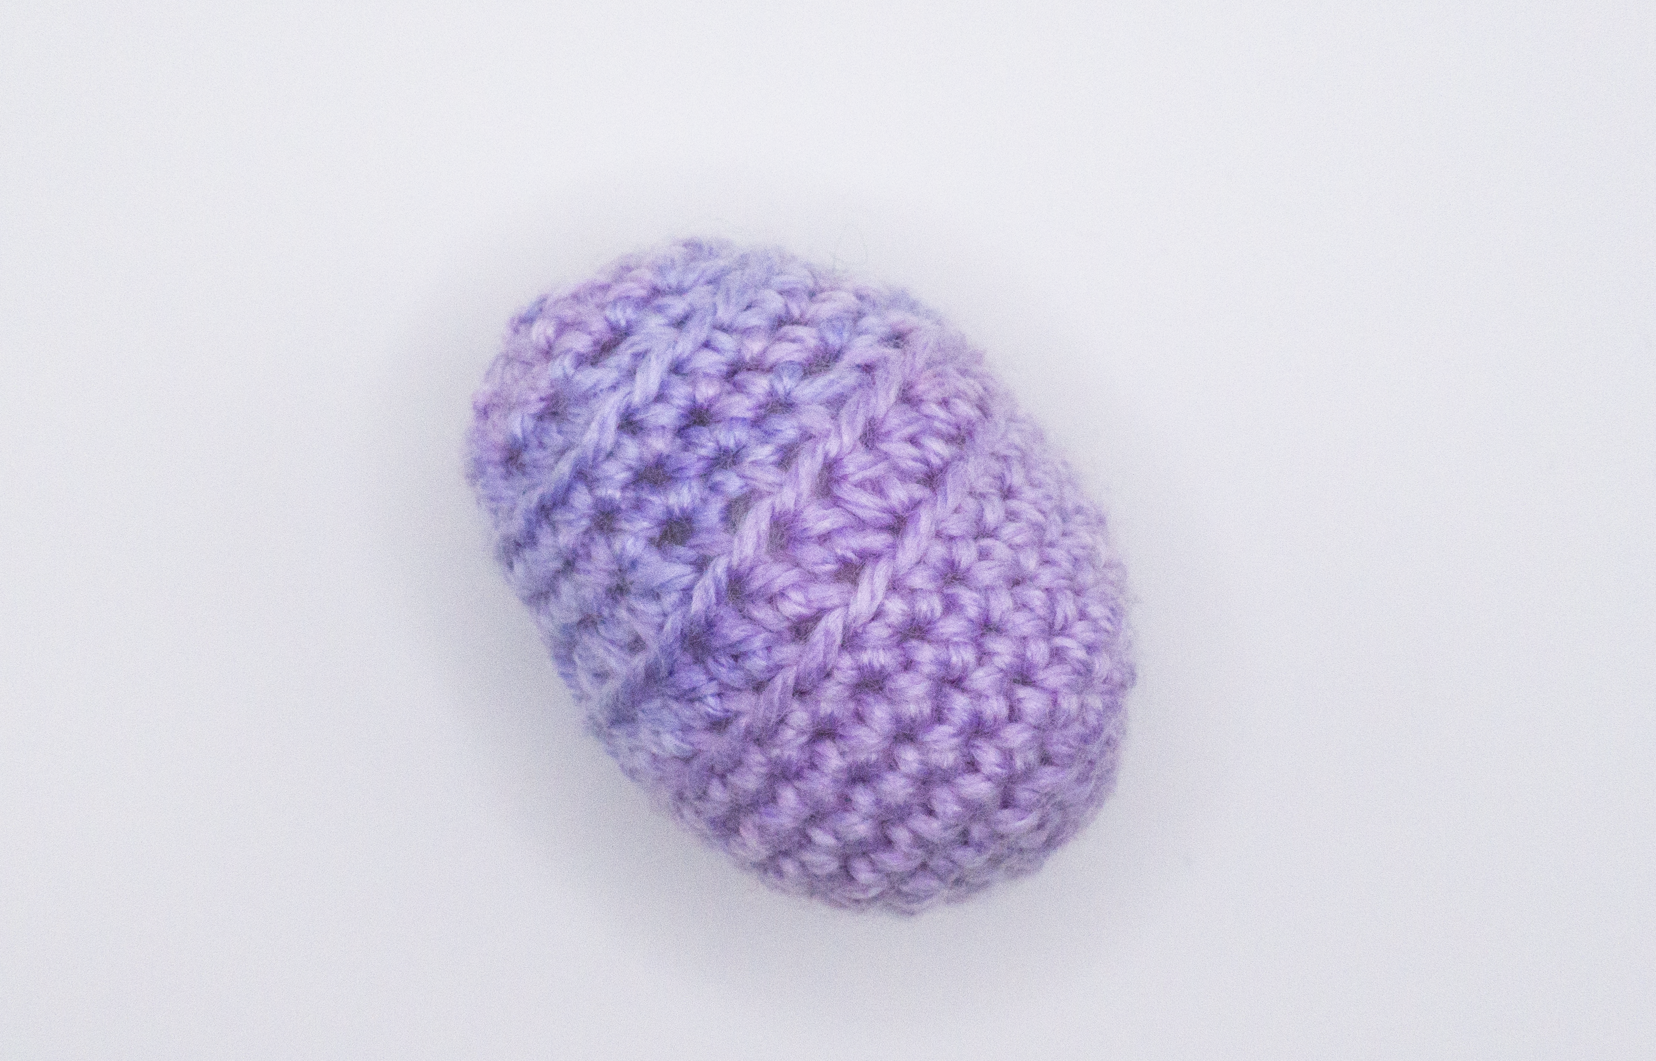
Egg 1 (Ridges)
Round 1: 6 SC in MR (6)
Round 2: 2 SC in each (12)
Round 3: 1 SC, 2 SC in next. Repeat around. (18)
Round 4: 1 SC in next 2 STs, 2 SC in next. Repeat around. (24)
Round 5 – 8: 1 SC in each around (24)
Round 9: 1 HDC in BLO in each around (24)
Round 10: In BLO: 1 SC in next 2 STs, SC2TOG in next. Repeat around. (18)
Round 11 – 12: 1 SC in each around (18)
Round 13: In BLO: 1 SC in next ST, SC2TOG in next. Repeat around. (12)
Start Stuffing.
Round 14: 1 SC in each around (12)
Round 15: SC2TOG. Repeat around. (6) Finish Stuffing
FO by sewing in the FLO for a clean finish.
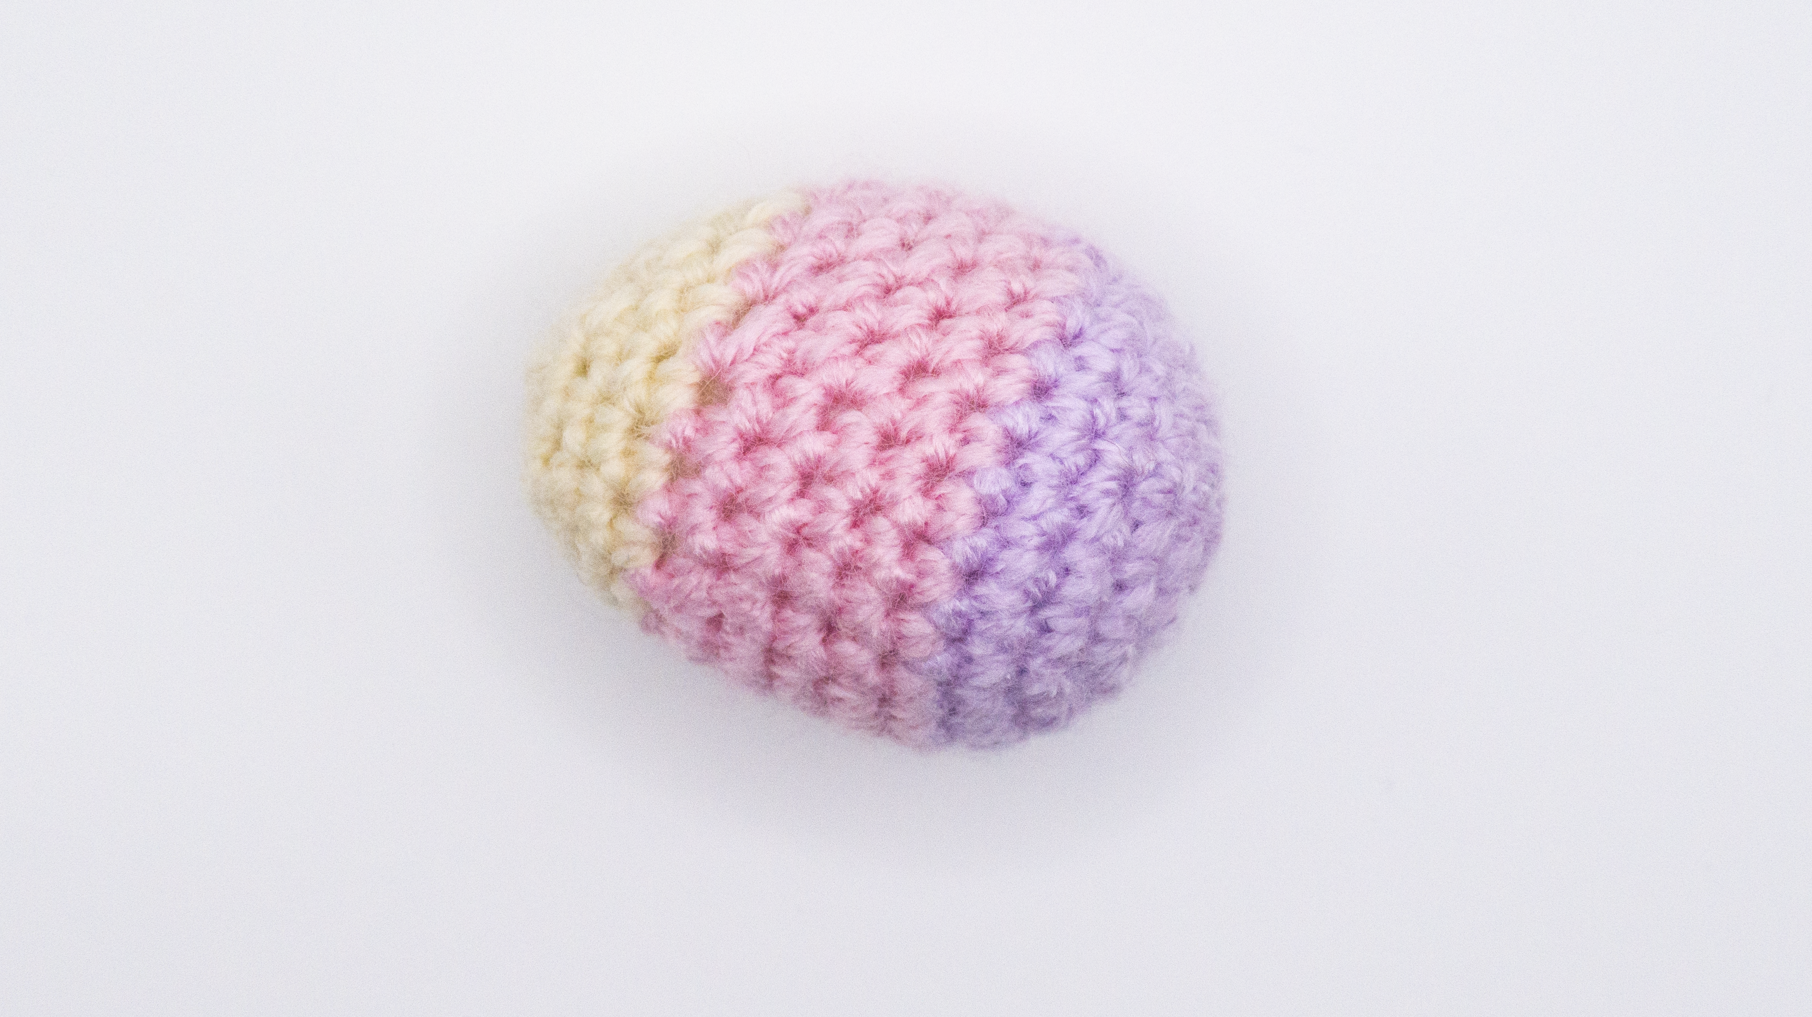
Egg 2 (Colour Changes)
Round 1: 6 SC in MR (6)
Round 2: 2 SC in each (12)
Round 3: 1 SC, 2 SC in next. Repeat around. (18)
Round 4: 1 SC in next 2 STs, 2 SC in next. Repeat around. (24)
Round 5 – 9: 1 SC in each around (24) *Change colour after round 5*
Round 10: 1 SC in next 2 STs, SC2TOG in next. Repeat around. (18) *Change colour after round 10*
Round 11 – 12: 1 SC in each around (18)
Round 13: 1 SC in next ST, SC2TOG in next. Repeat around. (12)
Start Stuffing.
Round 14: 1 SC in each around (12)
Round 15: SC2TOG. Repeat around. (6)
FO by sewing in the FLO for a clean finish.
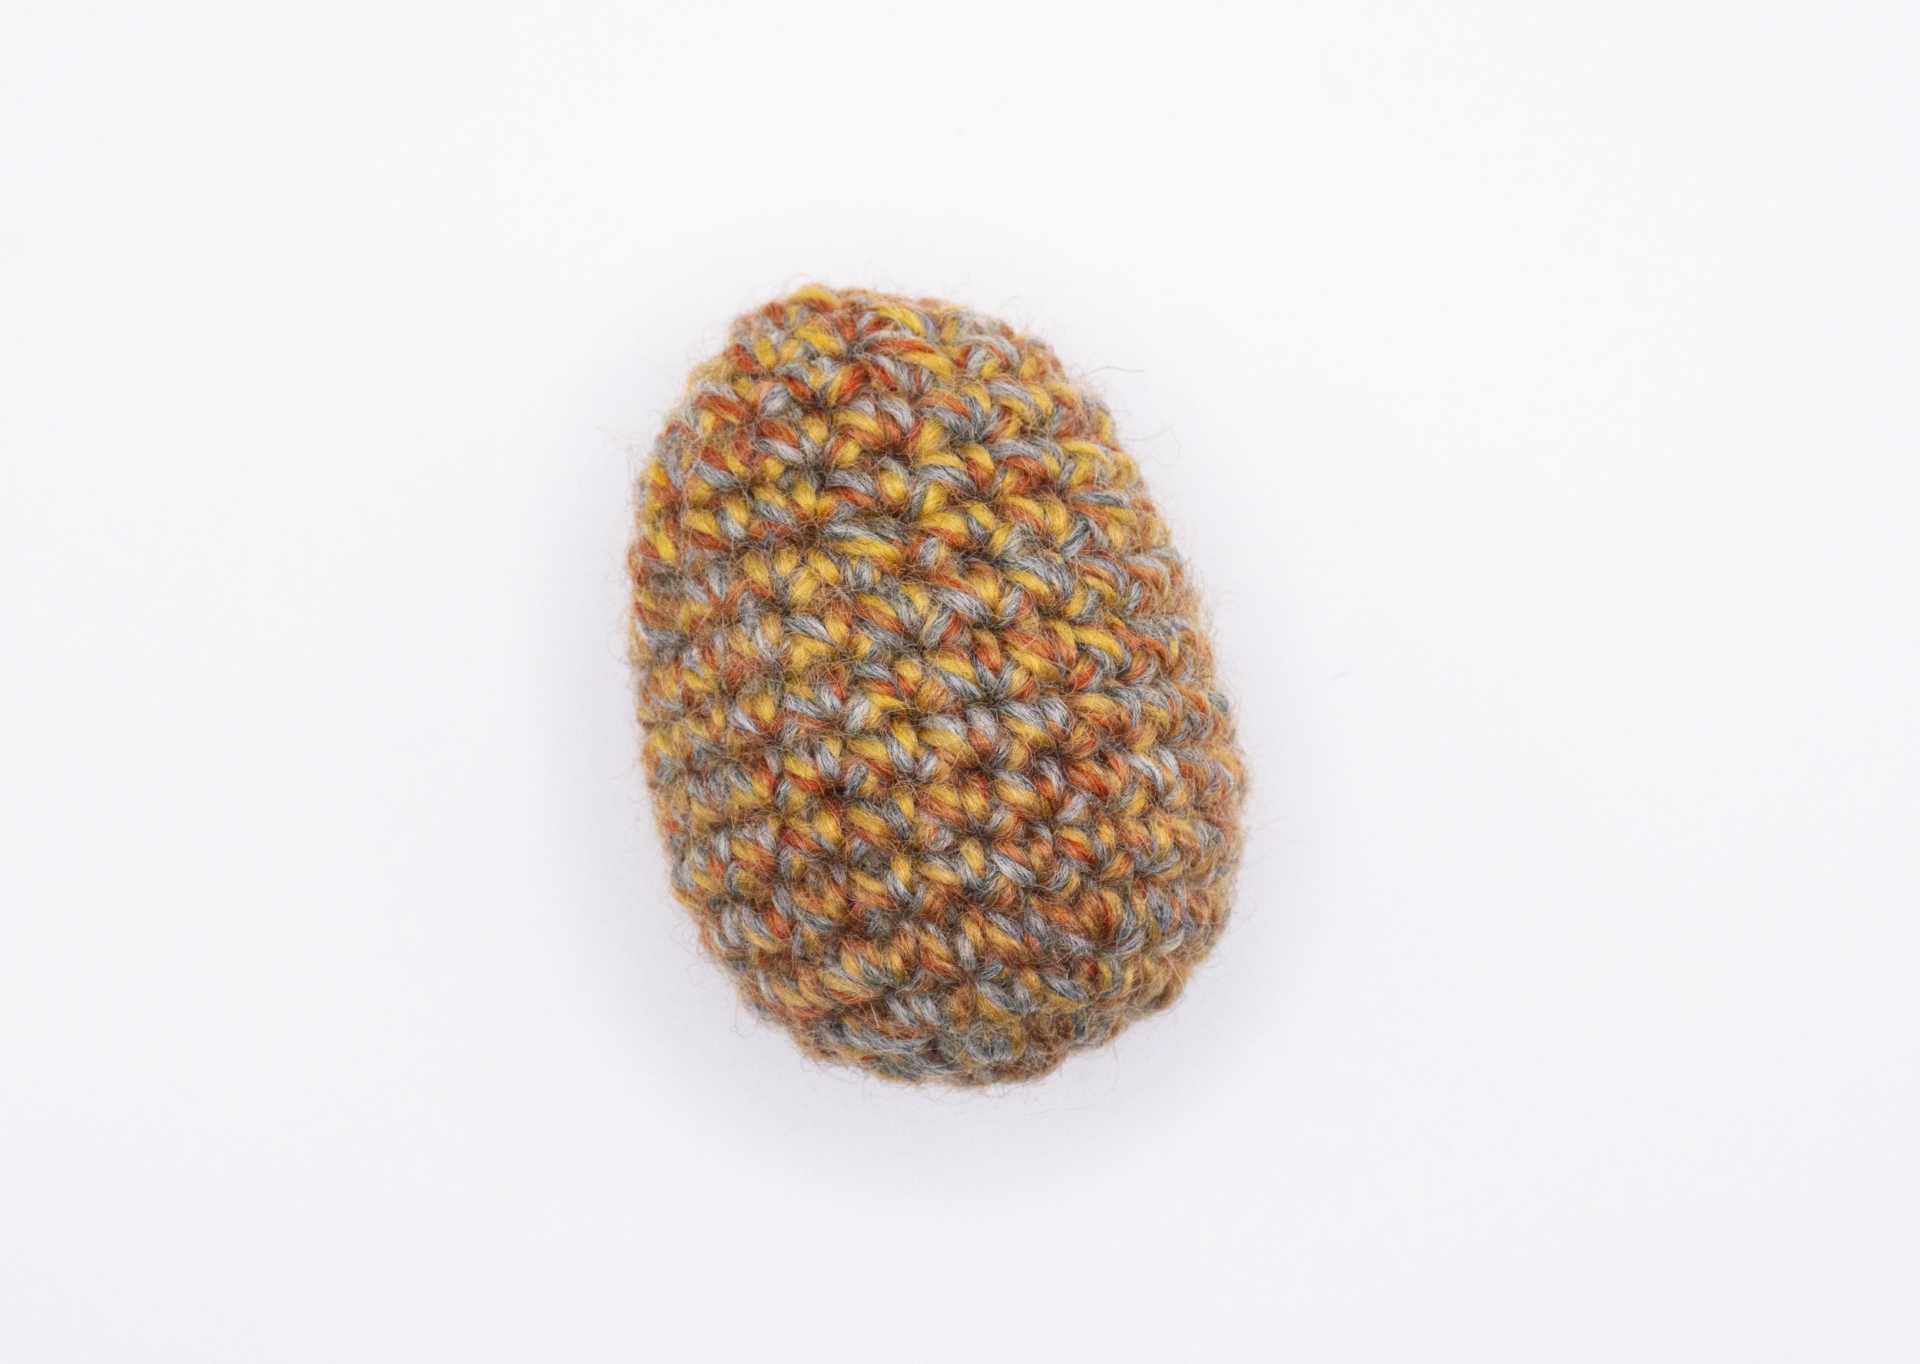
Egg 3 (Variegated Yarn, Flat)
Round 1: 6 SC in MR (6)
Round 2: 2 SC in each (12)
Round 3: 1 SC, 2 SC in next. Repeat around. (18)
Round 4: 1 SC in next 2 STs, 2 SC in next. Repeat around. (24)
Round 5 – 9: 1 SC in each around (24)
Round 10: 1 SC in next 2 STs, SC2TOG in next. Repeat around. (18)
Round 11 – 12: 1 SC in each around (18)
Round 13: 1 SC in next ST, SC2TOG in next. Repeat around. (12)
Start Stuffing.
Round 14: 1 SC in each around (12)
Round 15: SC2TOG. Repeat around. (6)
FO by sewing in the FLO for a clean finish.
Finishing Up
As you can see, with just a little adjustment to the pattern, you can created many different patterns for your crochet Easter eggs. Maybe do some colour changes to the ridged egg and you can create many cute little eggs to add to your Easter egg hunting adventures!
Happy Stitching!
Jessica


One Comment
Pingback: