Free Crochet Bucket Bag Pattern
Hi Everyone!
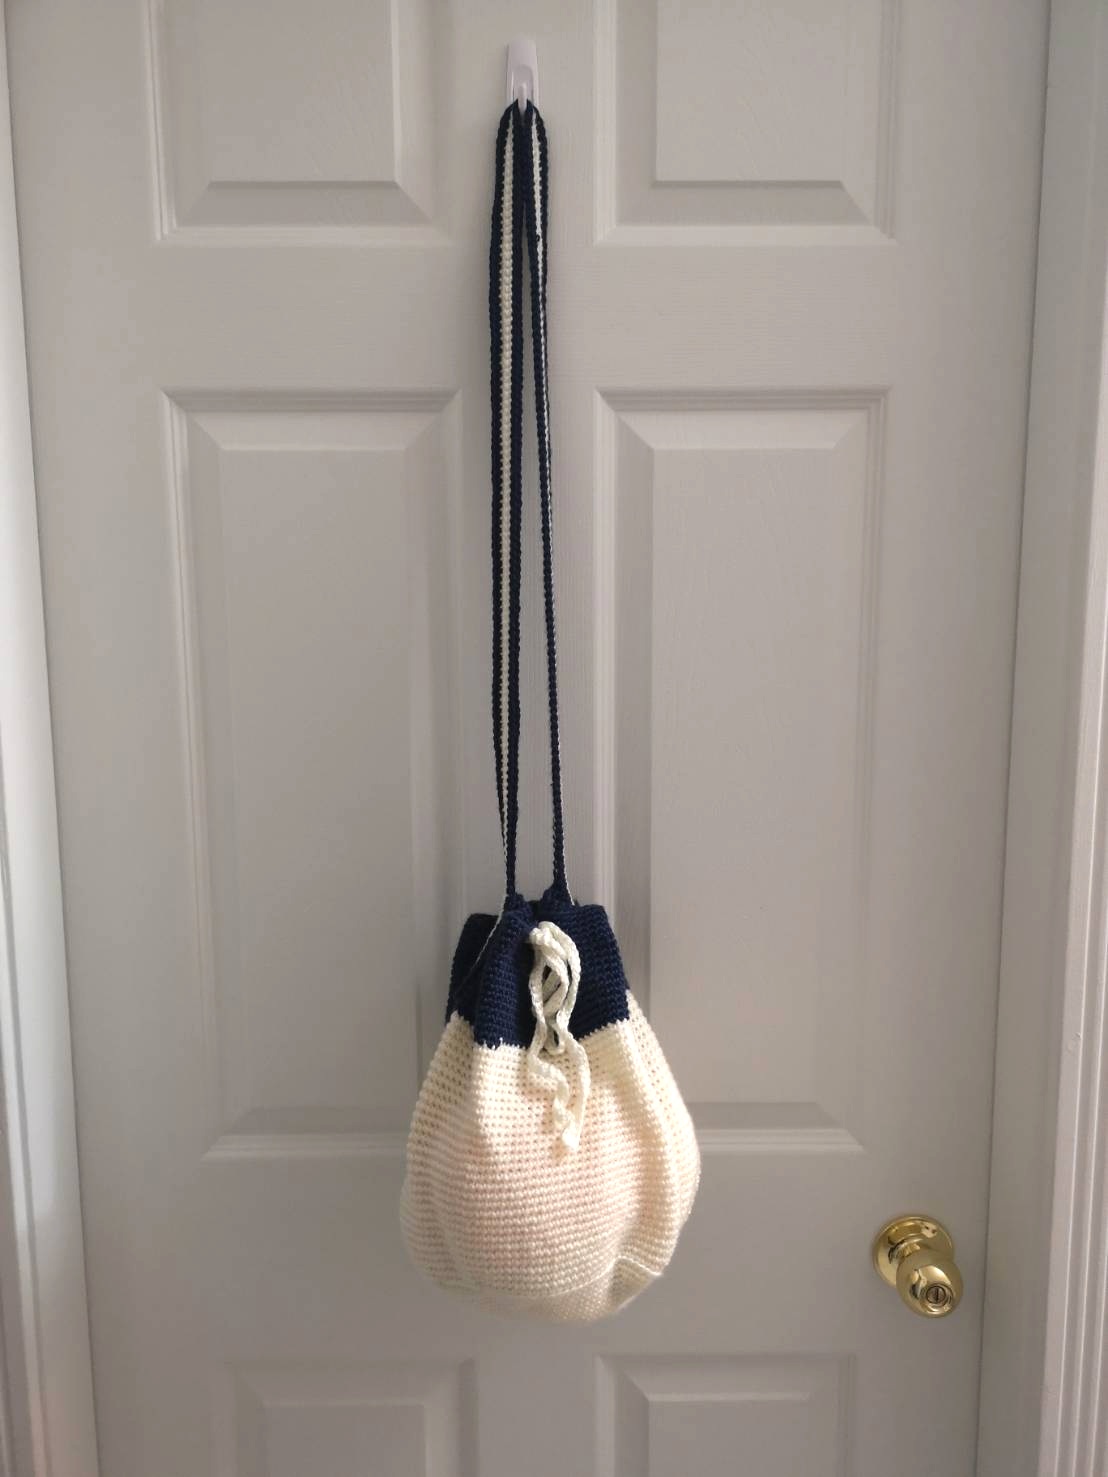
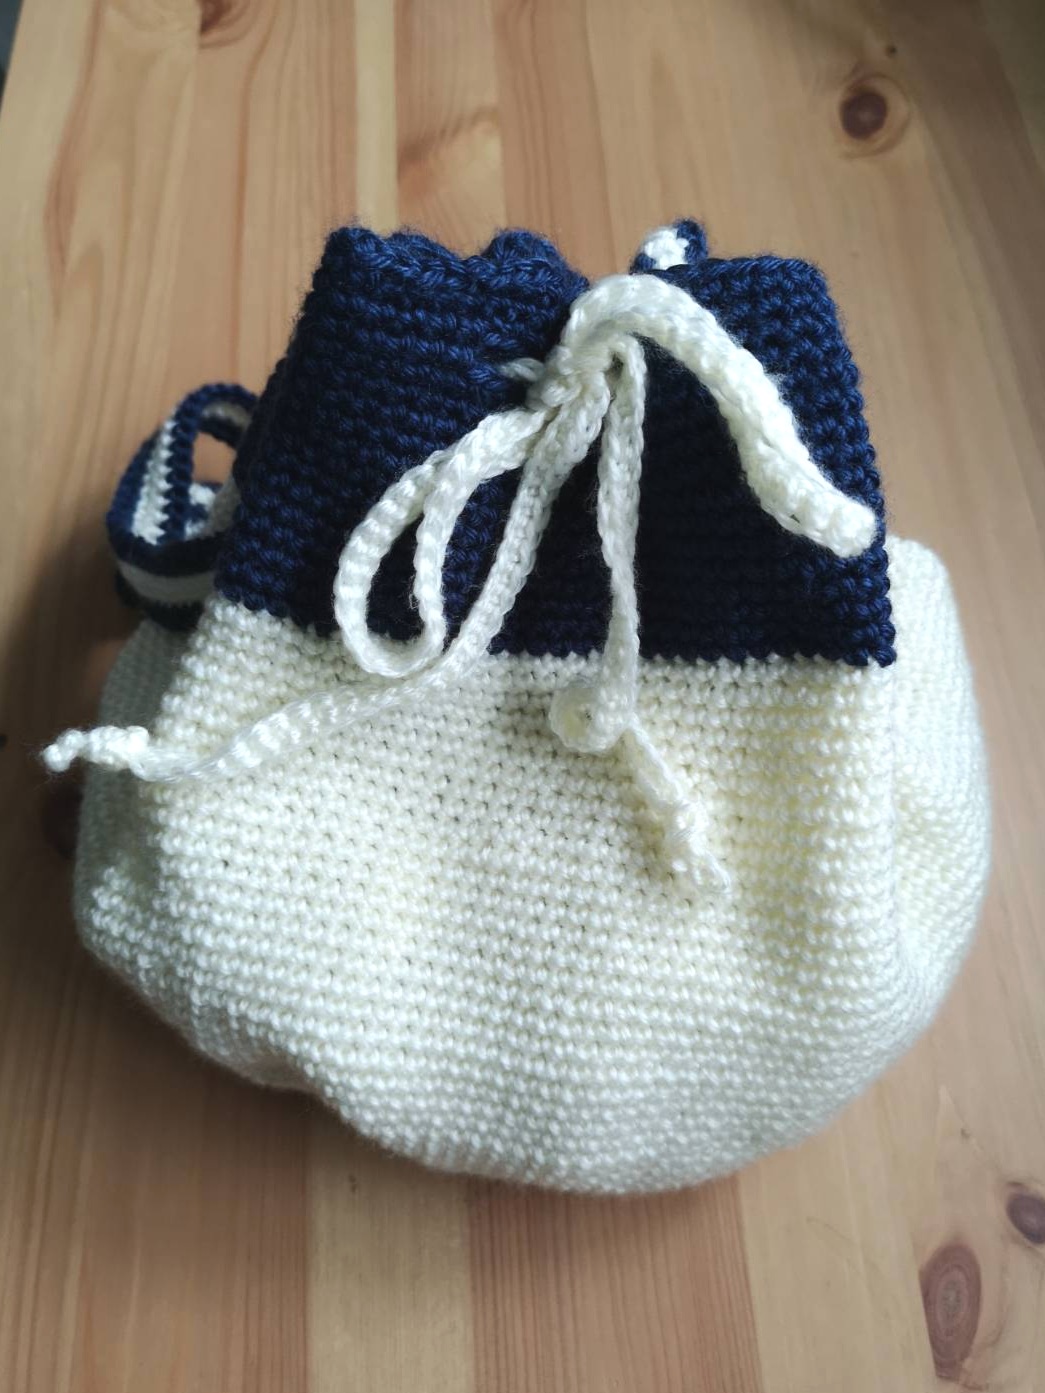
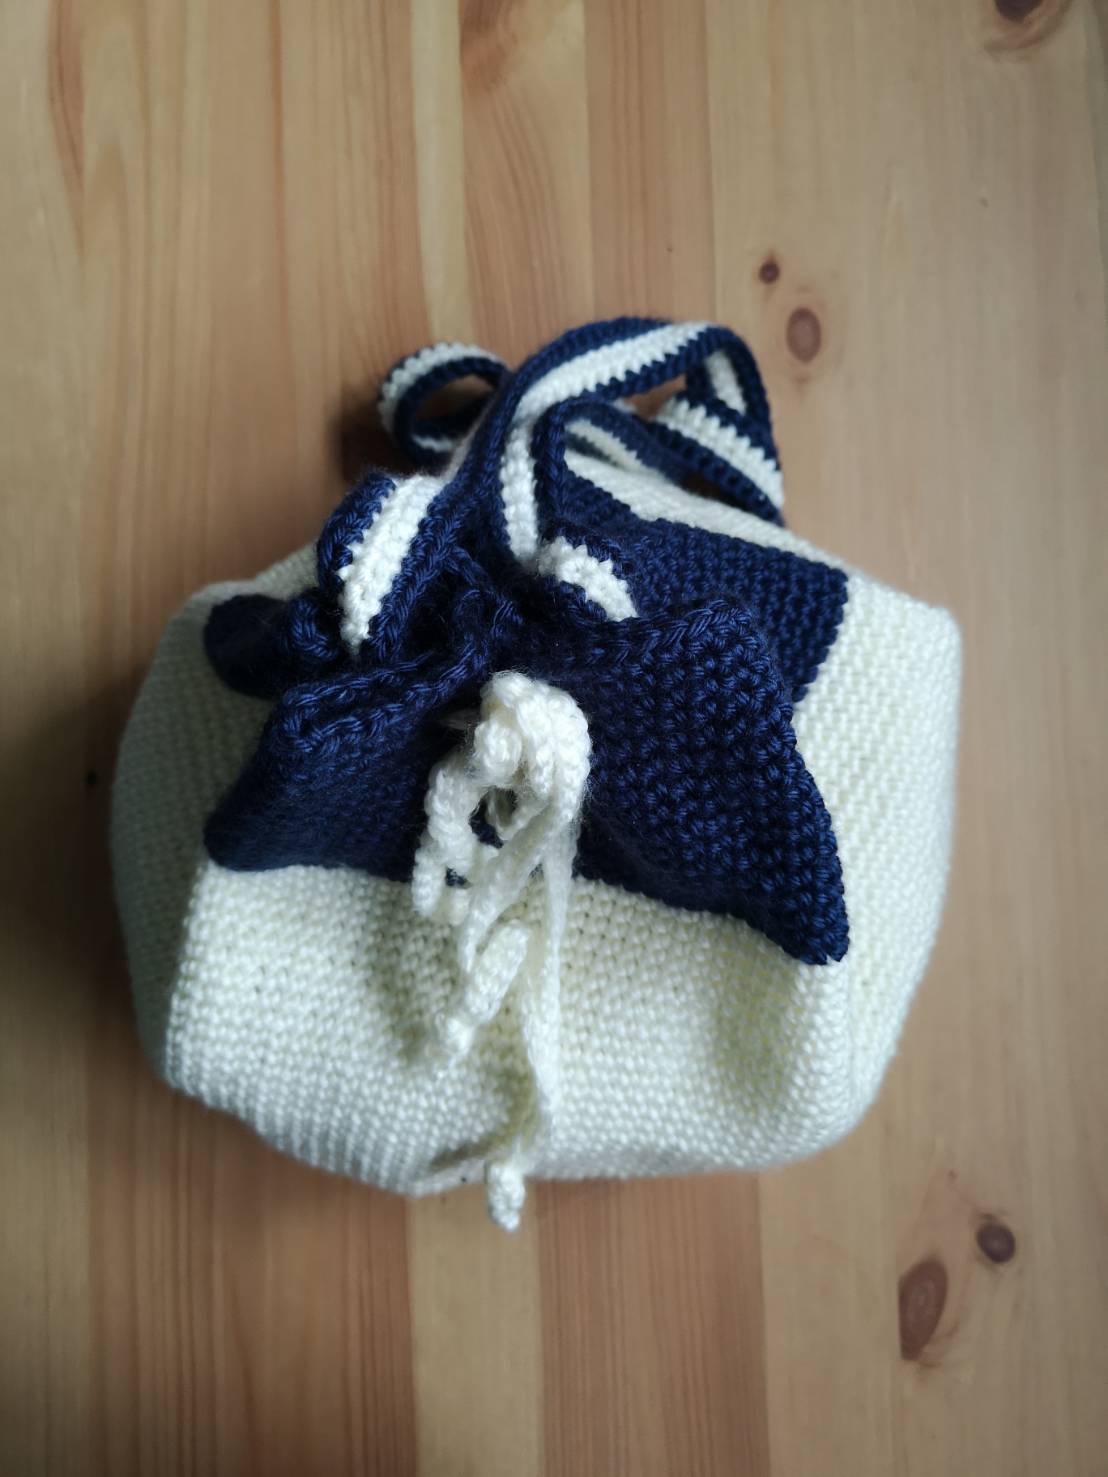
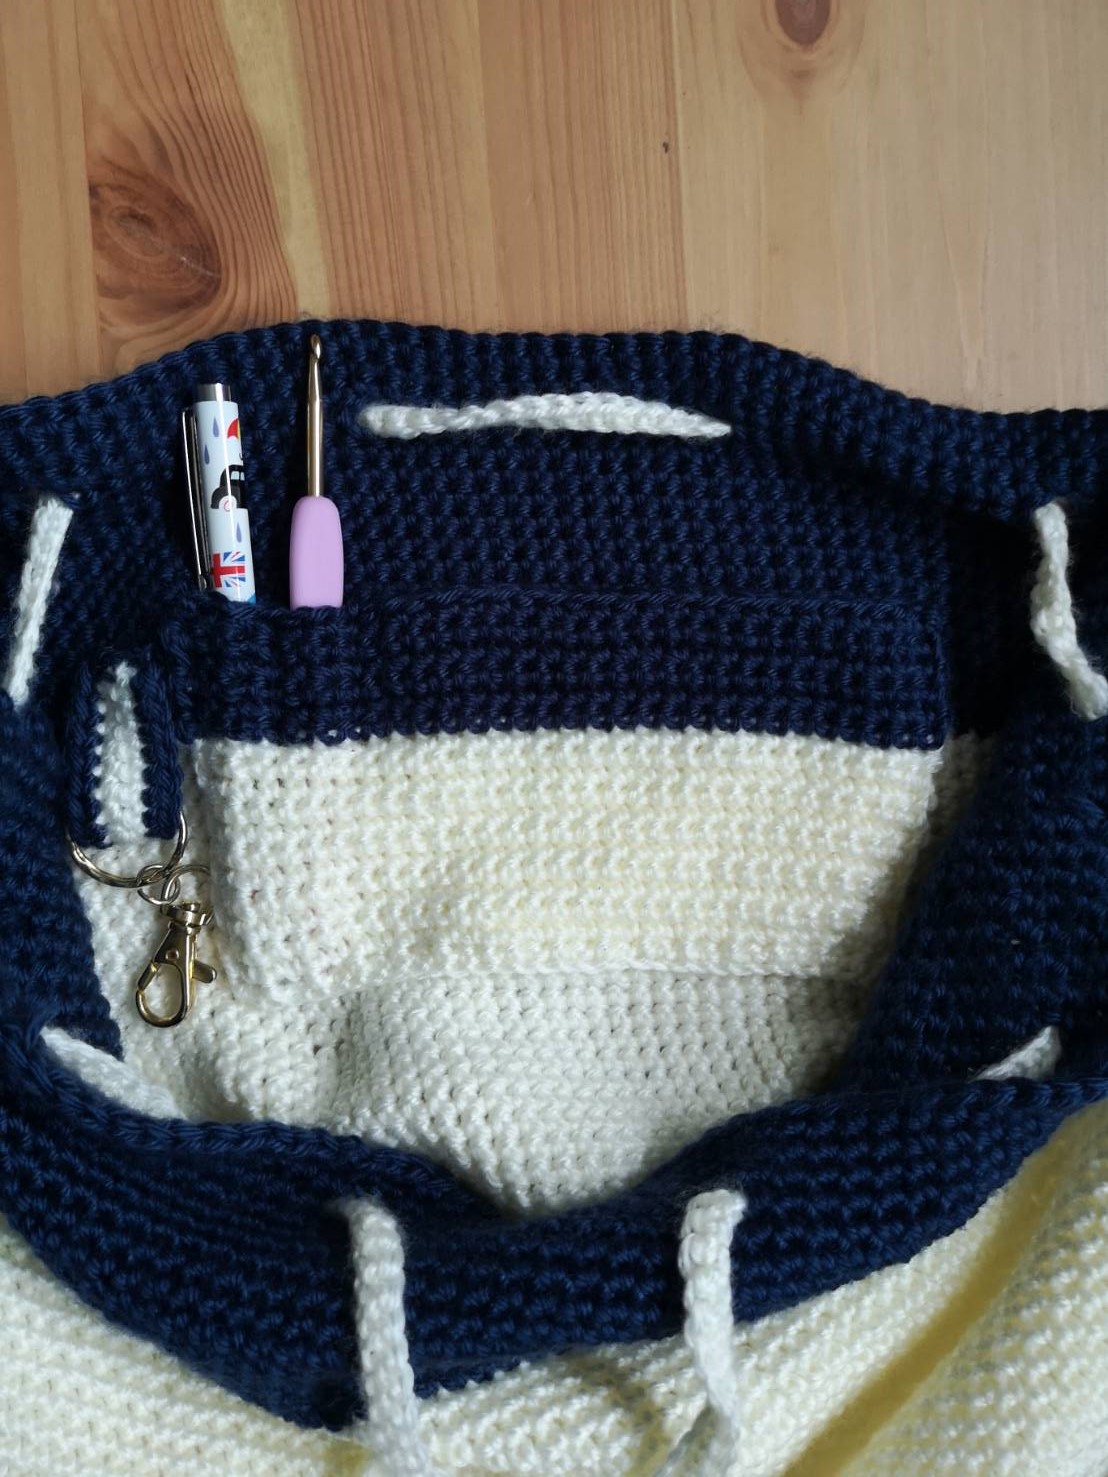
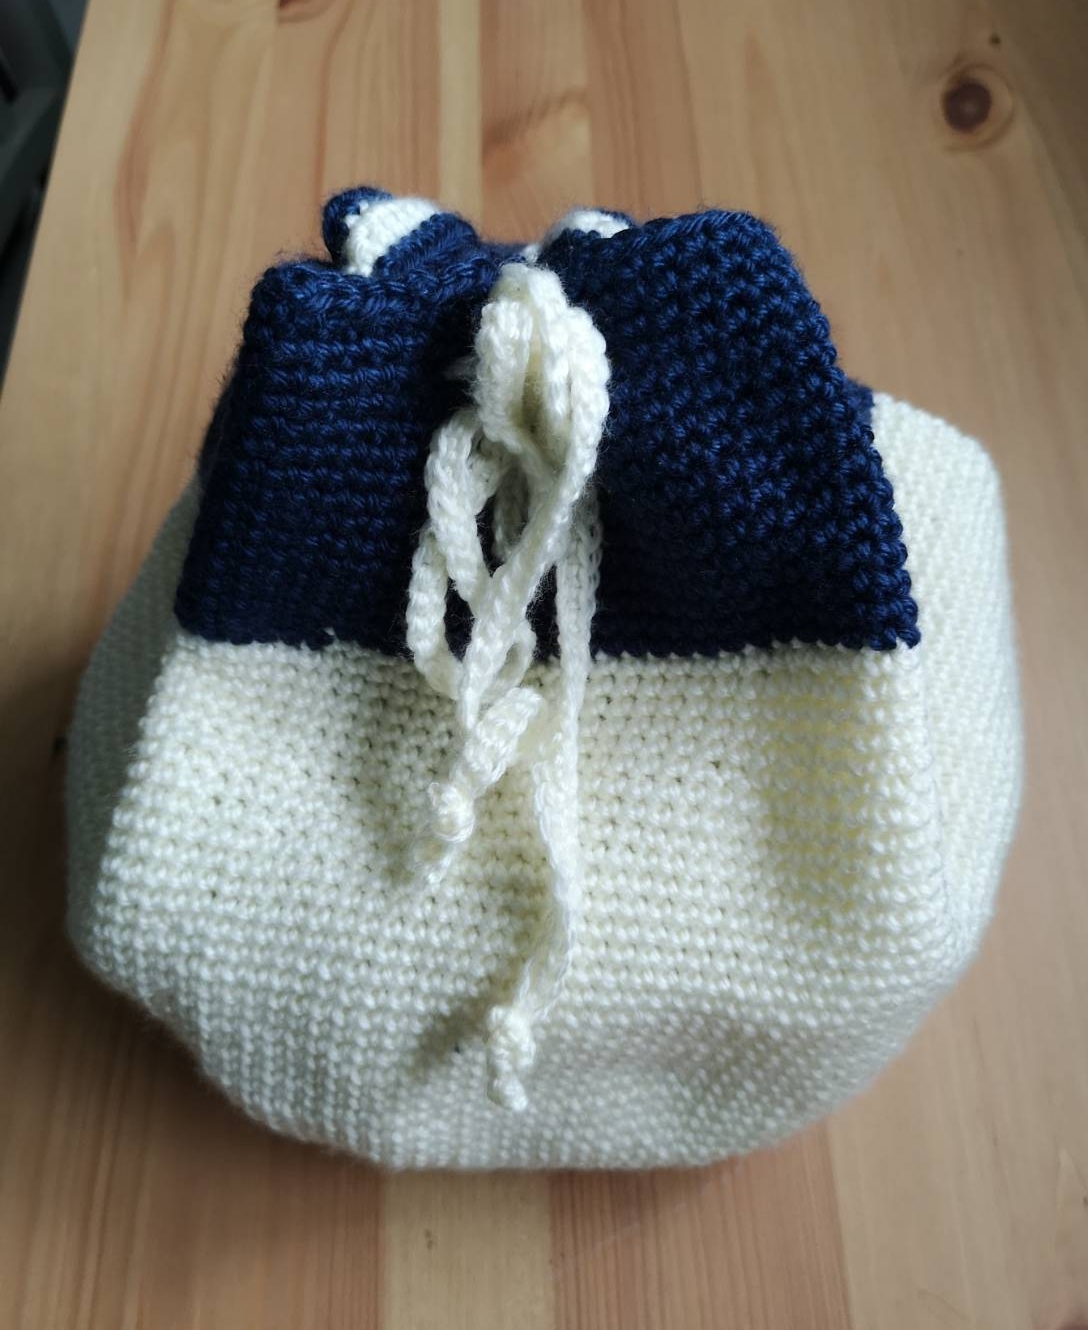
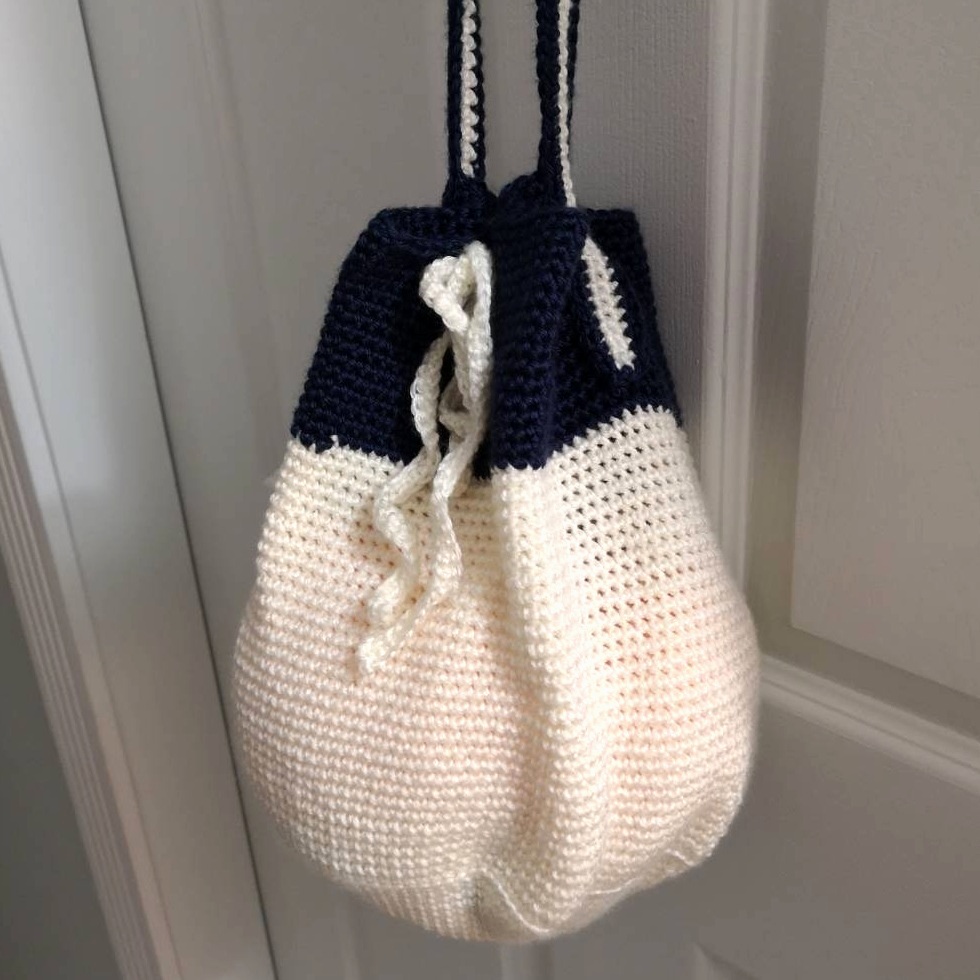
I know I haven’t shared with you a free pattern in a while! I was looking around all the shops trying to find a crochet bucket bag to use as my project bag as I had seen quite a few crafters with one, but I couldn’t find any I liked. That was when I decided to make my own! Originally this bag was supposed to be a floor poof, but I thought it would be great to turn it into a crochet bucket bag. I added a pocket and key ring holder and added a few little details for hooks or pens 🙂
I used Caron Simply Soft for this pattern, but feel free to use any Aran or Worsted weight yarn for your crochet bucket bag!
Pattern: Crochet Bucket Bag
Here is the pattern (Written in US terms):
Material – Crochet Bucket Bag
4.00 mm (G) Hook
Aran (4-Medium) Yarn (in contrasting colours if you would like)
Tapestry Needle
Stitch Marker
Key Ring (Optional)
Abbreviations – Crochet Bucket Bag
MR – Magic Ring
SC – Single Crochet
ST – Stitch
BKLO – Back Loop Only
CH – Chain
FO – Finish Off
Pattern
Bag Pattern – Starting in Beige (or the colour you want for the bottom of your bag)
Round 1: 6 SC in MR (6)
Place Stitch Marker at the beginning of each round.
Round 2: 2 SC in each ST around (12)
Round 3: *1 SC in next ST, 2 SC in next.* Repeat from * to * around. (18)
Round 4: *1 SC in next 2 STs, 2 SC in next.* Repeat from * to * around. (24)
Round 5: *1 SC in next 3 STs, 2 SC in next.* Repeat from * to * around. (30)
Round 6: *1 SC in next 4 STs, 2 SC in next.* Repeat from * to * around. (36)
Round 7: *1 SC in next 5 STs, 2 SC in next.* Repeat from * to * around. (42)
Round 8: *1 SC in next 6 STs, 2 SC in next.* Repeat from * to * around. (48)
Round 9: *1 SC in next 7 STs, 2 SC in next.* Repeat from * to * around. (54)
Round 10: *1 SC in next 8 STs, 2 SC in next.* Repeat from * to * around. (60)
Round 11: *1 SC in next 9 STs, 2 SC in next.* Repeat from * to * around. (66)
Round 12: *1 SC in next 10 STs, 2 SC in next.* Repeat from * to * around. (72)
Round 13: *1 SC in next 11 STs, 2 SC in next.* Repeat from * to * around. (78)
Round 14: *1 SC in next 12 STs, 2 SC in next.* Repeat from * to * around. (84)
Round 15: *1 SC in next 13 STs, 2 SC in next.* Repeat from * to * around. (90)
Round 16: *1 SC in next 14 STs, 2 SC in next.* Repeat from * to * around. (96)
Round 17: *1 SC in next 15 STs, 2 SC in next.* Repeat from * to * around. (102)
Round 18: *1 SC in next 16 STs, 2 SC in next.* Repeat from * to * around. (108)
Round 19: *1 SC in next 17 STs, 2 SC in next.* Repeat from * to * around. (114)
Round 20: *1 SC in next 18 STs, 2 SC in next.* Repeat from * to * around. (120)
Round 21: *1 SC in next 19 STs, 2 SC in next.* Repeat from * to * around. (126)
Round 22: *1 SC in next 20 STs, 2 SC in next.* Repeat from * to * around. (132)
Round 23: SC in BKLO around (132)
Round 24-52: SC around (132)
Change to Navy (or the colour you want for the top of your bag)
Round 53-64: SC around (132)
Round 65: *SC 11, CH 2, Skip 2 STs* Repeat from * to * 9 times. SC 12 in the next 12 STs, CH 2, Skip 2 STs (132)
Round 66-67: SC around (132)
FO. Weave in ends.
Draw String Pattern (In Beige)
Chain 181.
Row 1: SC in 2nd CH from the hook and till the end. (180)
FO. Weave in ends.
Crochet Bucket Bag Strap Pattern (Start with Beige)
Chain 191.
Row 1: SC in 2nd CH from hook and till the end. Turn. CH 1. (190)
Row 2: SC across. Turn. CH 1. (190)
Change to Navy.
Row 3: SC around the entire strap (384)
FO. Leave a long tail to sew strap onto the bag.
Pocket Pattern – Optional (Start with Beige)
Chain 31.
Row 1: SC in 2nd CH from hook and till end. Turn. CH 1. (30)
Row 2-11: SC across. Turn. CH 1. (30)
Change to Navy, but leave a long tail for the Beige.
Row 12-17: SC across. Turn. CH 1. (30)
FO. Leave a long tail to sew pocket onto the bag.
Key Ring Holder – Optional (Start with Beige)
Chain 17.
Row 1: SC in 2nd CH from hook and till end. Turn. CH 1. (16)
Change to Navy.
Row 2: SC around. (36)
FO. Leave long tail to sew key ring holder onto the bag.
Assembly: Crochet Bucket Bag
Assembly
Attaching Pocket – Optional
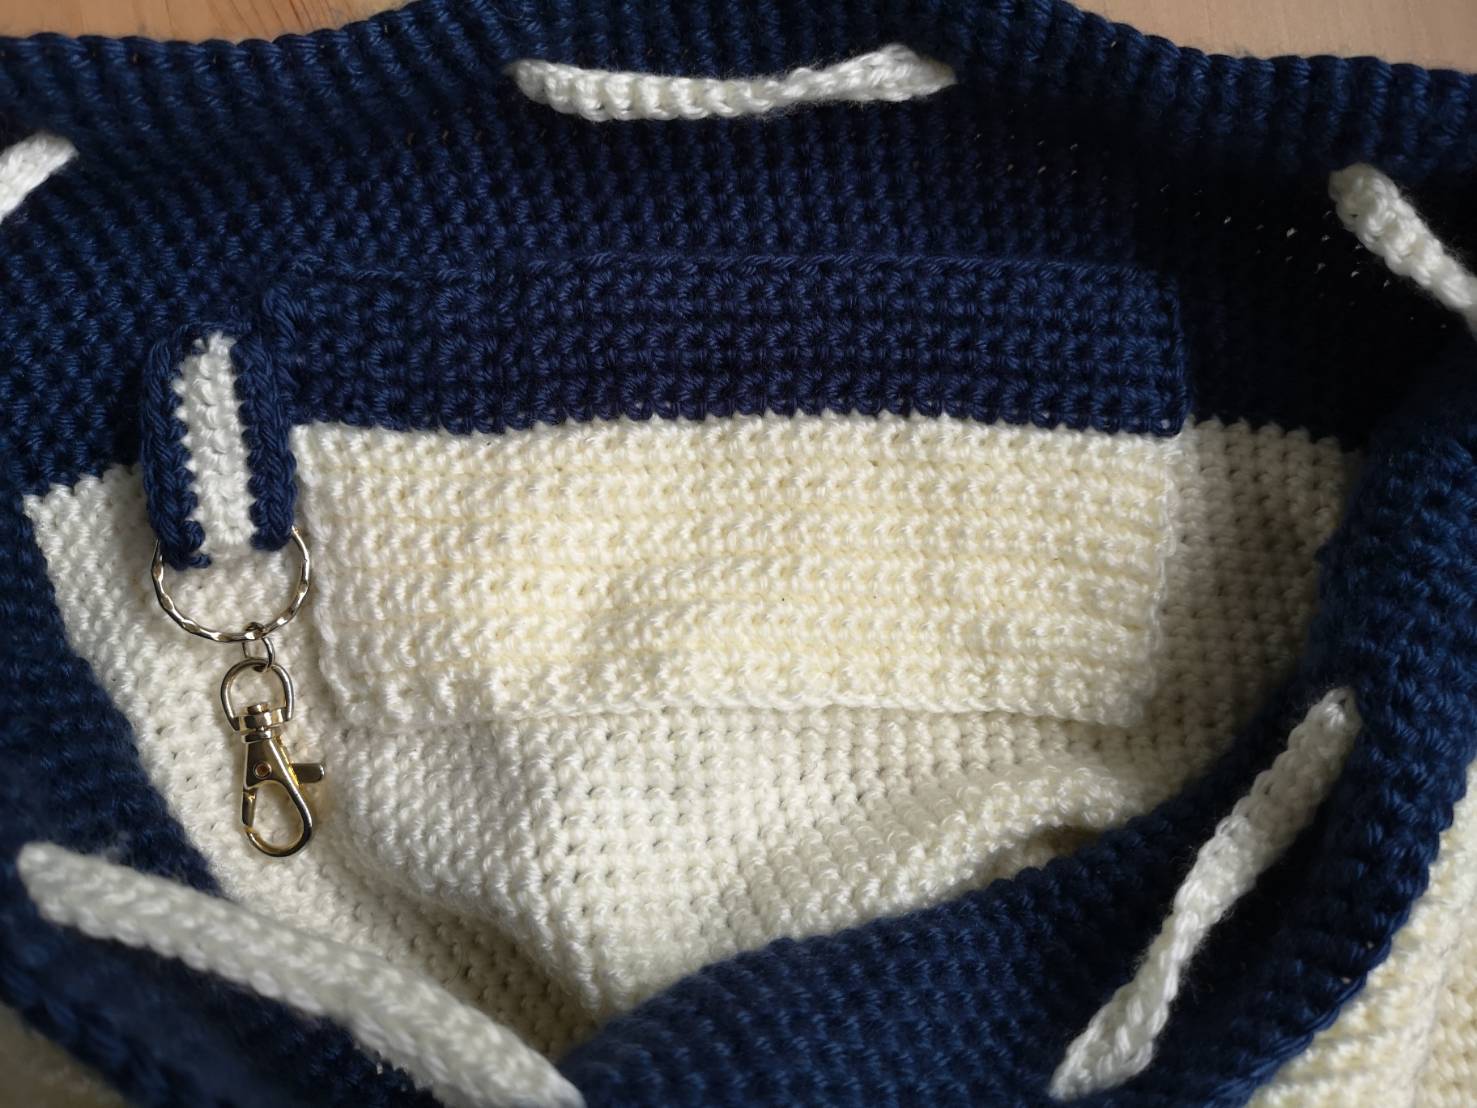
Flip the bag inside out. Pin the pocket with stitch markers and line it up with the colour changes of the bag. Sew the bottom of the pocket with the beige yarn and the top side edges with the navy yarn (or whatever colours you prefer). Using the navy yarn I stitched down the navy section of the pocket three SCs apart, till I reached the beige rows, for some added separation for when I put crochet hooks, needles, or pens in my bag, but this is totally optional!
Attaching the Key Ring Holder – Optional
While the bag is still flipped inside out, insert the key ring holder you crocheted into the key ring. Fold it in half and sew the two ends of the holder together using the navy yarn. Once that is done, you can sew the key ring holder onto the bag beside the pocket.
Weaving in the Draw String
Flip the bag back so it is outside in. Use the draw string you crocheted and weave it in and out of the holes you created in Round 65 of your bag. Make sure you have the two ends of the draw string opposite of where you sewed on your pocket. Once you have done that you can tighten the bag and adjust it to your liking. Tie knots at the ends of the draw string.
Attaching the Crochet Bucket Bag Strap
Starting at Round 53 of the bag, sew the strap ends in between the 2nd and 3rd holes to the left and the right of the opening of the draw strings. *Make sure you do not sew the draw string onto the bag as you sew the straps to the bag.* You could also sew the straps onto the inside of the bag for a different look.
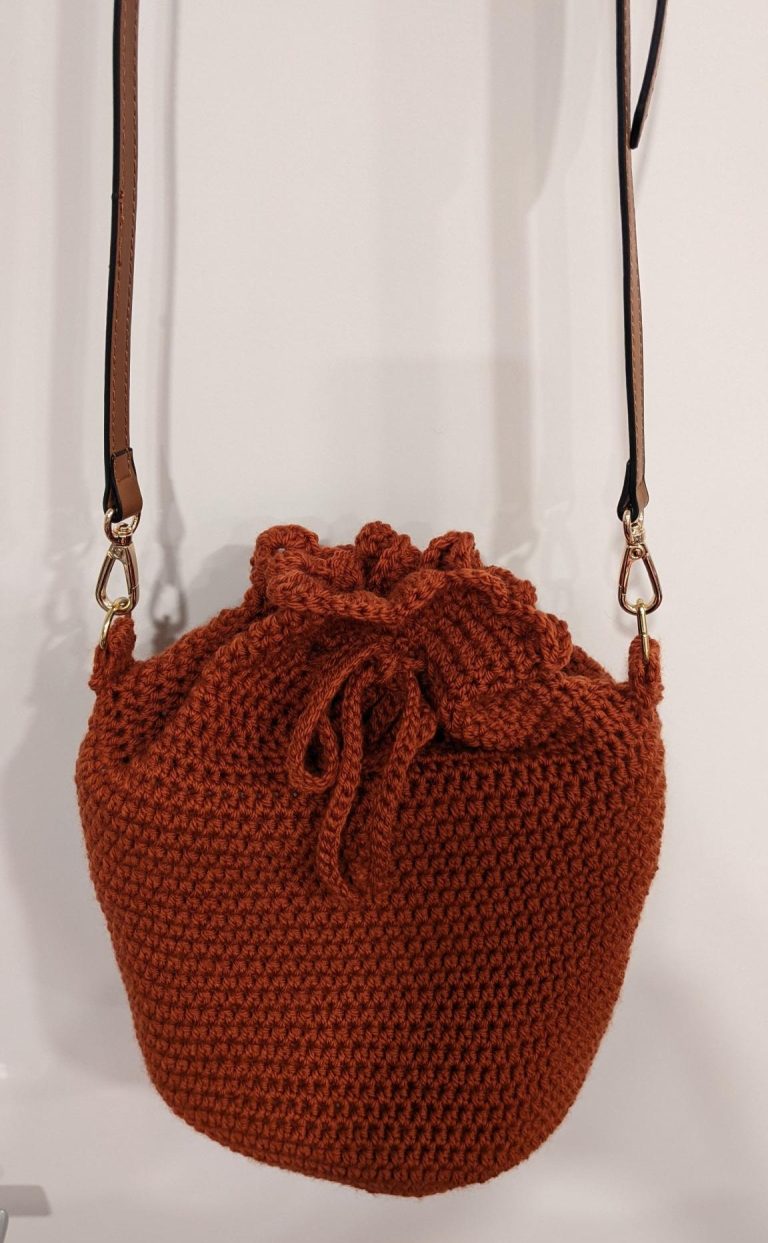
Pull the draw strings to close your crochet bucket bag up and enjoy using it for all your crafts or use it as purse! Happy crocheting! This was such a fun project and now it has inspired me to make one using crochet thread.
If you have any questions or see any mistakes on this pattern or any others please leave a comment below!
Take care and happy crafting!
Jessica
