
Free Popsicle Appliqué Crochet Pattern – Moss Stitch – Summer Garland

Hi everyone!
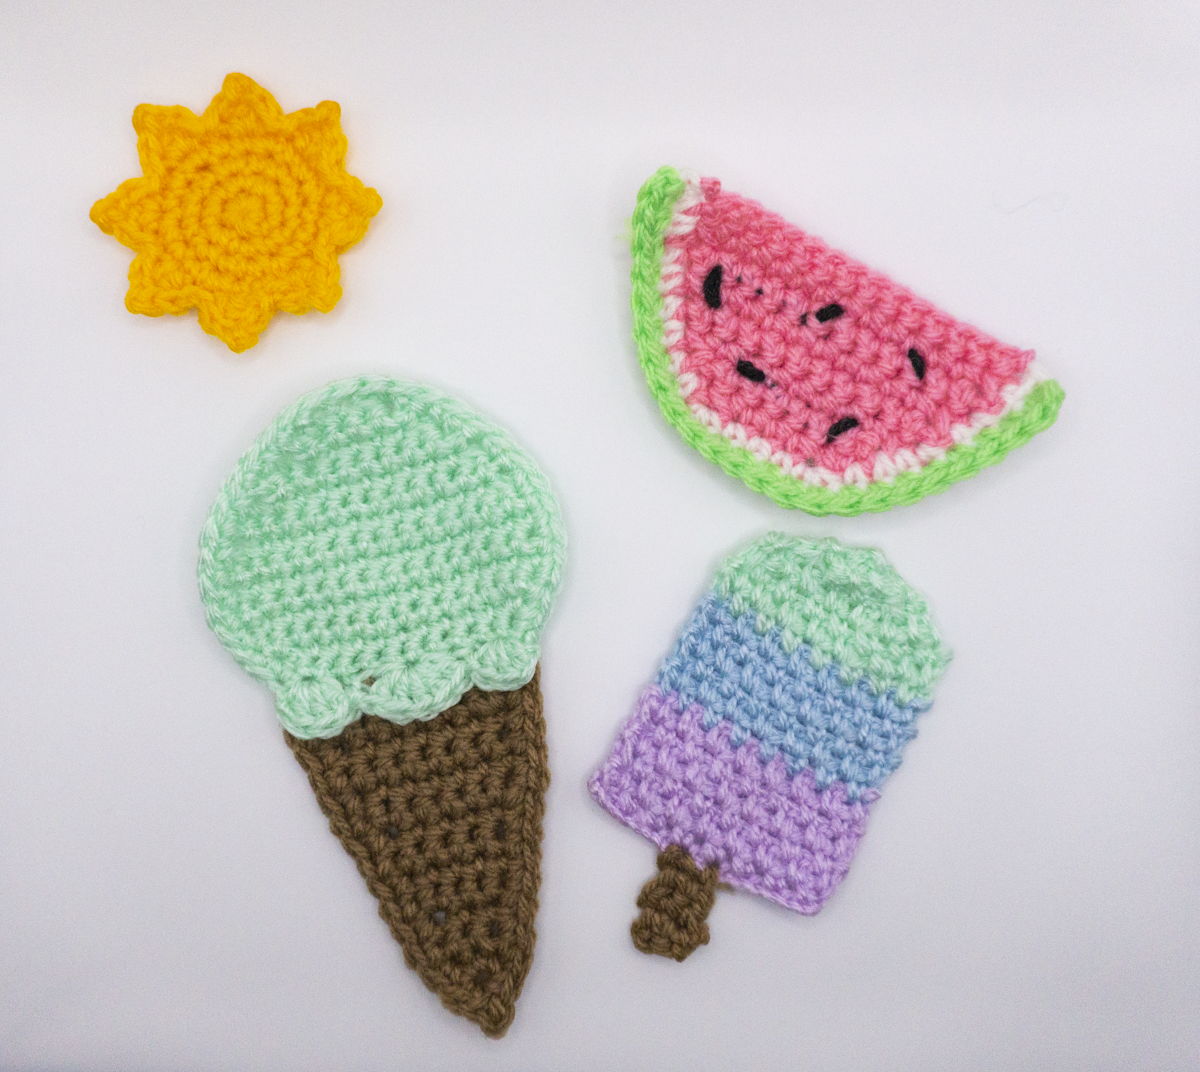
Welcome to week 3 of the summer garland patterns. This week I want to share the popsicle appliqué that uses the moss stitch. I think I finally figured out how to do the moss stitch and still have the piece be straight! Yay!
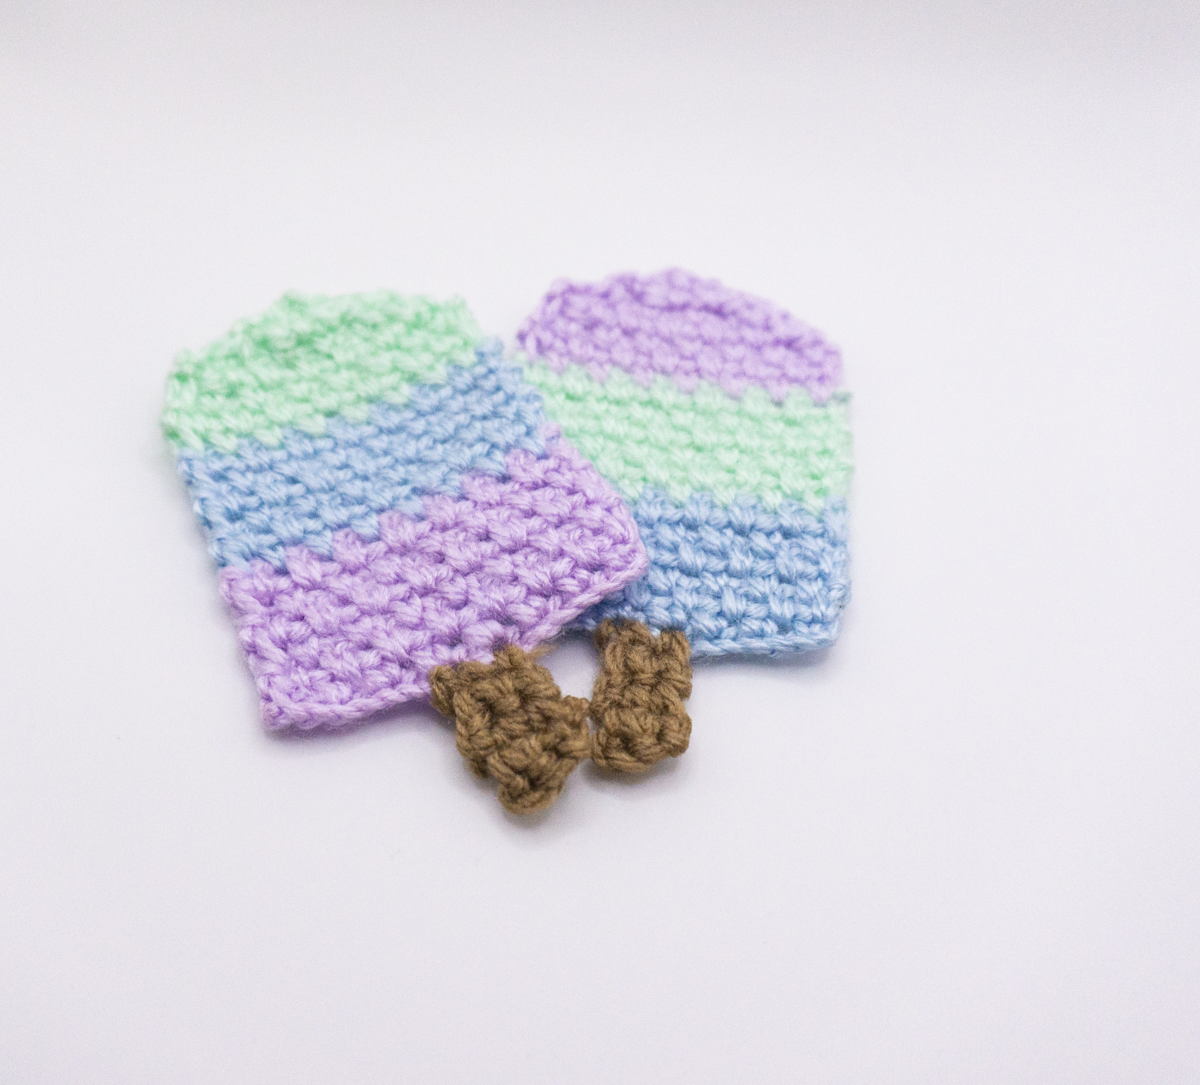
I used DK yarn for this one again since I am really enjoying it. The pastel colours add a fun touch to the garland that has the watermelon and ice cream cone appliqués so far. There’s one more to share and I will also include pictures of all the pieces hung up together. What do you think the last appliqué is?
Let’s start crocheting!
Table of Contents

Materials: Popsicle Appliqué
DK Yarn (I used Patons Astra)
3.00 mm (D) Hook
Scissors
Tapestry Needle
Note: The numbers in the brackets represent the number of stitches in each row.
Abbreviations
CH – Chain
SC – Single Crochet (double crochet in UK Terms)
SC2TOG – Single Crochet Stitches Together
ST – Stitches
FO – Finish Off
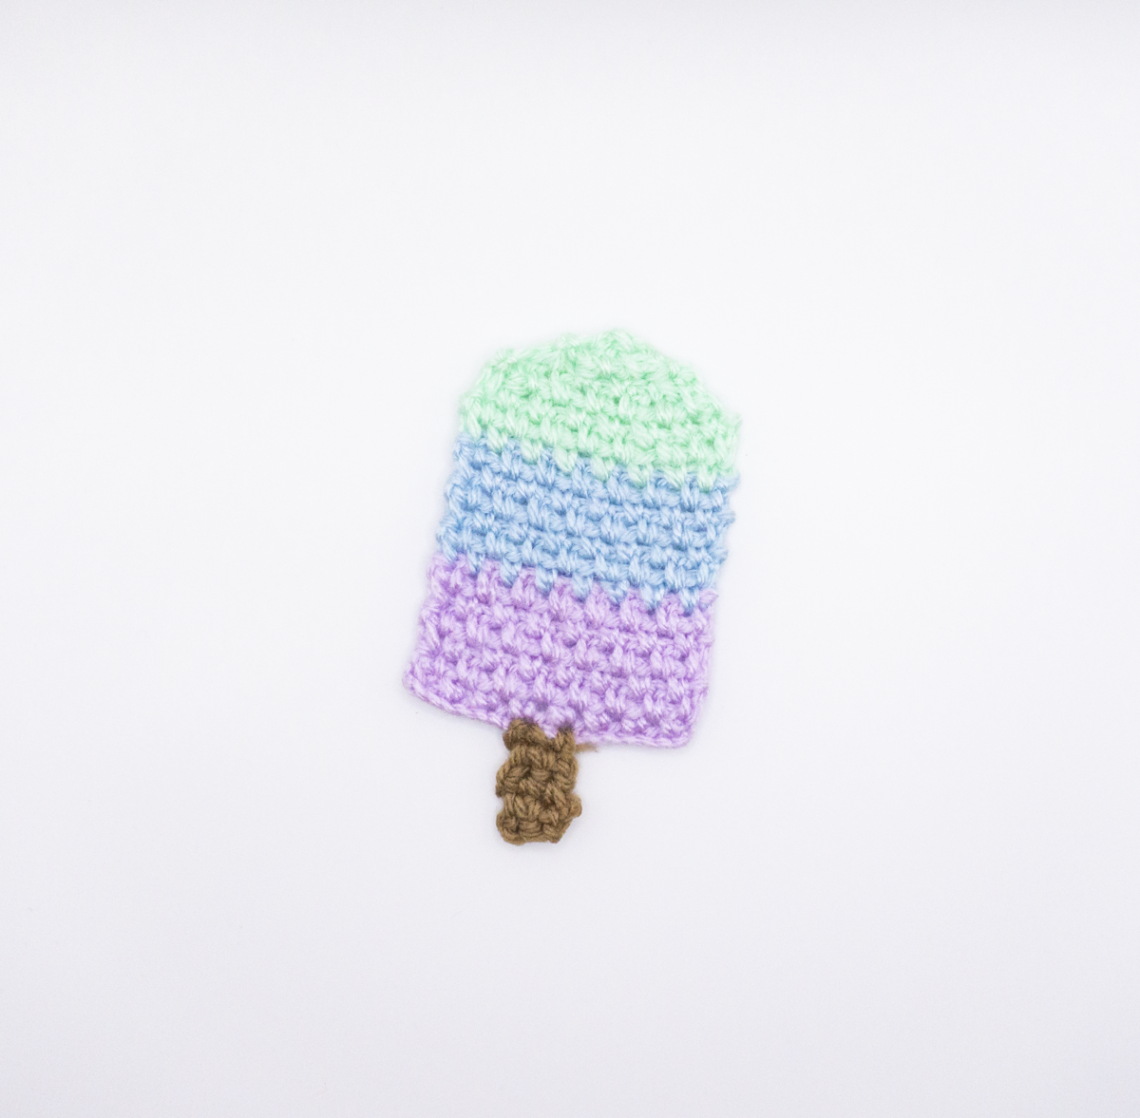
Pattern: Popsicle Cream Appliqué
Chain 16.
Row 1: SC into 2nd CH from hook. *CH 1. SK 1. SC into next.* Repeat till end. Turn. (8)
Row 2 – 6: CH 1. *SC in CH 1 space. CH 1.* Repeat till last stitch. SC into last stitch. Turn. (8)
Change colour at the end of Row 6.
Row 7 – 12: CH 1. *SC in CH 1 space. CH 1.* Repeat till last stitch. SC into last stitch. Turn. (8)
Change colour at the end of Row 12.
Row 13 – 15: CH 1. *SC in CH 1 space. CH 1.* Repeat till last stitch. SC into last stitch. Turn. (8)
Row 16: CH 1. SC2TOG in first two CH 1 spaces. CH 1. SC and CH 1 in next 4 CH 1 spaces. SC2TOG in last CH 1 space and ST at the end. Turn. (6)
Row 17: CH 1. SC2TOG in first two CH 1 spaces. CH 1. SC and CH in next 2 CH 1 spaces. SC2TOG in last CH 1 space and ST at the end. Turn. (4)
Row 18: CH 1. SC2TOG in first two CH 1 spaces. CH 1. SC2TOG in last CH 1 space and ST at the end. Turn. (2)
Row 19: CH 1. SC2TOG for the last 2 stitches. (1)
FO.
Flip piece over and attach brown yarn into the middle of the chain from the beginning.
Row 1: CH 1. SC into same ST and into next ST. Turn. (2)
Row 2 – 4: CH 1. SC into each ST. Turn. (2)
FO.
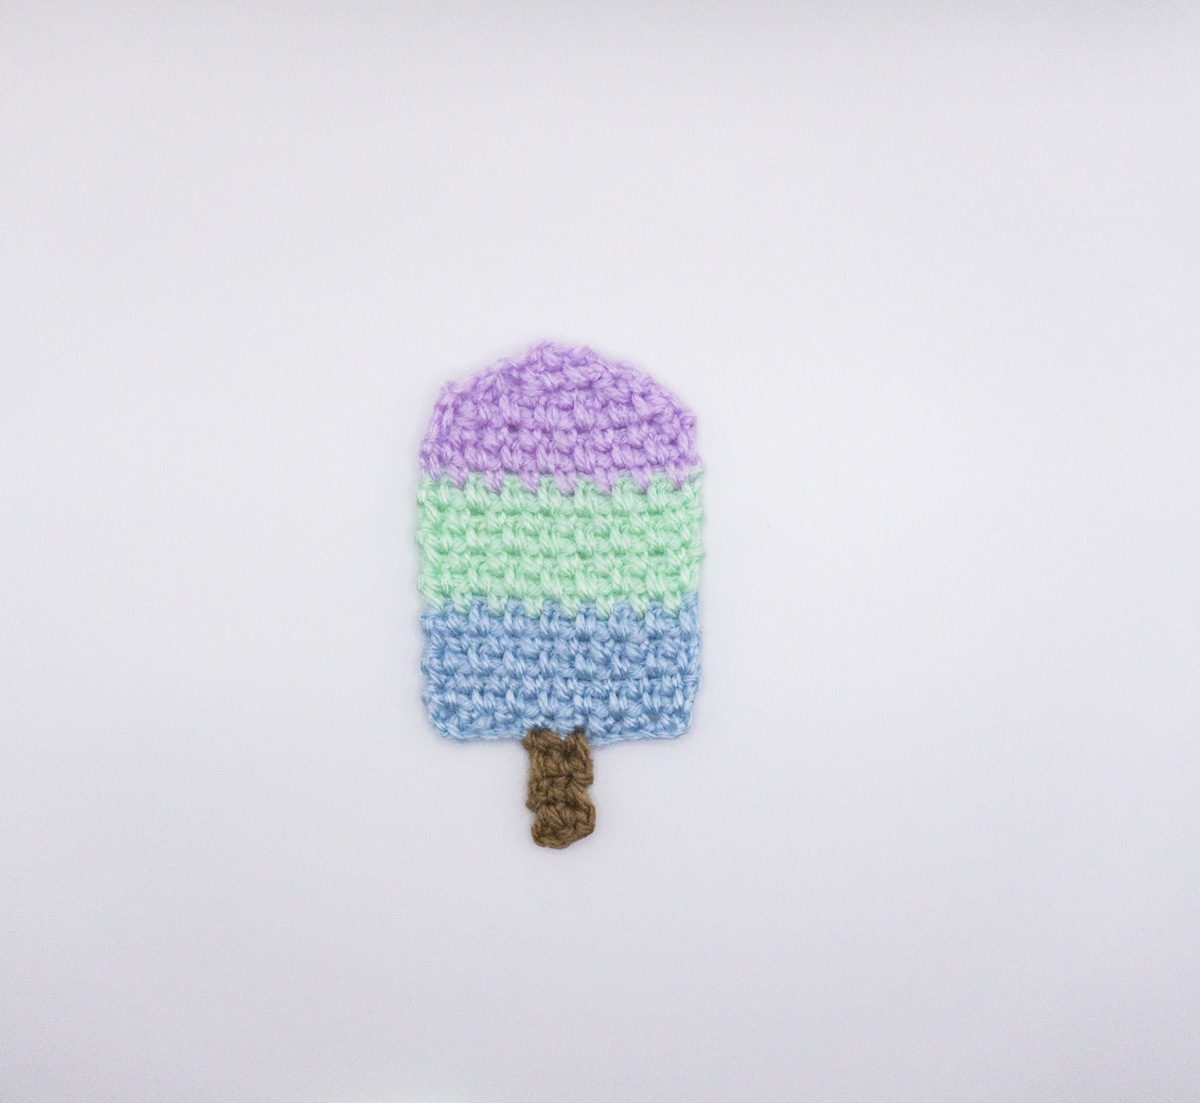
Popsicle appliqué complete! Of course you can choose any colours you would like and change the number of rows you have of each colour.
Here the video tutorial for the popsicle applique:
Video Tutorial: Popsicle Appliqué
This was so fun to make and I think it looks really cute. Maybe I will add little faces to all the appliqués to make them even cuter! Get creative! You could even make a fudgesicle and use a lighter brown or a beige coloured yarn for the popsicle stick.
Just one more appliqué to go and I’ll have to start thinking of patterns for fall! I also saw a new idea for connecting all the pieces together that I think will be perfect for the fall season. Stay tuned!
Please feel free to leave a comment below with any questions!
Happy Stitching,
Jessica
Pattern for personal use only. Feel free to sell the completed popsicle appliques though! Please link back to my blog or my channel.
#jesscrafting #jesscraftingscottage

2 Comments
Pingback:
Pingback: