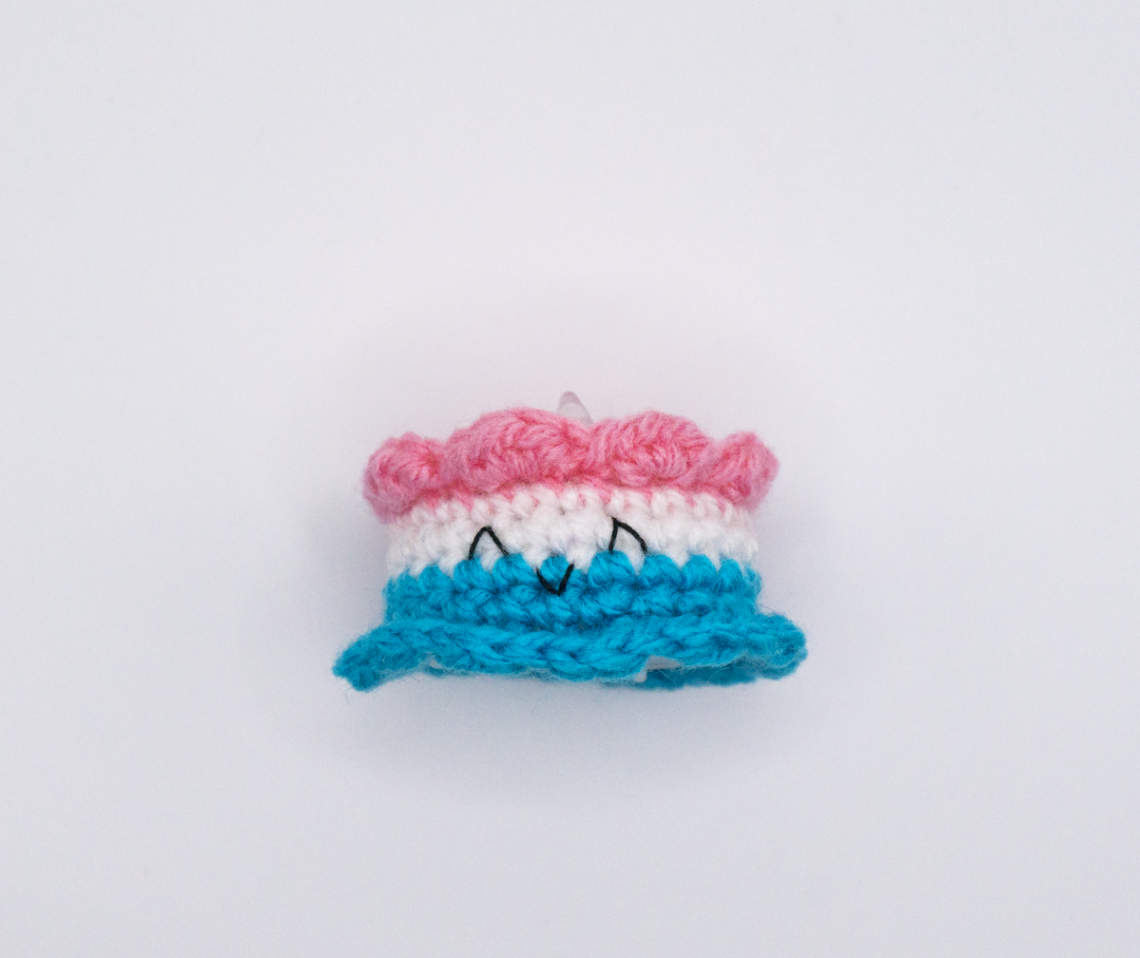
Crochet Birthday Cake – Free Pattern – LED Tea Light
Crochet Birthday Cake with a LED Tealight: A Unique Handmade Gift
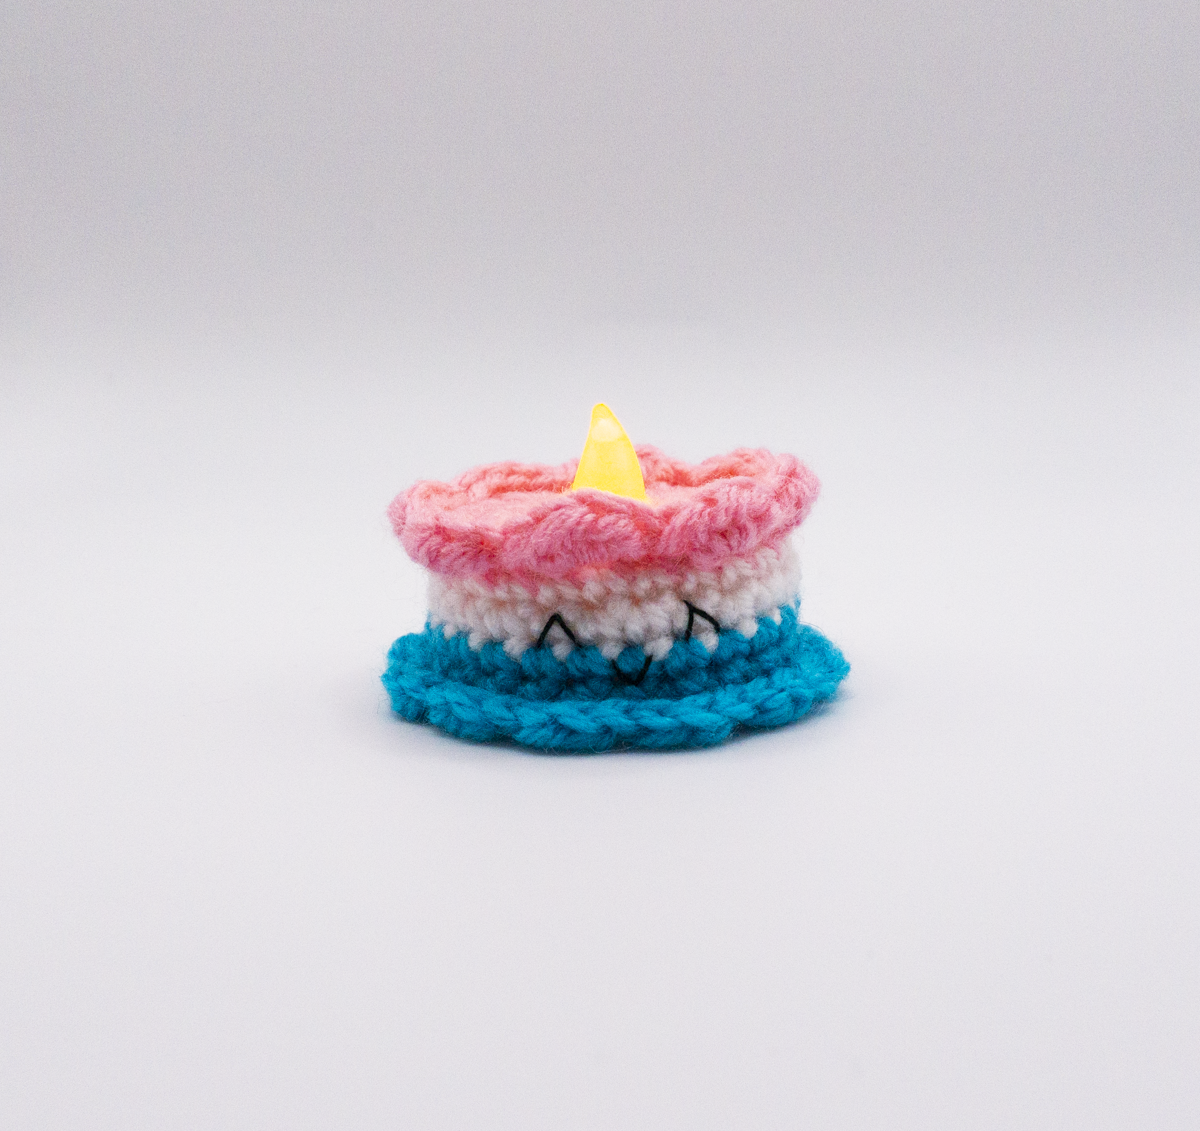
Introduction: Crochet Birthday Cake
In this delightful crochet project, we’ll create a charming crochet birthday cake that safely incorporates an LED tealight. Ideal for crafters of any skill level, this pattern provides a fun way to celebrate with a handmade touch. Let’s get started on this unique and heartwarming gift!
Table of Contents
Materials and Tools
- DK weight yarn in two colours
- Crochet Hook: Size D/3 (3.125 mm)
- Stitch Markers
- Yarn Needle
- Scissors
- Battery-operated LED Tealight
- Optional: beads or embellishments for decoration and black embroidery thread
Pattern Overview: Crochet Birthday Cake
This pattern guides you through making a crochet birthday cake base and frosting, designed to fit a standard LED tealight. You’ll enjoy this simple yet creative project, perfect for adding a special touch to any birthday.
Abbreviations
| CH – Chain | HDC – Half Double Crochet | FO – Finish Off |
| SC – Single Crochet | SK – Skip | BLO – Back Loop Only |
| SLST – Slip Stitch | FLO – Front Loop Only | ST – Stitch |
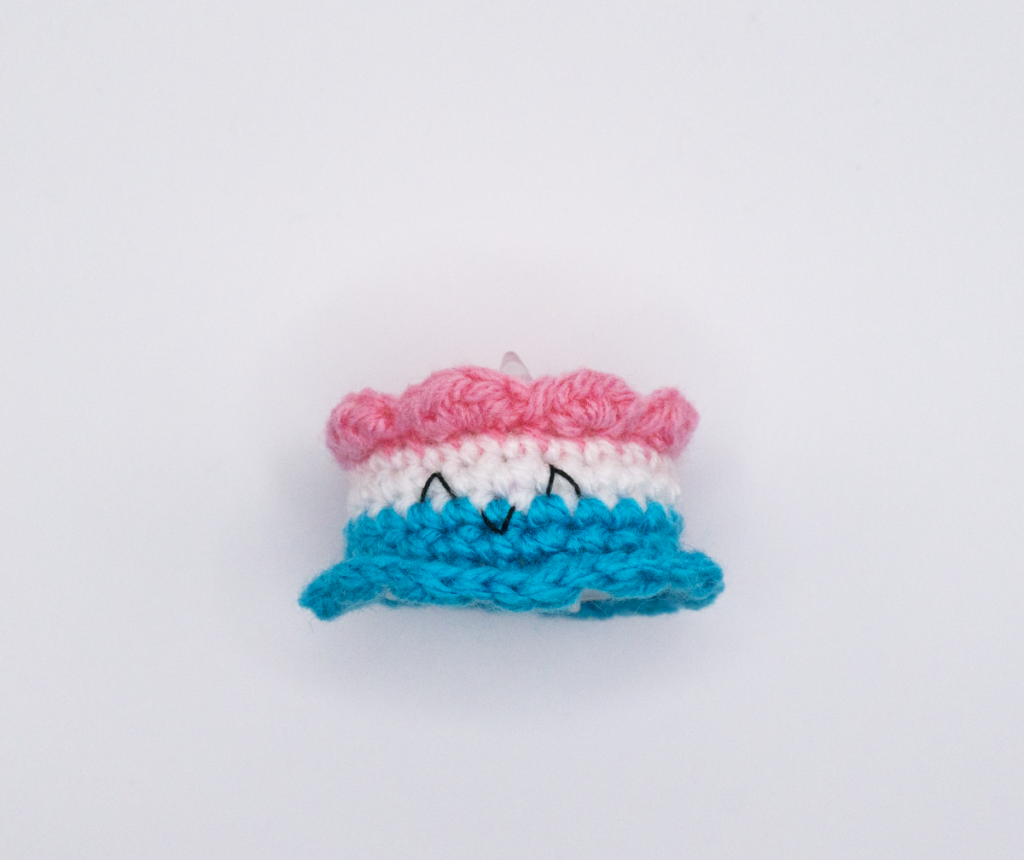
Crocheting the Cake
- Start with a Magic Circle using cake-colored yarn.
- Create the Base: Work in rounds to form a flat circle that matches the tealight’s diameter.
- Build the Cake’s Body: Continue in rounds to a height of about 2 inches, creating the cake’s side.
Pattern
With colour A.
CH 5. SLST into first chain to form a loop. Chain 1.
Working in the round for rounds 1 – 4. Use stitch marker if needed.
Round 1: SC 6 into the loop (6)
Round 2: 2 SC in each ST around (12)
Round 3: 1 SC, then 2 SC in next ST (18)
Round 4: 1 SC in next 2, then 2 SC in next ST. SLST into front loop of the first SC in the round (24)
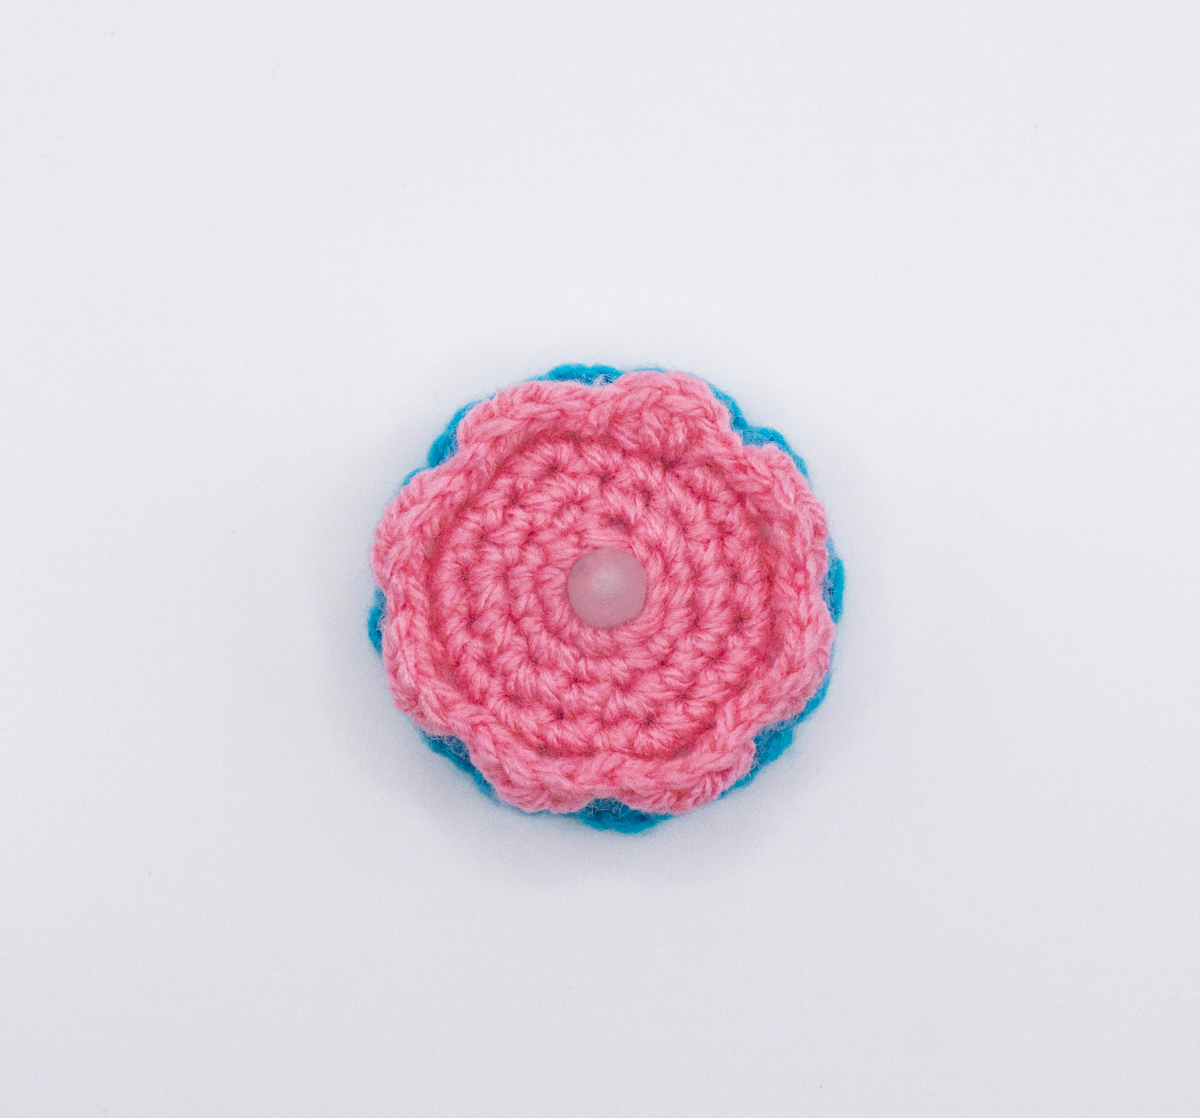
Round 5 (in FLO): 3 HDC into same stitch as the SLST. SLST into next ST. SK 1. *3 HDC in next. SLST into next ST. SK 1.* Repeat from * to * around. (8 Scallops in FLO)
FO with invisible fasten off.
Attach yarn into the back loop of the stitches left from Round 4.
Round 6: SC around in BLO. SLST into first SC (24)
Round 7: CH 1. SC through both loops around. SLST into first SC and pull up colour B for a colour change (24)
Round 8: CH 1. SC around (24)
Round 9: CH 1. SC around. SLST into front loop of first SC (24)
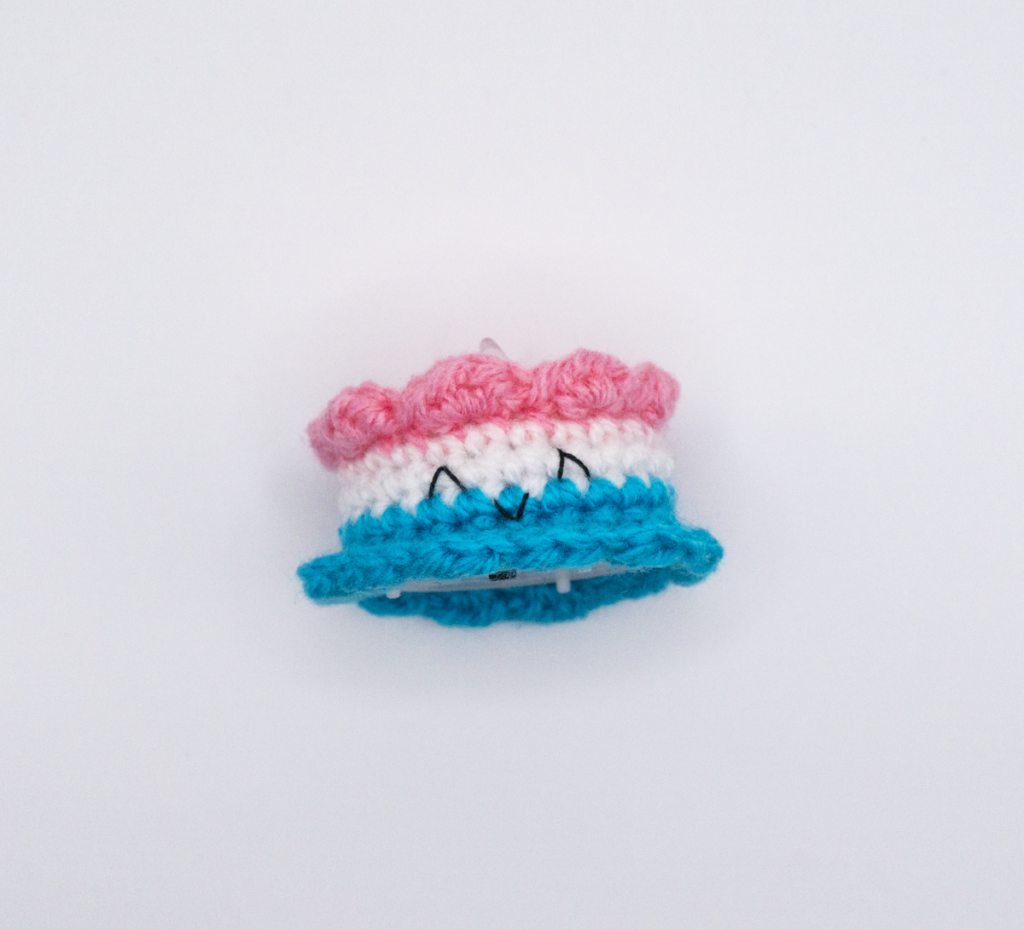
Round 10 (in FLO): CH 1. 2 HDC into same stitch. SLST in next ST. *2 HDC in next. SLST in next ST.* Repeat from * to * around. (12 Scallops in FLO)
FO with invisible fasten off.
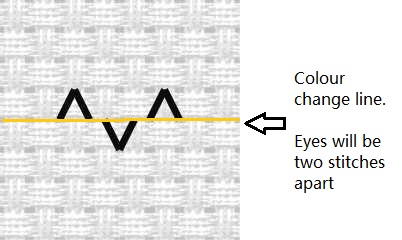
Adding the Face and Details
- Switch to Frosting Yarn: Employ decorative stitches for a frosting-like texture.
- Decorate: Attach beads or crafted embellishments to mimic cake decorations.
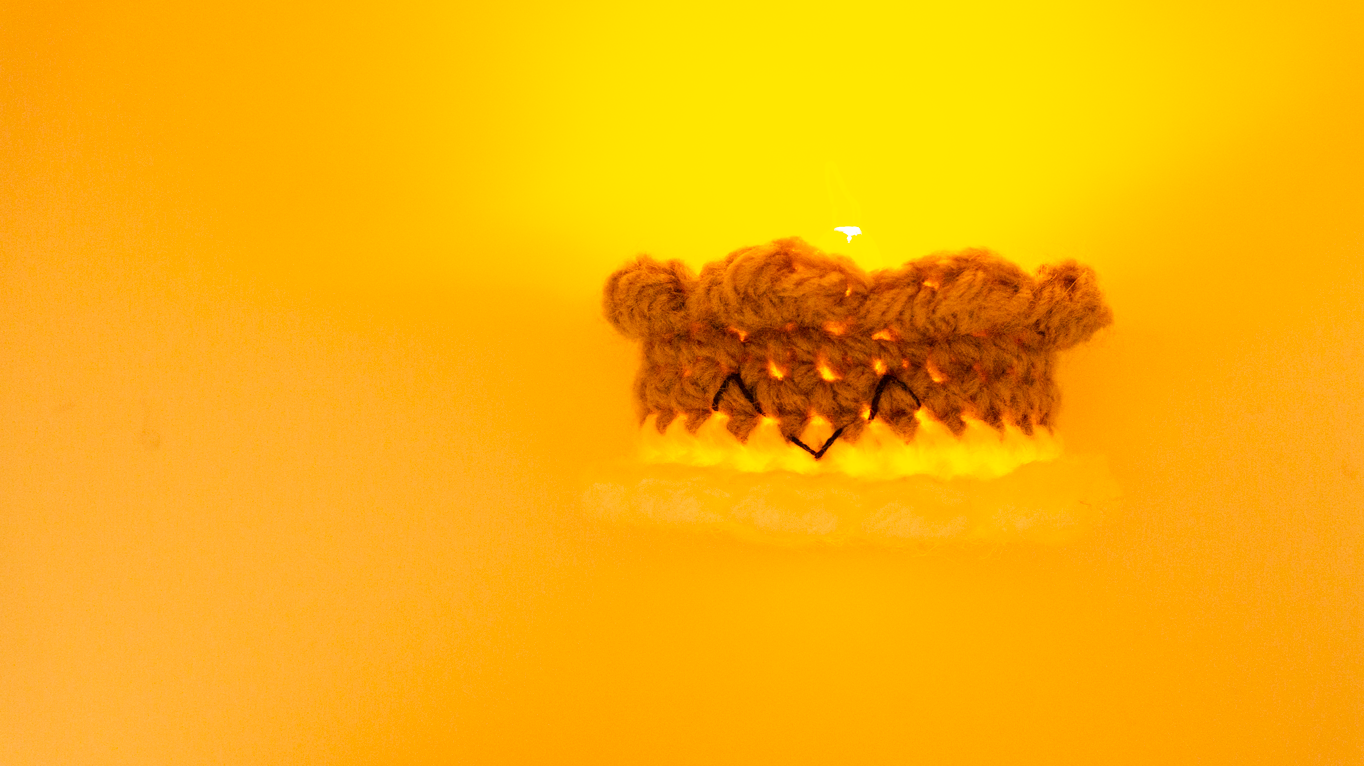
Inserting the LED Tealight
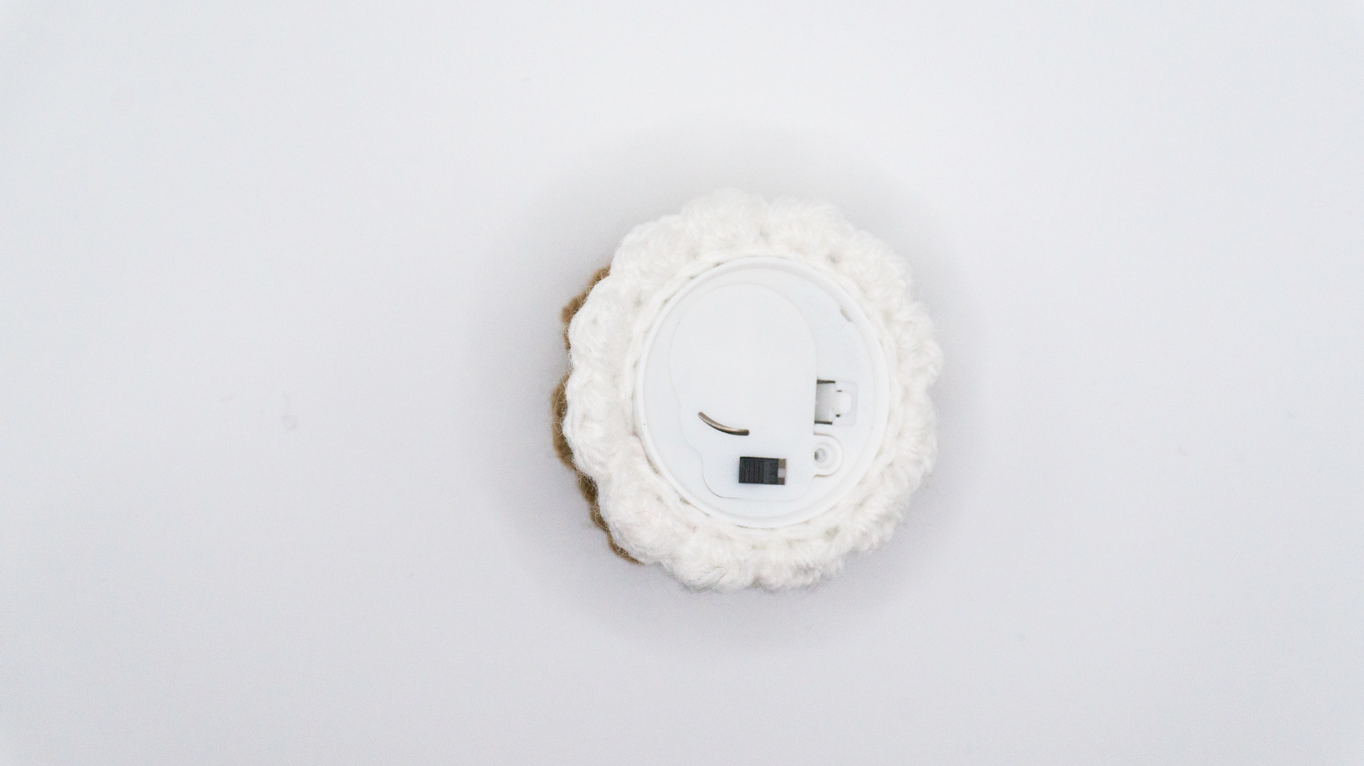
- Make Room for the Tealight: Ensure an opening on the cake top to fit the tealight snugly.
- Safety: The LED tealight is flameless, making it safe for all settings.
Final Assembly and Tips
- Place the Tealight: Insert the LED tealight into the top of the cake.
- Ensure Decorations are Secure: Double-check that all elements are firmly attached.
Care Instructions
- Keep the crocheted cake dry to protect the tealight.
- Remove the tealight before washing.
- Hand wash gently and lay flat to dry.
Conclusion
Your LED Tealight Birthday Cake is now ready! This crochet project is not just a craft; it’s a safe, charming, and special addition to any birthday celebration. Share your creation on social media, and spread the joy of crafting!
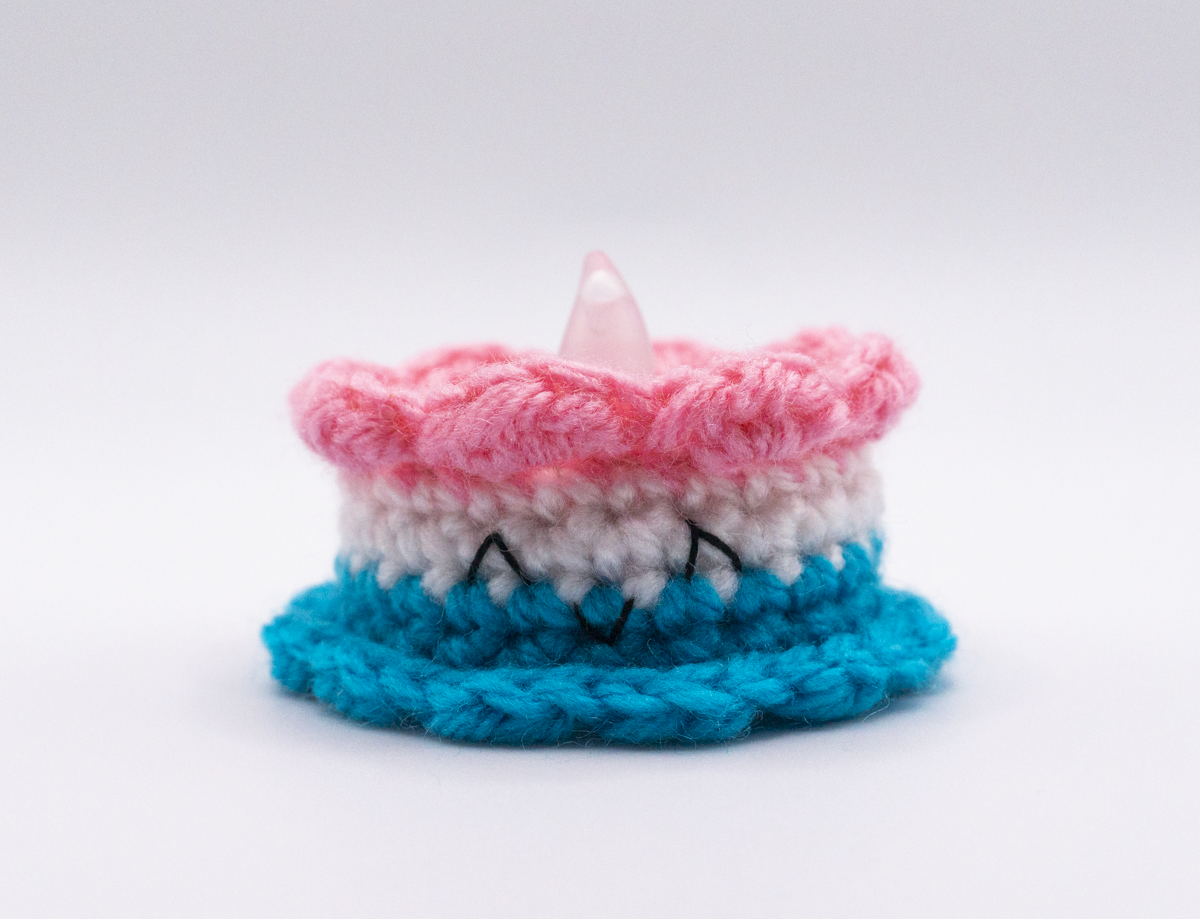
Whether for a birthday party or as a thoughtful gift, this LED Tealight Birthday Cake is a delightful crochet project that brings joy and creativity to any occasion. Happy crocheting!
Jessica
Keywords: Crochet LED Tealight Cake, Birthday Cake Crochet Pattern, Safe Crochet Cake, Handmade Birthday Decoration, DIY Crochet Gift, Crochet for Beginners


One Comment
Pingback: