
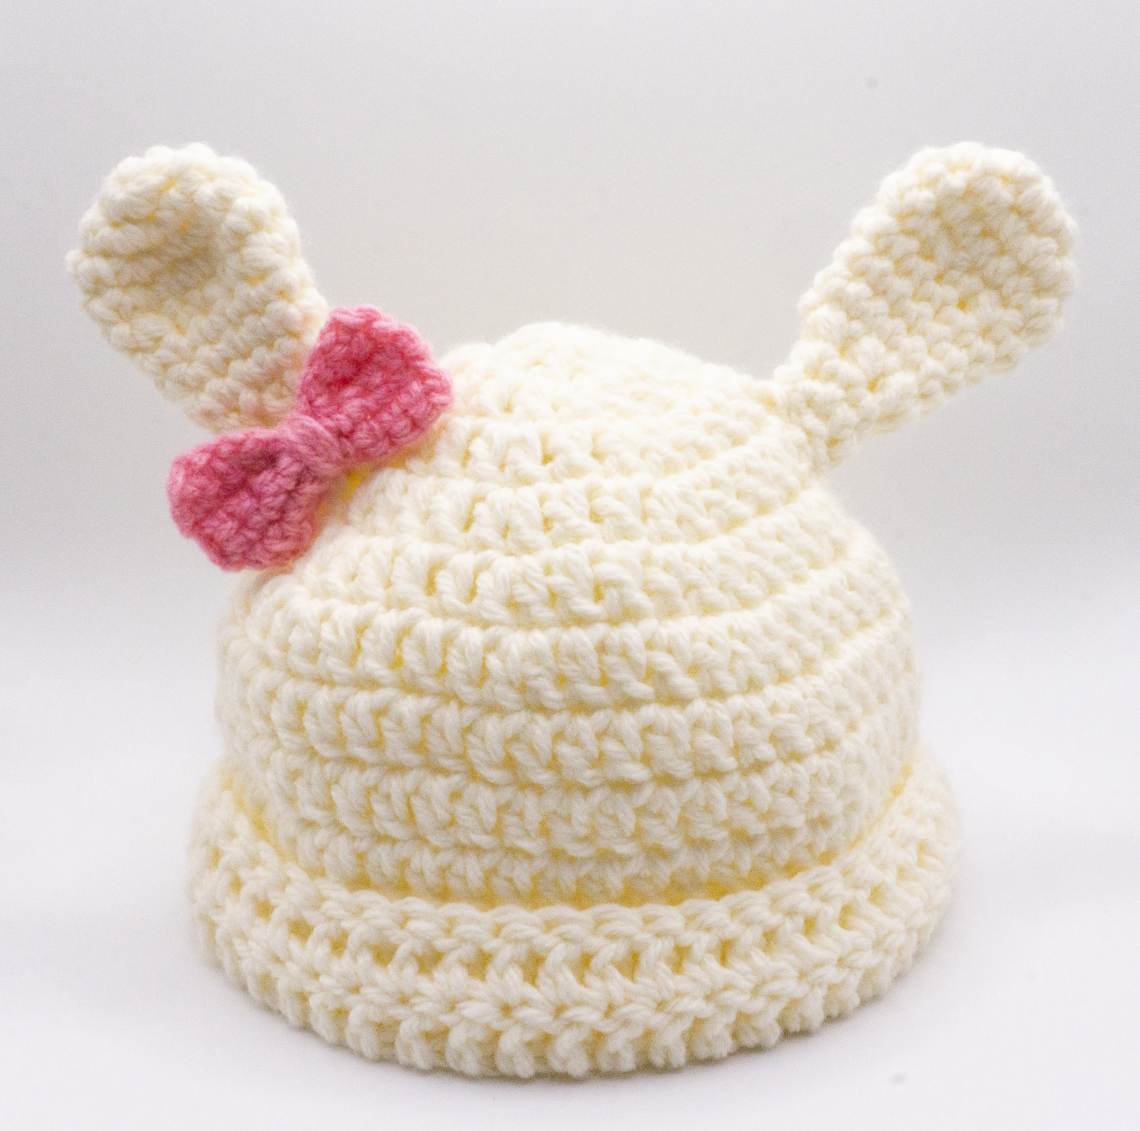
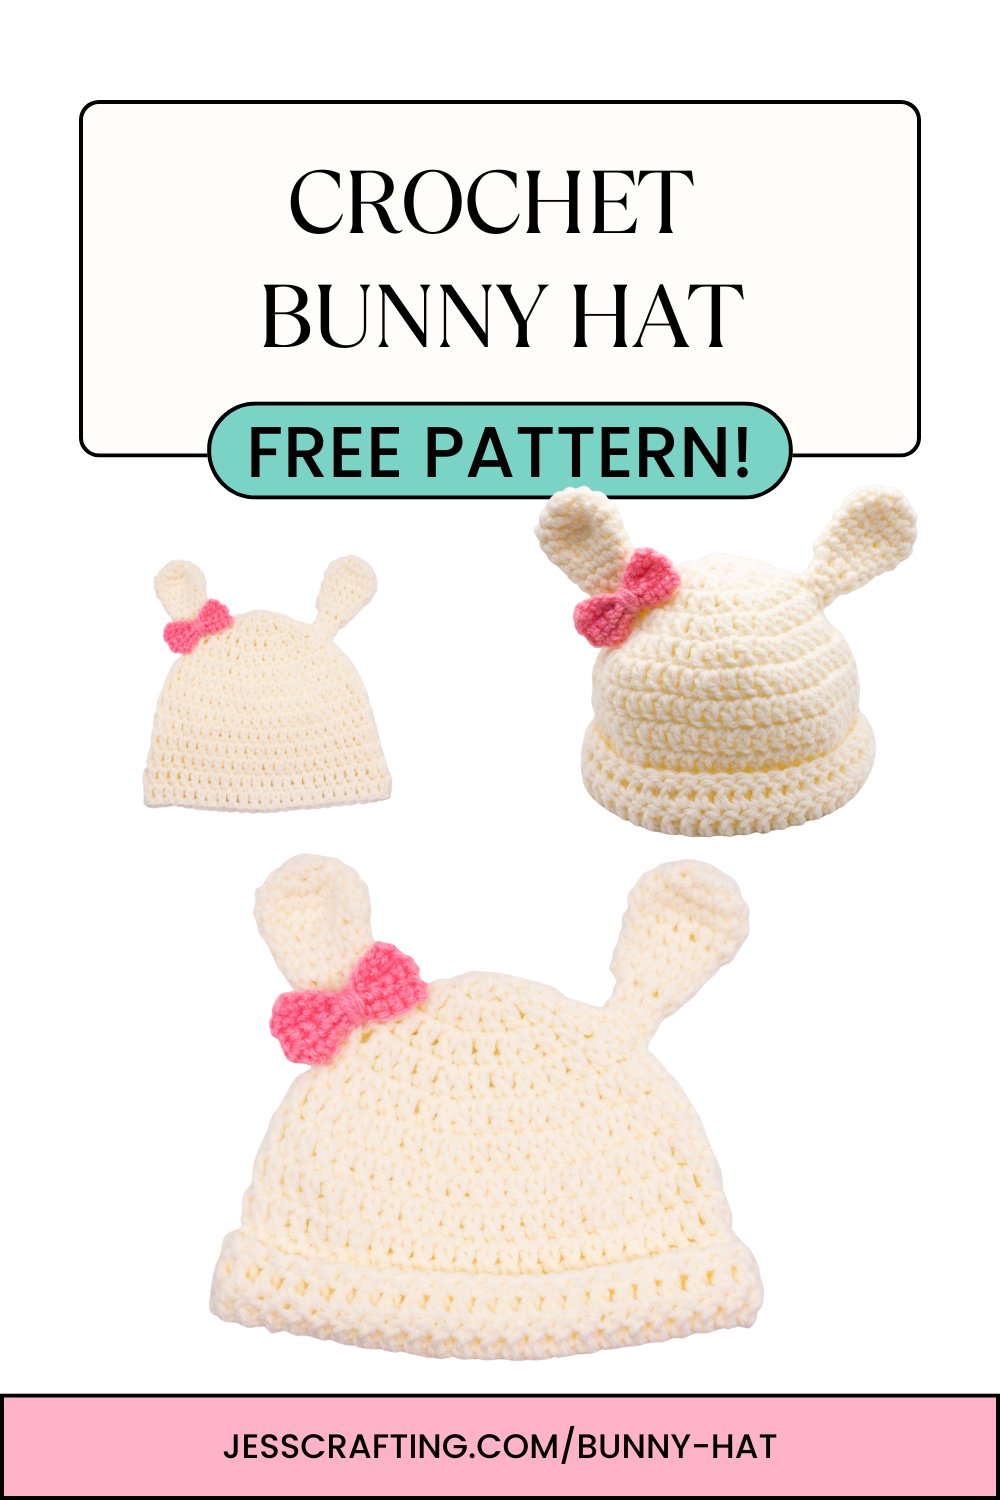
Crochet Bunny Hat – Free Pattern
Hello!
I am back with another baby shower gift idea! A crochet bunny hat. This one you can also adjust to the size you would like as well. The Crochet Crowd has a nice guide to creating the perfect hat size here. You can also change up the colour of now or hat and create many different versions.
Let’s get started!
Note: Some of the items on my blog have affiliate links where I earn a small percentage from the purchase of the item. Thank you for your support!
Table of Contents
Materials:
5.00 mm Crochet Hook
3.25 mm Crochet Hook
Worsted Weight Yarn
DK Weight Yarn
Tapestry Needle
A Pair of Scissors
Stitch Marker
Note: The numbers in the brackets represent the number of stitches in each round.
Abbreviations
CH – Chain
MR – Magic Ring
SC – Single Crochet (DC in UK terms)
SC2TOG – Single Two Stitches Together (DC2TOG in UK terms)
DC – Double Crochet (TR in UK terms)
FLO – Front Loop Only
BLO – Back Loop Only
SLST – Slip Stitch
ST(s) – Stitch(es)
FO – Finish Off
Pattern:
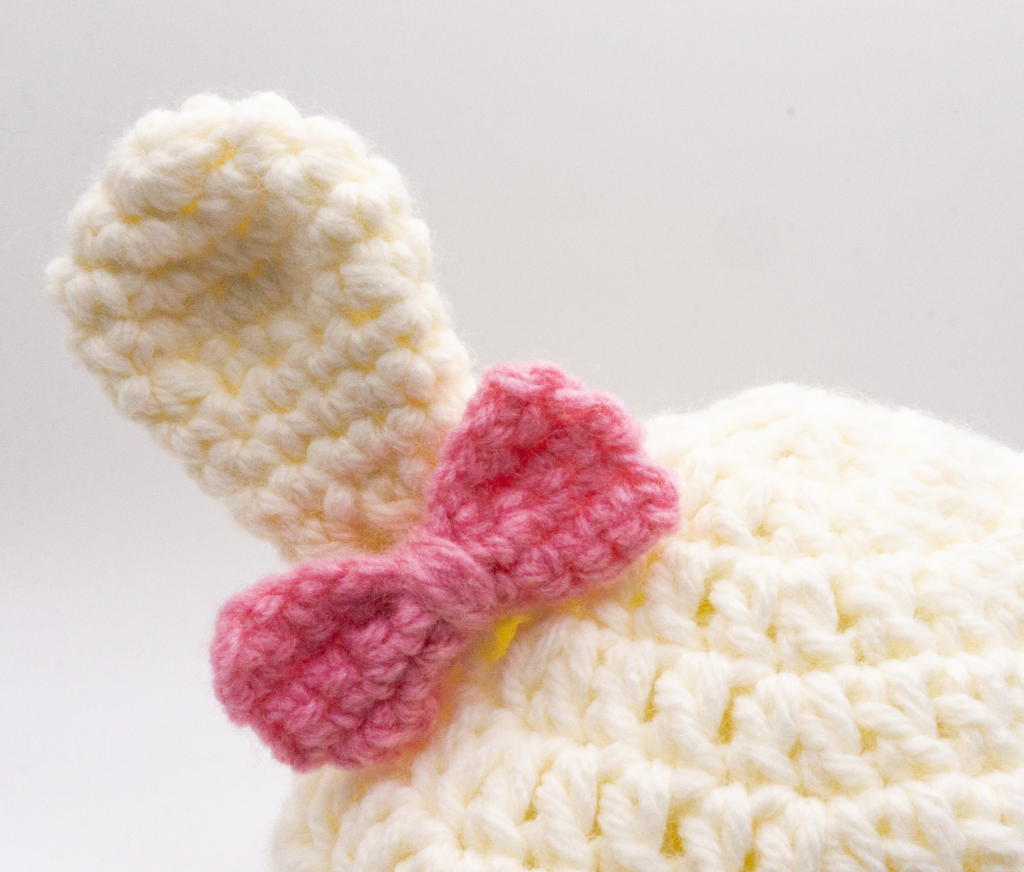
Bow
CH 10.
Row 1: SC into 2nd CH from hook and down row. Turn. (9)
Row 2 – 5: CH 1. SC in each ST across. (9)
FO with long tail.
Weave tail in and out of stitches until you reach the 5 SC. Then sew down the middle of the bow. You can also wrap the yarn around the piece a few times. FO. And leave tail for sewing.
Bunny Ears (Make 2) – working the round
Round 1: 6 SC into magic ring (6)
Round 2: 2 SC in each ST around. (12)
Round 3: *1 SC, 2 SC in next* Repeat around. (18)
Round 4: SC in each ST around. (18)
Round 5: *1 SC, SC2TOG* repeat around (12)
Round 6 – 8: SC in each ST around. (12)
Round 9: *SC2TOG* repeat around. (6)
Round 10 – 11: SC around. (6)
FO and sew opening closed through BLO.
Hat – Note: Each CH 2 does not count as a ST.
Round 1: CH 2. 8 DC into MR. SLST into 1st DC. (8)
Round 2: CH 2. 2 DC into each ST around. SLST into 1st DC. (16)
Round 3: CH 2. 1 DC into same ST as CH 2. 2 DC in next. *1 DC in next, 2 DC in next.* Repeat around. SLST into 1st DC. (24)
Round 4: CH 2. 1 DC into same ST as CH 2. 1 DC in next. 2 DC in next. *1 DC in next 2 STs, 2 DC in next.* Repeat around. SLST into 1st DC. (32)
Round 5: CH 2. 1 DC into same ST as CH 2. 1 DC in next 2. 2 DC in next. *1 DC in next 3 STs, 2 DC in next.* Repeat around. SLST into 1st DC. (40)
Round 6: CH 2. 1 DC into same ST as CH 2. 1 DC in next 3. 2 DC in next. *1 DC in next 4 STs, 2 DC in next.* Repeat around. SLST into 1st DC. (48)
Round 7 – 13: CH 2. 1 DC same ST as CH 2 and around. SLST into 1st DC. (48)
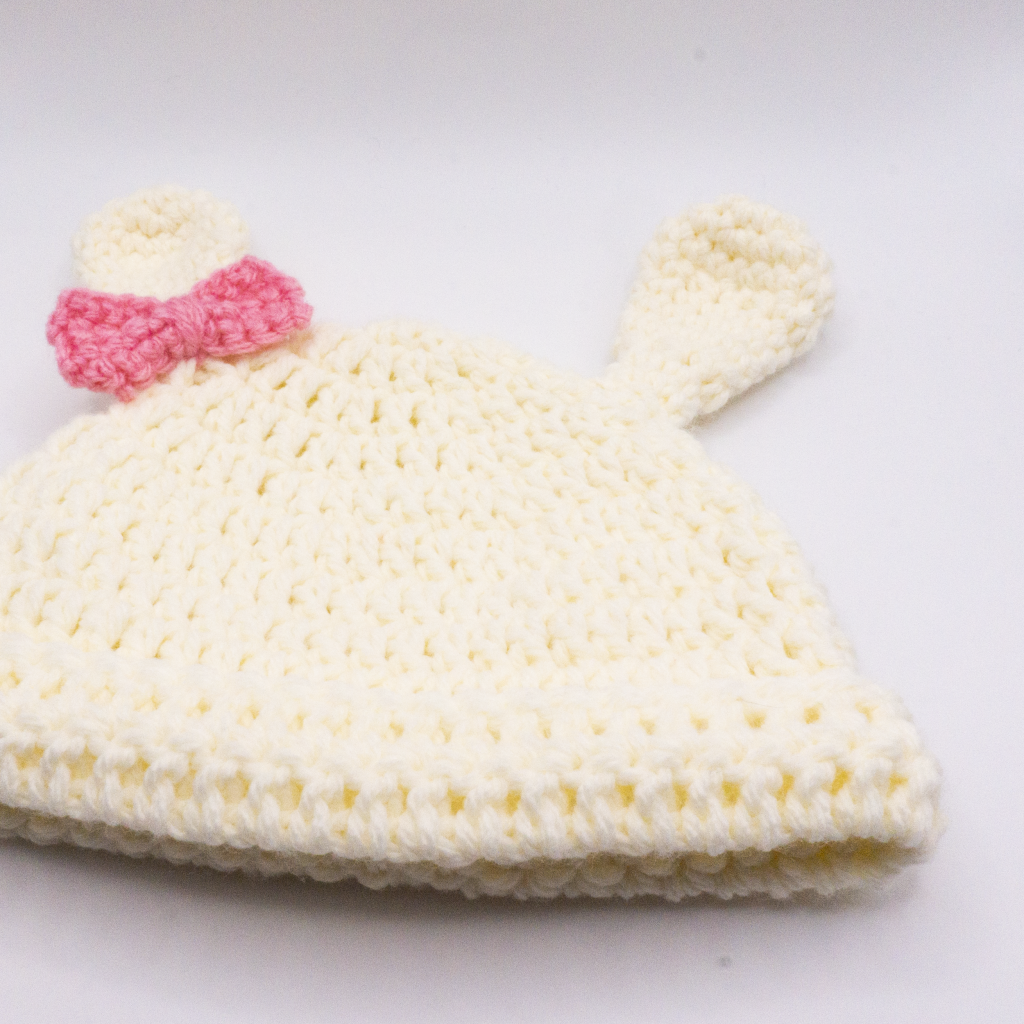
FO and sew the ears through the FLO between Rounds 4 – 6 of the hat.
Here is the video tutorial with subtitles:
Video Tutorial:
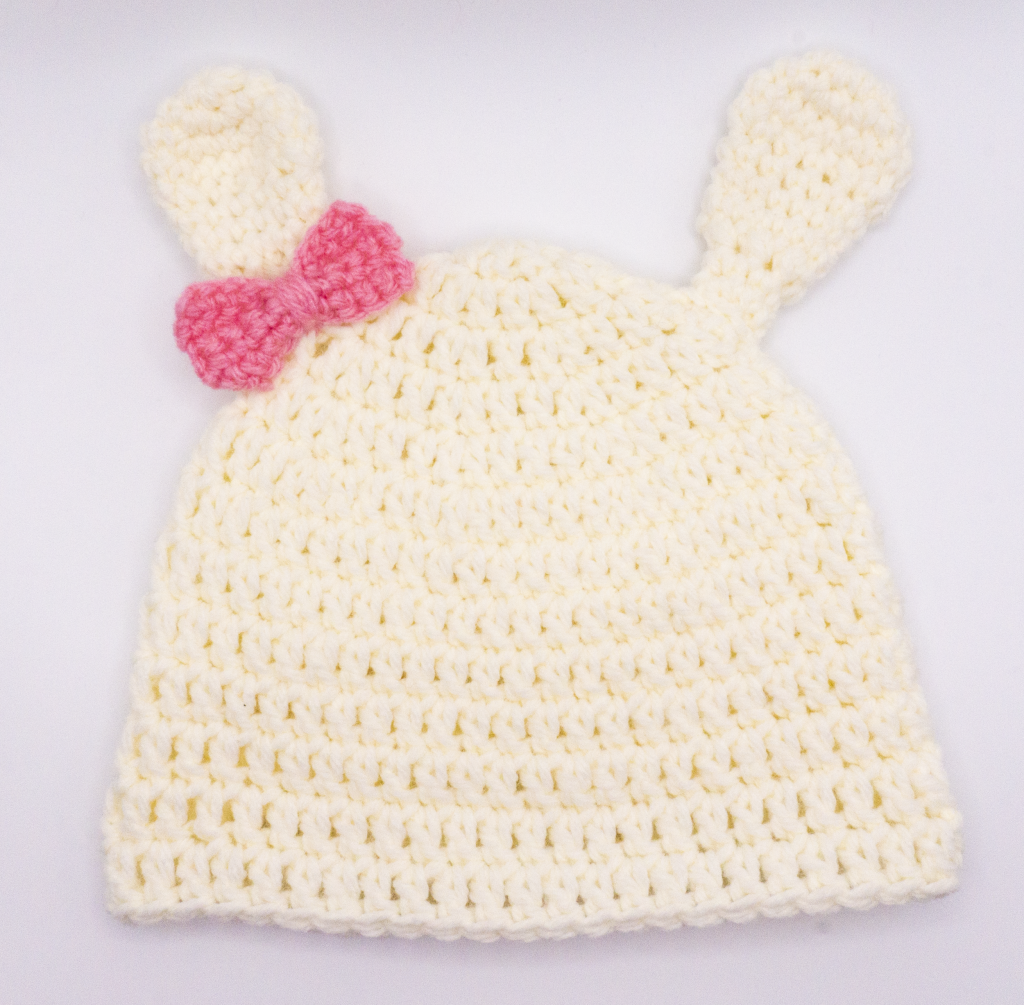
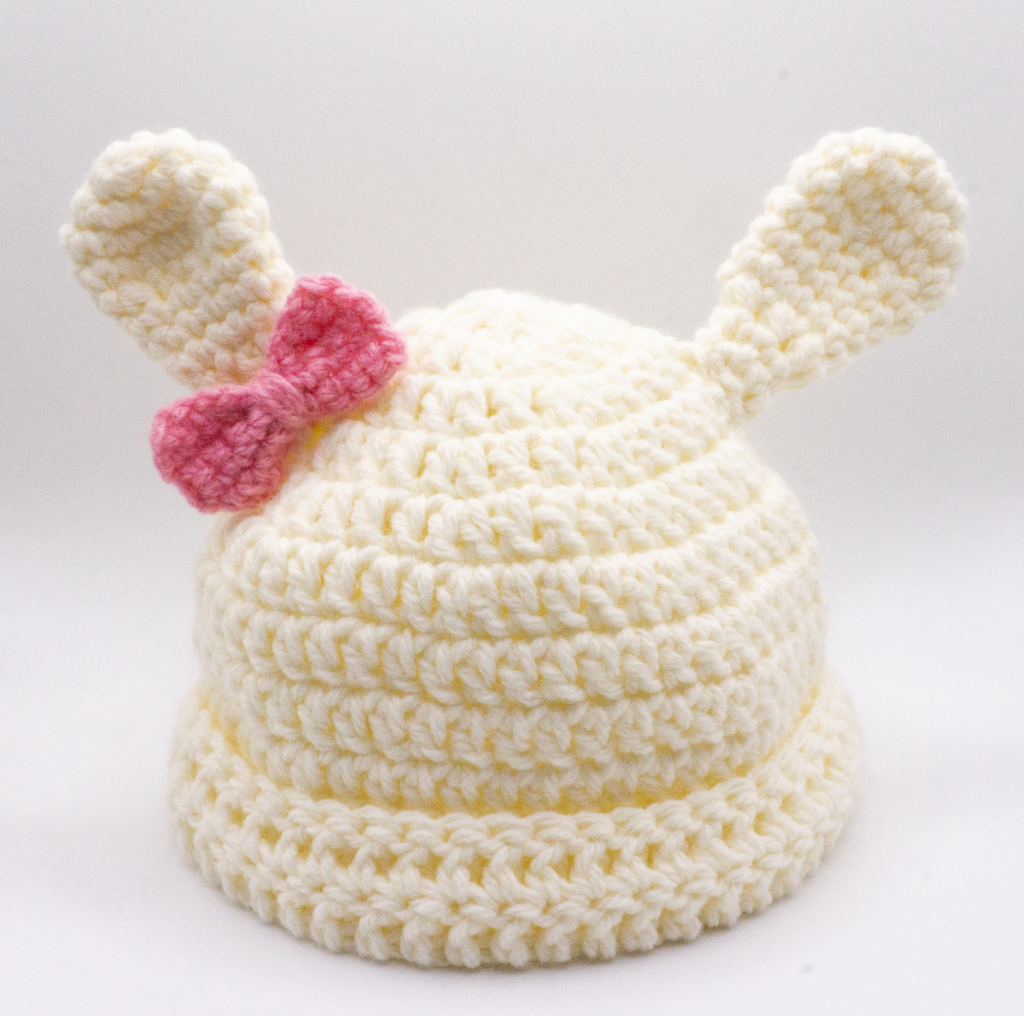
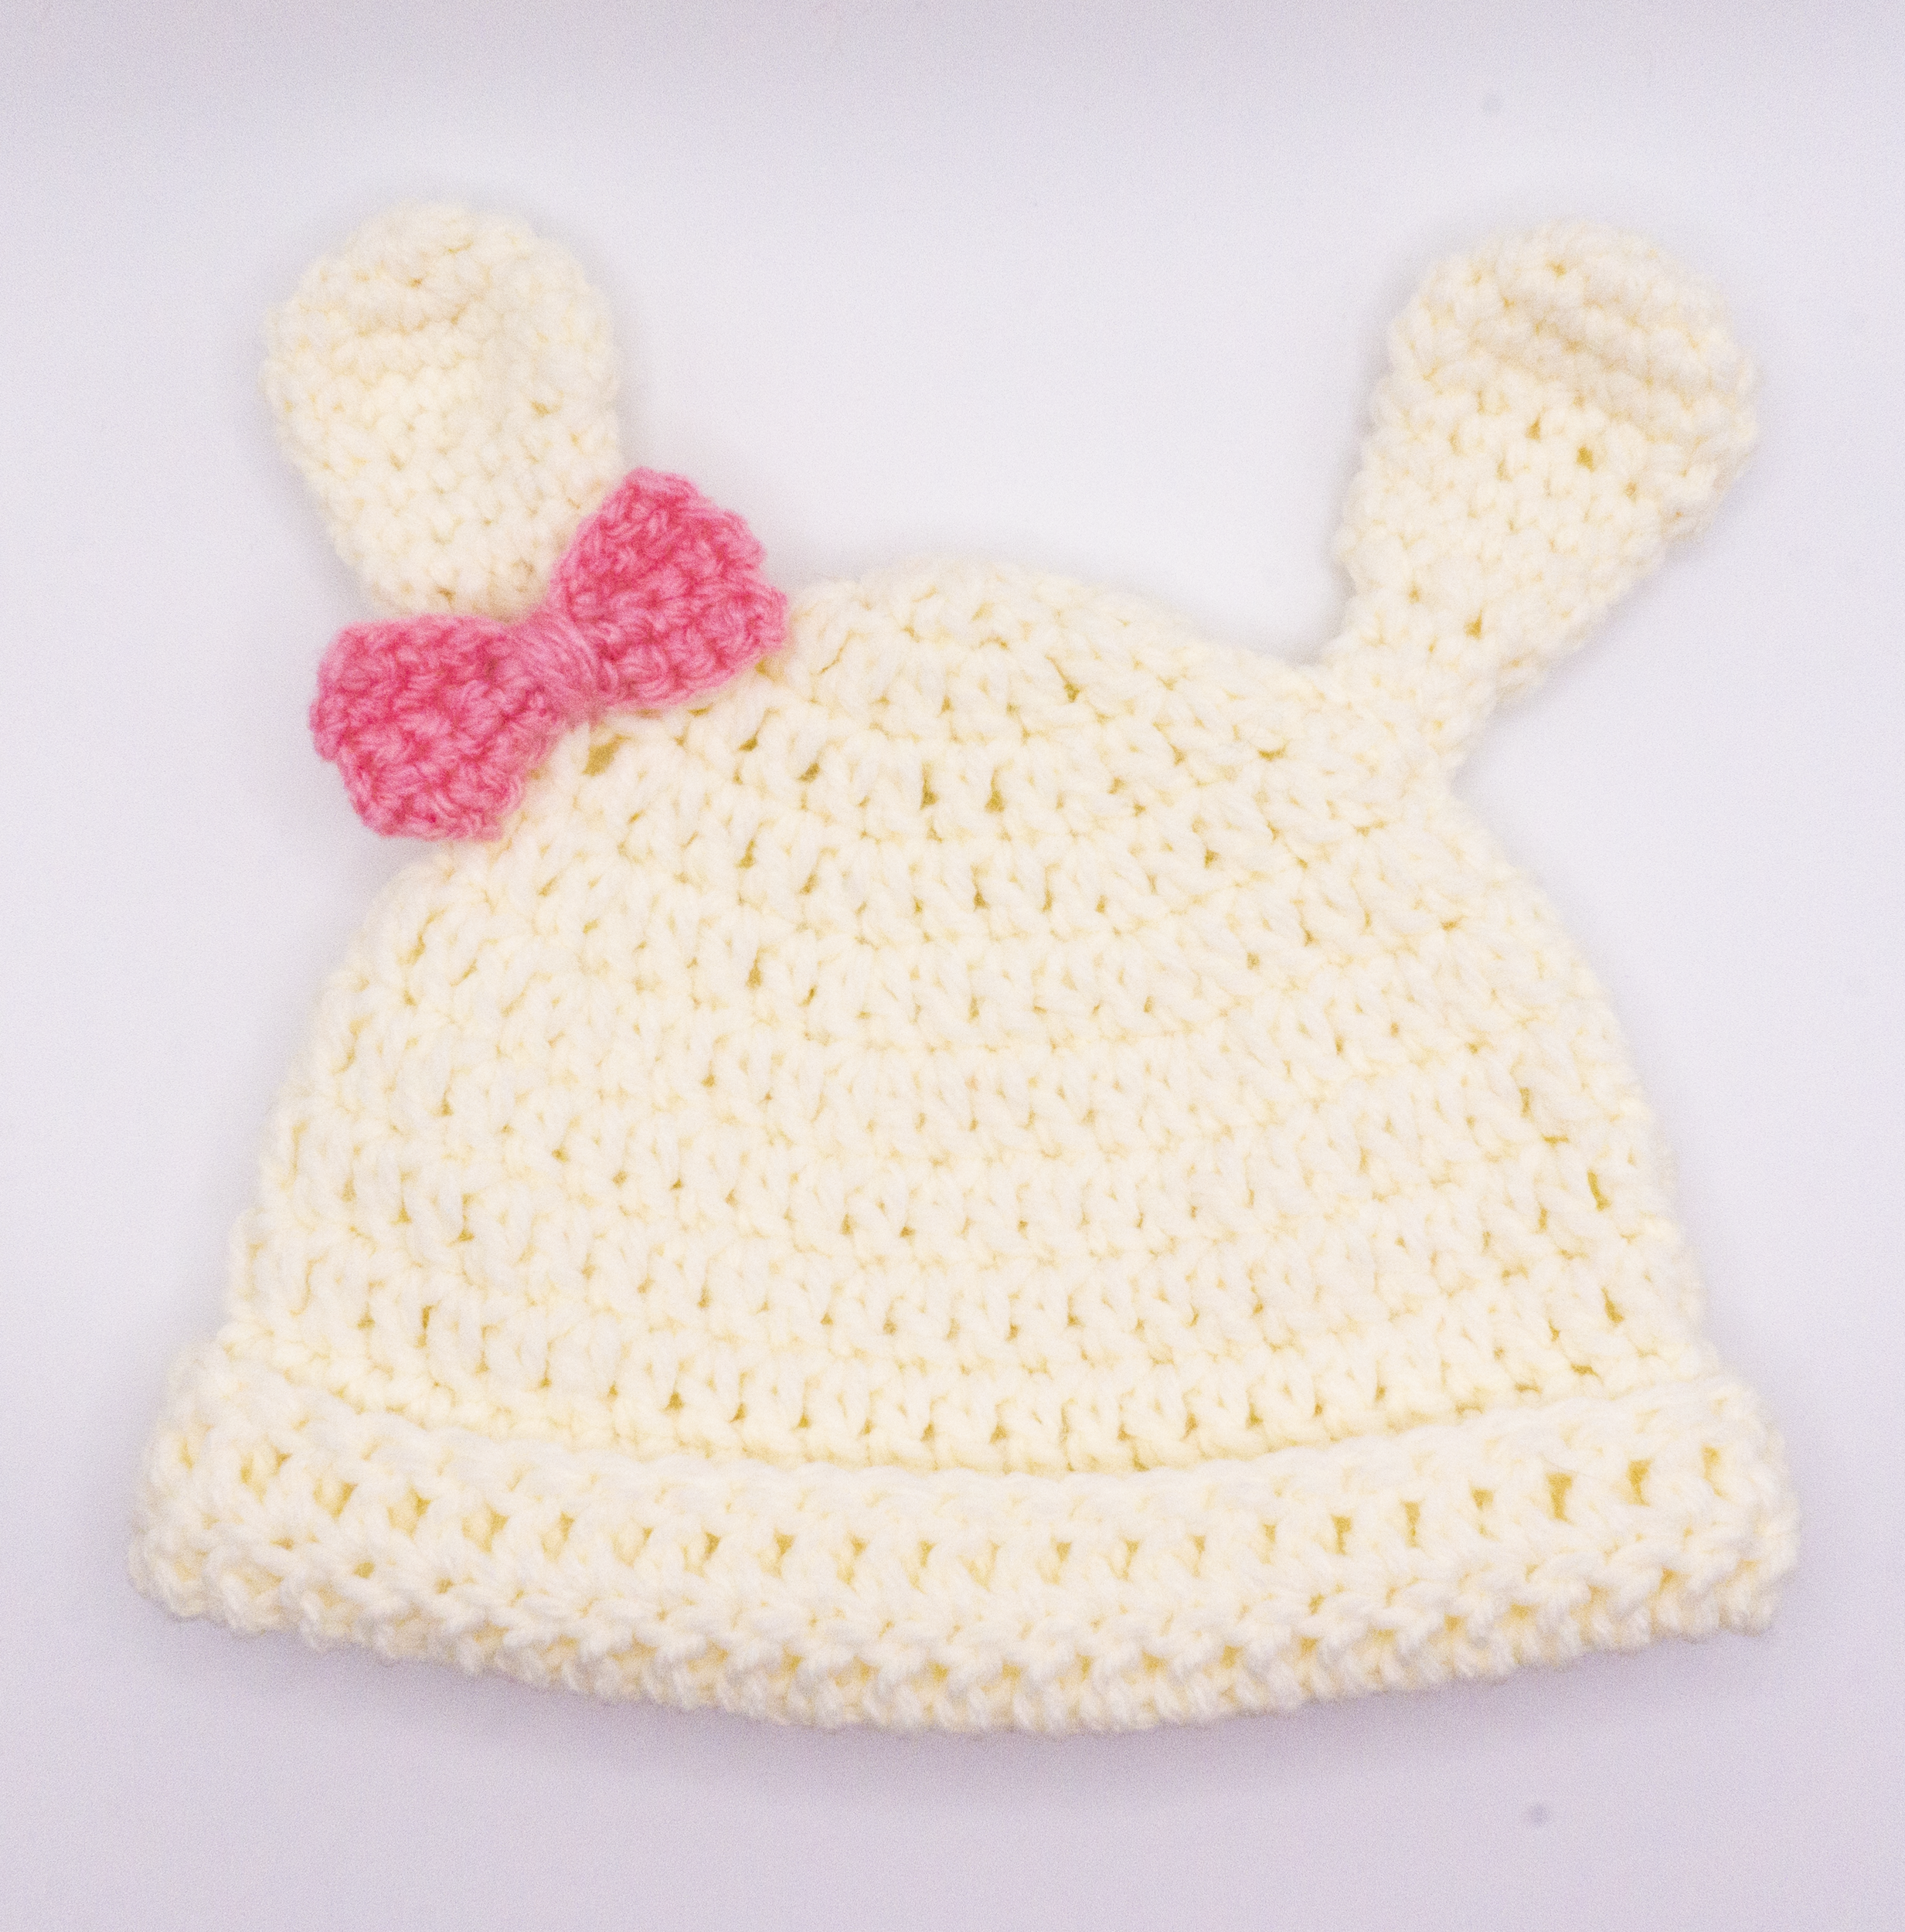
Bunny Hat Complete!
Let me know if you try this pattern out and if you have any questions.
Happy crafting!
Jess Crafting/Jess Crafting’s Cottage
Pattern for personal use only. Feel free to sell the completed Bunny Hat though! Please link back to my blog or my channel.
#jesscrafting #jesscraftingscottage


One Comment
Pingback: